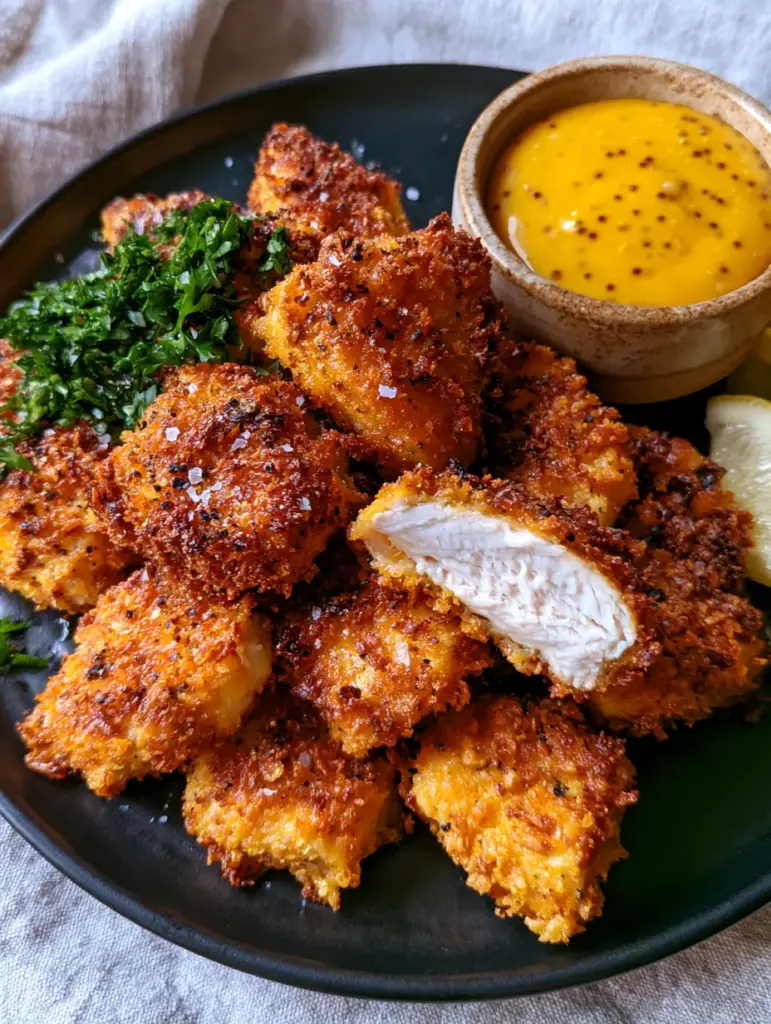
When it comes to mastering air fryer recipes, there is a specific sensory experience we all chase: that audible, jagged crunch followed by a succulent, steaming interior. Imagine a pile of deeply golden-brown chicken breast bites, their craggy panko coating shimmering with flakes of sea salt and cracked black pepper, served on a sleek matte black ceramic plate. This is not just another weeknight dinner; it is a culinary masterpiece of texture and temperature, captured in the soft, natural glow of morning light.
Achieving this level of forensic visual accuracy requires more than just high heat. It demands a scientific understanding of the Maillard reaction and the structural integrity of the breading. In this guide, we will break down exactly how to create those jagged, crunchy textures that look like they were plucked from a professional food styling shoot, complete with a vibrant, thick honey mustard sauce and fresh lemon wedges for that perfect acidic pop.
Why These Craggy Panko Bites Define Elite Air Fryer Recipes
- The Craggy Texture: Using a specific dredging technique ensures a “craggy” surface that catches the heat, creating pockets of intense crunch.
- Succulent Interior: We utilize high-heat convection to seal in moisture, ensuring that when you slice a bite open, steam actually rises from the center.
- Visual Contrast: The deep golden breading against a matte black plate, garnished with vibrant green parsley, provides a restaurant-quality presentation.
- Balanced Flavor Profile: The combination of flaky sea salt, cracked black pepper, and a tangy honey mustard dip hits every taste bud.
The Essential Pantry Staples for Maximum Crunch
To achieve the visual and structural results described in our blueprint, every ingredient must serve a specific purpose. We are not just coating chicken; we are building a multi-layered shell that protects the protein while providing a massive textural payoff.
Boneless Skinless Chicken Breasts: 1.5 lbs (680g). We use breasts for their clean, white meat appearance and ability to stay succulent when cooked rapidly at high temperatures.
Panko Breadcrumbs: 2 cups (120g). These Japanese-style flakes are larger and airier than standard crumbs, which is essential for that jagged, craggy exterior we see in the morning light.
All-Purpose Flour: 1/2 cup (65g). This foundational layer acts as the “primer,” drying the surface of the chicken so the egg wash can adhere perfectly without slipping off.
Large Eggs: 2 eggs. The protein in the eggs acts as the “glue” that binds the craggy panko to the flour-dusted chicken surface.
Dijon and Whole Grain Mustard: 1/4 cup (60ml) each. The whole grain mustard is critical for visual accuracy, providing those visible mustard seeds in the stoneware ramekin.
Honey: 3 tbsp (45ml). This provides the necessary viscosity and sweetness to balance the heat of the mustard, creating a thick, vibrant sauce.
Avocado Oil Spray: Essential for browning. A high-smoke point oil spray is required to help the panko achieve that deeply golden-brown hue without burning.
Seasoning Trio: 1 tsp (6g) flaky sea salt, 1 tsp (3g) freshly cracked black pepper, and 1/2 tsp (1g) smoked paprika for a hint of color and warmth.
Fresh Garnishes: 2 tbsp (8g) finely chopped flat-leaf parsley and 1 fresh lemon, cut into wedges, to provide the final visual and flavor highlights.
Tools for Achieving That Golden-Brown Perfection
You cannot achieve professional food styling results without the right kit. For these air fryer recipes, the equipment is just as important as the ingredients.
A high-quality Air Fryer with a large basket is paramount; overcrowding is the enemy of the crunch. You also need three shallow bowls for your breading station to keep the process organized and efficient. A matte black ceramic plate and a stoneware ramekin are recommended to match the visual blueprint, as they provide the perfect neutral backdrop for the vibrant golden chicken and yellow sauce. Finally, use a sharp chef’s knife to ensure clean cuts that allow the steam to escape beautifully for your presentation.
Mastering the Breading Station: A Step-by-Step Guide
Preparing the Succulent Chicken Base
Start by patting your chicken breasts dry with paper towels. Any surface moisture will steam the breading from the inside out, leading to a soggy crust. Cut the chicken into uniform 1-inch (2.5cm) cubes. Consistency in size ensures that every piece finishes cooking at the exact same time, preventing the smaller pieces from drying out while the larger ones reach that juicy white meat stage.
The Three-Bowl Dredging Technique
Set up your station: Bowl one with flour, salt, and pepper; bowl two with beaten eggs; bowl three with the panko. Dredge each piece of chicken in the flour, shaking off the excess until only a fine dust remains. Dip into the egg wash, then press firmly into the panko. To get that “craggy” look, don’t just roll the chicken; actually press the panko into the meat so the flakes stand up at different angles.
Achieving the Deep Golden-Brown Hue
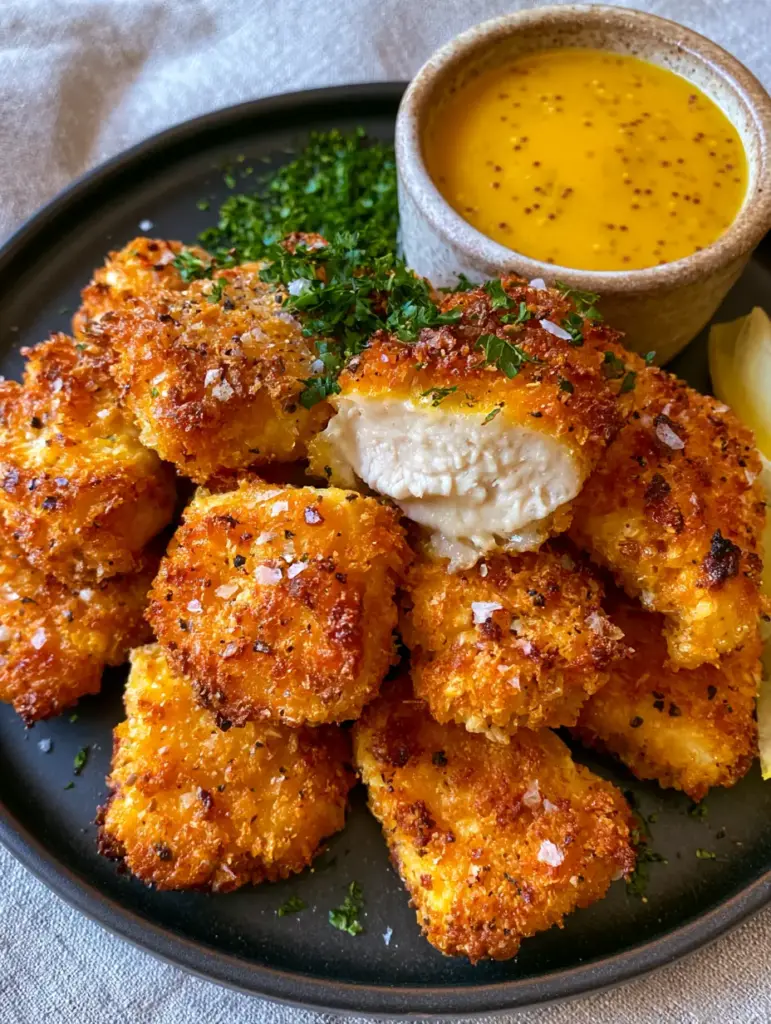
Preheat your air fryer to 400°F (200°C). This high initial heat is what creates the “shatter-crisp” texture. Arrange the chicken bites in a single layer, ensuring they are not touching. Generously mist the tops with avocado oil spray. This is the secret to the color; without oil, the panko will remain a pale, dull beige rather than the deeply golden-brown finish we are aiming for.
The Final Convection Blast
Cook for 8-10 minutes, flipping halfway through. When you flip them, give the other side a quick spray of oil. You are looking for a sensory cue: the panko should look jagged and dry, and when you shake the basket, it should sound like pebbles hitting a drum. The internal temperature should hit 165°F (74°C) to ensure the meat is cooked through but still steaming and succulent.
The Secret to the Thickest Honey Mustard Dip
While the chicken air fries, whisk together your Dijon, whole grain mustard, and honey in a small stoneware ramekin. The addition of whole grain mustard is a forensic requirement; those visible seeds provide a rustic, professional look. The sauce should be thick enough to hold a “ribbon” when the whisk is lifted. If it is too thin, add a teaspoon more honey; if too thick, a drop of lemon juice will brighten it up and thin it out.
Expert Tips for Success with Air Fryer Recipes
- Don’t Overcrowd: If the air cannot circulate around every craggy edge of the panko, the bites will be soft instead of crunchy. Cook in batches if necessary.
- The “Double Spray”: Spraying the chicken twice (once at the start and once after the flip) ensures that every jagged flake of panko is hydrated by the oil and can brown effectively.
- Freshly Cracked Pepper: Do not use pre-ground pepper. The large, uneven shards of freshly cracked black pepper are visually distinct and provide bursts of heat that balance the honey.
- Resting Period: Let the chicken rest for 2 minutes on a wire rack after cooking. This allows the juices to redistribute so that when you slice it open, the steam rises without the juices running off the plate.
Completing the Spread: What to Serve Beside the Chicken
To turn these chicken bites into a full meal, consider pairing them with other crispy air fryer side dishes that complement the crunch. If you want to keep the meal light and refreshing, a classic horiatiki or Greek salad provides a cool, crisp contrast to the hot, fried texture of the poultry. For those looking to maximize their protein intake, these bites are a staple in many high-protein meal plans.
If you have leftovers (which is rare!), they actually reheat beautifully. Unlike deep-fried chicken, air-fried panko maintains its integrity. Simply pop them back into the air fryer at 350°F (175°C) for 3 minutes to bring back that craggy texture. You might also enjoy experimenting with other breaded textures, such as crispy breaded zucchini or even toasted air fryer ravioli for a fun appetizer spread.
Frequently Asked Questions
It is best to use thawed chicken for this specific recipe to ensure the panko adheres correctly. If using frozen, thaw completely and pat extremely dry before beginning the breading process.
The secret to extra crispy bites is using panko breadcrumbs and a high-smoke point oil spray. Preheating the air fryer to 400°F and ensuring the pieces don’t touch also maximizes air circulation for that jagged crunch.
To regain the original craggy texture, reheat the bites at 350°F (175°C) for 3-4 minutes. Avoid the microwave, as it will make the breading soggy.
Avocado oil or grapeseed oil are ideal because they have high smoke points. Avoid using aerosol sprays with soy lecithin, as they can damage the non-stick coating of your air fryer basket over time.
Breading usually falls off because the chicken wasn’t properly dried before the flour dredge, or the flour wasn’t shaken off. Ensure a light flour coating, followed by a thorough egg wash to act as the glue for the panko.
The Ultimate Crispy Air Fryer Panko Chicken Bites Recipe
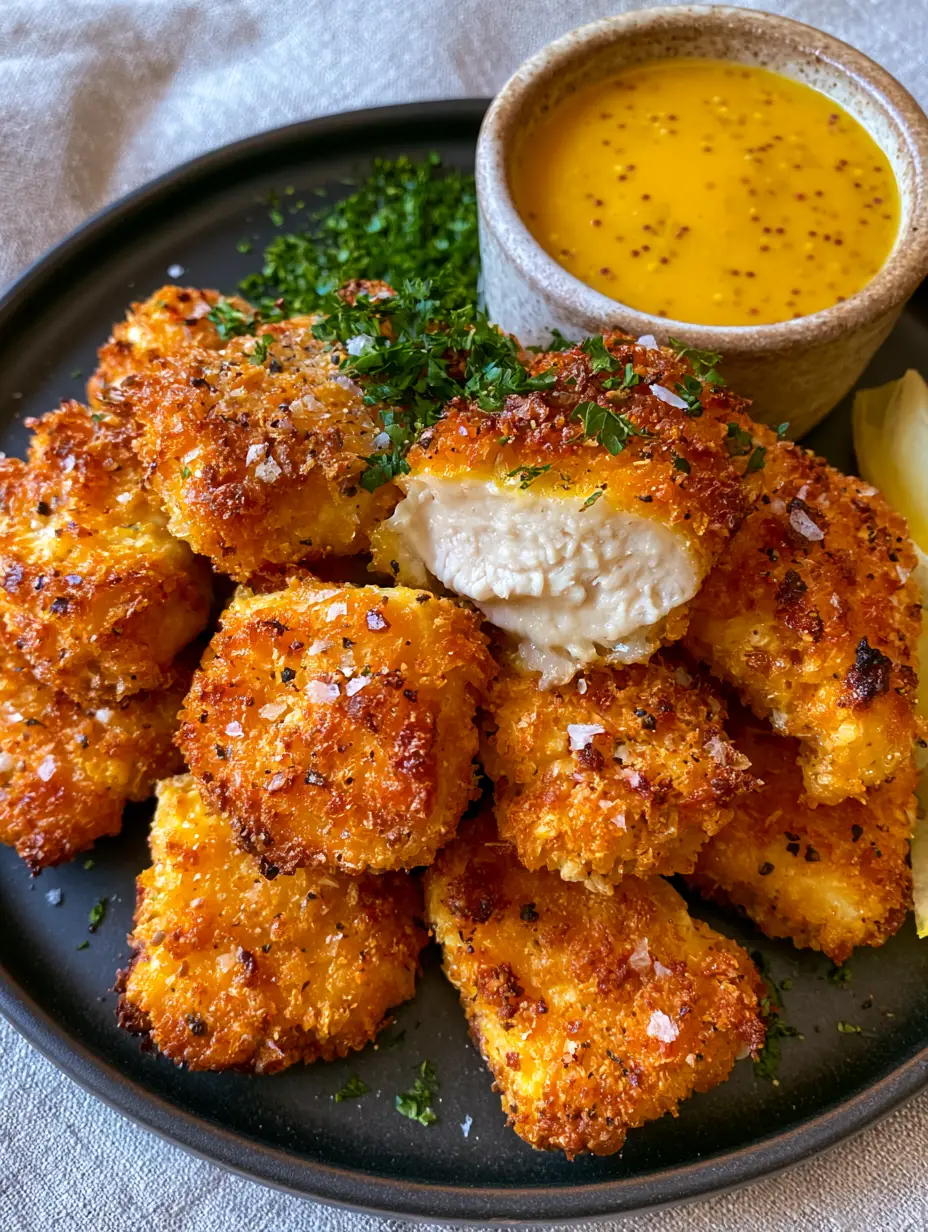
Air Fryer Recipes: The Secret to Ultra-Crispy Panko Chicken Bites
Ingredients
Equipment
Method
- Pat chicken dry and cut into 1-inch (2.5cm) pieces.
- Arrange three bowls: Flour mixed with spices, beaten eggs, and panko.
- Dredge chicken in flour, dip in egg, and press firmly into panko to create a craggy coating.
- Preheat air fryer to 400°F (200°C). Spray chicken with oil and cook for 8-10 minutes, flipping halfway.
- Whisk mustards and honey in a ramekin until thick and vibrant.
- Serve on a matte black plate with parsley, sea salt, pepper, and lemon wedges.
Notes
Use a high-quality oil spray to ensure a deep golden-brown color.
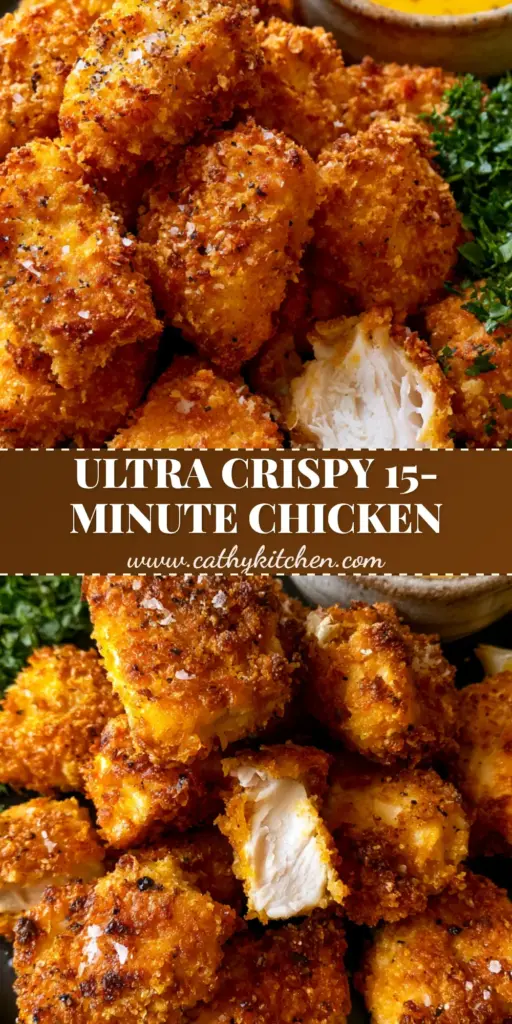
Closing & Call to Action
Mastering air fryer recipes like these chicken bites is all about the details—from the craggy panko flakes to the visible mustard seeds in the dip. The result is a dish that is as visually stunning as it is delicious. If you enjoyed this recipe, please leave a comment below and let us know how your “crunch” turned out! Don’t forget to share your photos and pin this recipe to your favorite boards on Pinterest so you can find it whenever the craving for ultra-crispy chicken strikes.