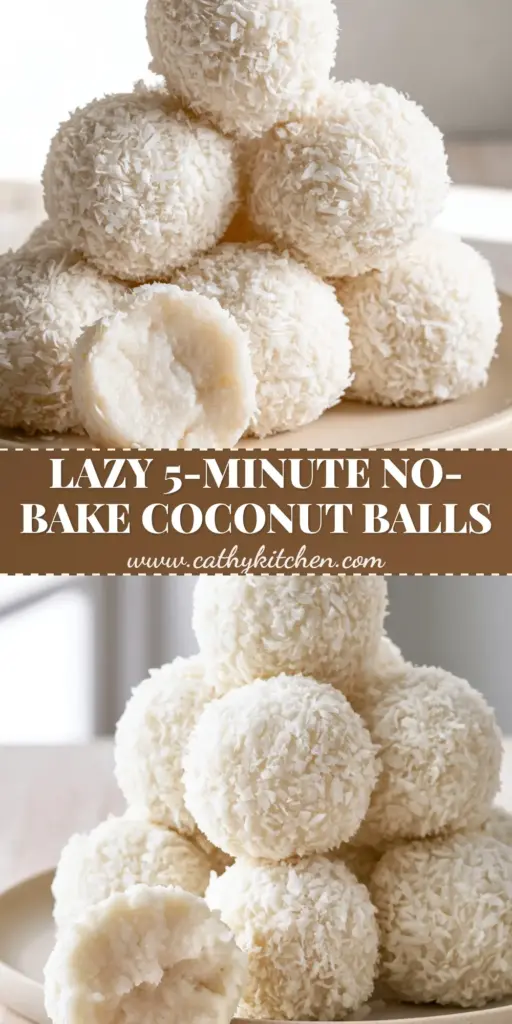
These no-bake coconut balls are the ultimate solution for when you need a decadent, snowy-white treat without ever turning on the oven. Featuring a moist creamy center and a fuzzy, tactile exterior of finely shredded desiccated coconut, this recipe delivers a professional-grade aesthetic that stops the scroll on Pinterest every single time. Whether you are looking for a quick snack or an elegant addition to a dessert platter, these no-bake coconut balls offer a clean, airy, and organic appeal that fits perfectly into a modern, healthy lifestyle.
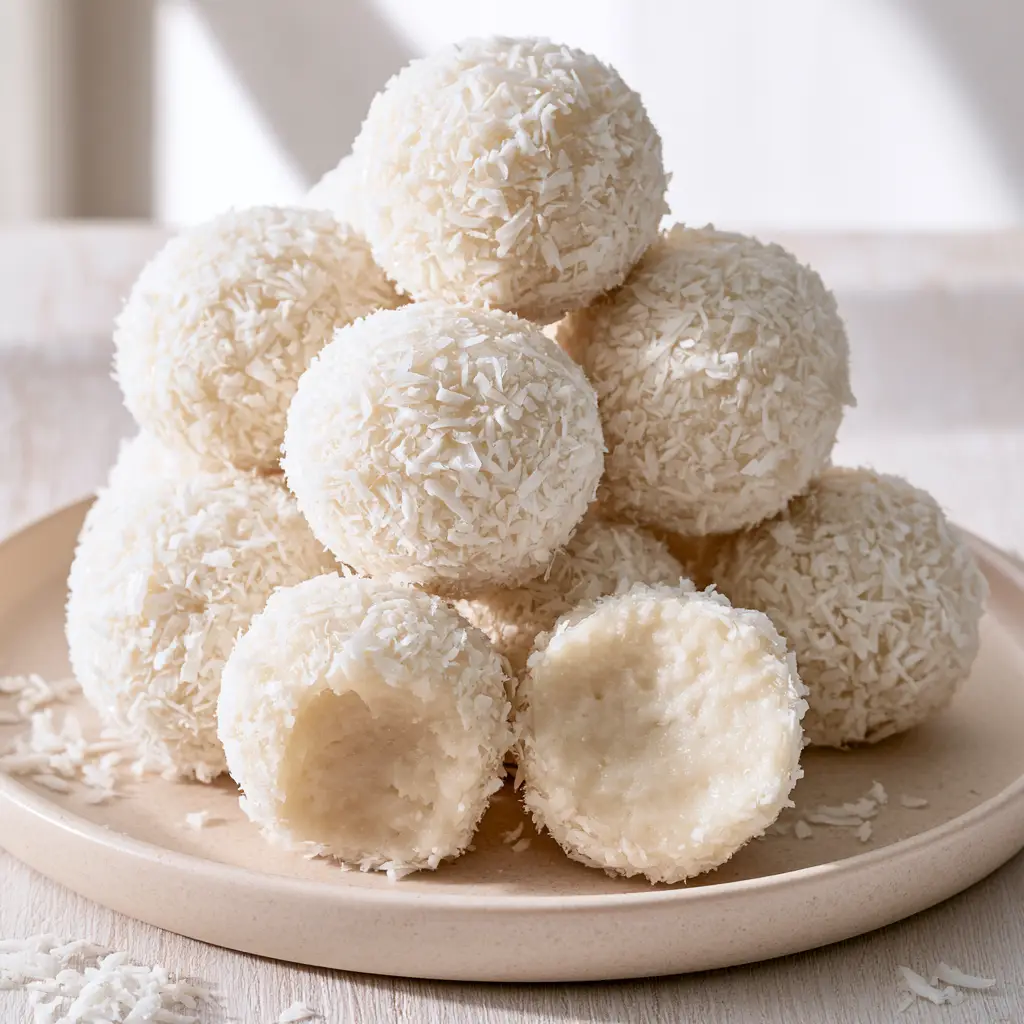
Why You Will Love These Creamy Coconut Truffles
- Visual Texture: Each ball is generously coated in a thick layer of fine, desiccated coconut shreds for a fuzzy, “snowball” effect.
- Sensory Delight: Biting into one reveals a dense, moist, and creamy opaque center that melts in your mouth.
- Minimalist Ingredients: Uses only 3 main components—thick coconut cream, desiccated coconut, and a natural liquid sweetener.
- Dietary Friendly: Naturally gluten-free, vegan-optional, and refined sugar-free depending on your choice of sweetener.
- High Vertical Appeal: The rustic stack on a minimalist matte beige plate makes these a dream for food photography and ad-heavy blog layouts.
If you enjoy simple, raw treats that lean into natural fats and fibers, you might also love our caramel apple bark for a crunchy contrast. Much like these coconut treats, it relies on high-quality ingredients to do the heavy lifting.
The Essential Ingredients for No-Bake Coconut Balls
Finely Shredded Desiccated Coconut
For this recipe, you must use finely shredded desiccated coconut. Unlike larger flakes, the fine shreds create that iconic fuzzy texture and help the balls hold their shape. You will need 3 cups (225g) for the base and an extra 1/2 cup (38g) for the outer coating to ensure they look exactly like the rustic stack in our photos.
Thick Coconut Cream
The secret to the moist creamy center is using only the thick coconut cream from the top of a chilled can. Do not use the watery liquid at the bottom. The high fat content provides the structural integrity needed to keep the balls firm at room temperature while remaining velvety when bitten. You will need 1/2 cup (120ml) of the hardened cream.
Natural Liquid Sweetener
To keep the center creamy and opaque, use a clear or light-colored natural liquid sweetener like agave nectar or a light maple syrup. Use 1/4 cup (60ml) to achieve the perfect balance of sweetness without overpowering the natural nuttiness of the coconut. If you prefer a more savory snack, you can reduce this and pair the balls with a light seafood soup for a tropical-themed lunch.
Foundational Seasoning
Even in sweet recipes, a pinch of fine sea salt is mandatory. It heightens the coconut flavor and cuts through the richness of the cream. A 1/2 teaspoon of pure vanilla extract is also recommended to add depth to the “snowy white” flavor profile.
Step-by-Step Instructions: Creating the Perfect Snowy Texture
Step 1: Prep the Coconut Cream
Before you begin, ensure your can of full-fat coconut milk has been refrigerated for at least 24 hours. Open the can without shaking it and scoop out the thick coconut cream. Place 1/2 cup (120ml) into a large glass mixing bowl. If your cream is too hard, mash it slightly with a fork until it reaches a thick, paste-like consistency.
Step 2: Combine the Base Ingredients
Add the 1/4 cup (60ml) of natural liquid sweetener, vanilla extract, and a pinch of salt to the cream. Whisk until smooth. Gradually fold in 3 cups (225g) of the finely shredded desiccated coconut. Use a stiff spatula to press the mixture together until a dense, cohesive dough forms. It should feel moist but not sticky.
Step 3: The Chilling Phase
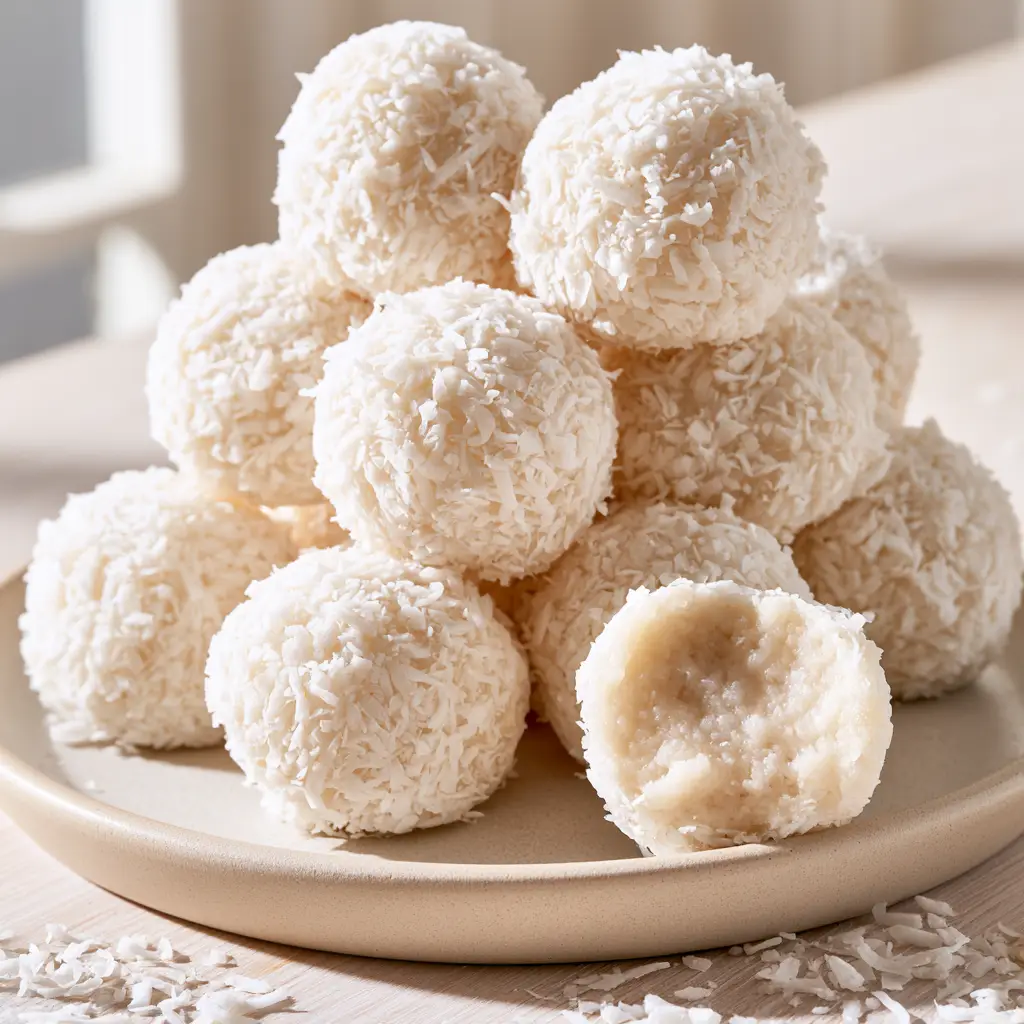
Place the bowl in the refrigerator for 20 minutes. This allows the coconut to hydrate and the fats in the cream to firm up. This is a critical step for achieving the dense, moist, and creamy opaque center shown in our broken-open visual blueprint. While you wait, you could prepare a quick savory appetizer like tomato bruschetta for later.
Step 4: Rolling and Shaping
Use a small cookie scoop or a tablespoon to portion out the dough. Roll each portion between your palms to create a smooth sphere, roughly 1 inch (2.5cm) in diameter. If the dough starts to warm up from your hands, pop it back in the fridge for 5 minutes. You want to maintain that “rustic stack” integrity.
Step 5: The Fuzzy Coating Technique
Place the remaining 1/2 cup (38g) of finely shredded desiccated coconut in a shallow bowl. Roll each ball in the shreds, pressing gently so the coconut adheres in a thick layer. This creates the tactile, fuzzy texture that makes these no-bake coconut balls look so organic and inviting.
Step 6: Final Setting
Arrange the balls on a tray lined with parchment paper. For the best “handheld smartphone photo” aesthetic, stack them in a pile on a matte ceramic plate and scatter a few loose coconut shreds around the base. Chill for another 30 minutes before serving to ensure the center is perfectly set.
Expert Tips for Success
- Temperature Control: If your kitchen is hot, work in batches. Coconut cream melts quickly, and you don’t want your snowy balls to turn into puddles.
- Sweetener Choice: For the whitest possible center, use rice malt syrup or a very light agave. Dark maple syrup will tint the center slightly beige.
- Shred Size: If you only have large coconut flakes, pulse them in a food processor for 10 seconds to create the fine desiccated texture required.
- Flavor Variations: Add a zest of lime for a “tropical punch” version, which pairs excellently after a dinner of salmon cakes.
Storage, Reheating & Freezing
Storage: These no-bake coconut balls must be stored in an airtight container in the refrigerator. They will stay fresh and moist for up to 7 days. Because of the coconut cream, they are best served chilled.
Freezing: These are excellent for meal prep! Freeze them on a tray for an hour, then transfer to a freezer bag. They will last for 3 months. You can eat them straight from the freezer for a firmer, truffle-like texture.
What to Serve With This
These coconut balls are a fantastic palate cleanser. Serve them alongside a hot cup of herbal tea or as a sweet finish to a flavorful meal like spicy mexican donkey balls or a zesty lime-marinated chicken. The creamy fat in the coconut helps soothe the palate after spicy dishes.
Frequently Asked Questions
Yes, if you use a keto-approved liquid sweetener like monk fruit syrup or stevia drops, these are a perfect high-fat, low-carb snack.
Absolutely! You can fold in mini chocolate chips or a crushed almond in the center of each ball for a flavor profile similar to an Almond Joy.
You must use the thick cream that separates at the top of a chilled can of full-fat coconut milk. Using the thin liquid milk will make the dough too runny to roll into balls.
Yes, because of the coconut cream, they should be stored in the refrigerator to maintain their firm shape and creamy texture.
This usually happens if the coconut cream wasn’t cold enough or if you used large coconut flakes instead of finely shredded desiccated coconut. Chill the dough longer to help it set.
The Ultimate No-Bake Coconut Balls Recipe
No-Bake Coconut Balls: The Easiest 3-Ingredient Healthy Dessert
Ingredients
Equipment
Method
- Scoop the thick coconut cream from a chilled can into a bowl and whisk until smooth.
- Stir in the liquid sweetener, vanilla, and salt. Fold in 3 cups of desiccated coconut until a thick dough forms.
- Refrigerate the mixture for 20 minutes to allow the coconut to hydrate and firm up.
- Roll tablespoon-sized portions into balls. Roll each ball in the remaining shredded coconut until thickly coated.
- Chill for an additional 30 minutes on a parchment-lined tray before serving.
Notes
Use finely shredded coconut rather than large flakes for the best texture and visual appeal.
Save This Recipe to Pinterest!
Did you make these no-bake coconut balls? We want to see your rustic stacks! Follow @cathy_kitchen_official on Pinterest for more minimalist, healthy dessert inspiration. Please leave a 5-star rating in the recipe card above and upload a photo of your creamy coconut balls in the comments below. Sharing your results helps our community grow and inspires other home cooks to try these snowy white treats!