Chocolate buttercream frosting is the crown jewel of home baking, transforming a simple sponge into a professional-grade masterpiece. This specific recipe creates an ultra-smooth, deep mahogany finish that Pinterest dreams are made of. Whether you are piping billowy waves onto a decadent chocolate cake or looking for the perfect stable swirl for cupcakes, this frosting delivers on both texture and flavor. It is rich, stable, and carries a sophisticated satin-matte sheen that looks as good as it tastes.
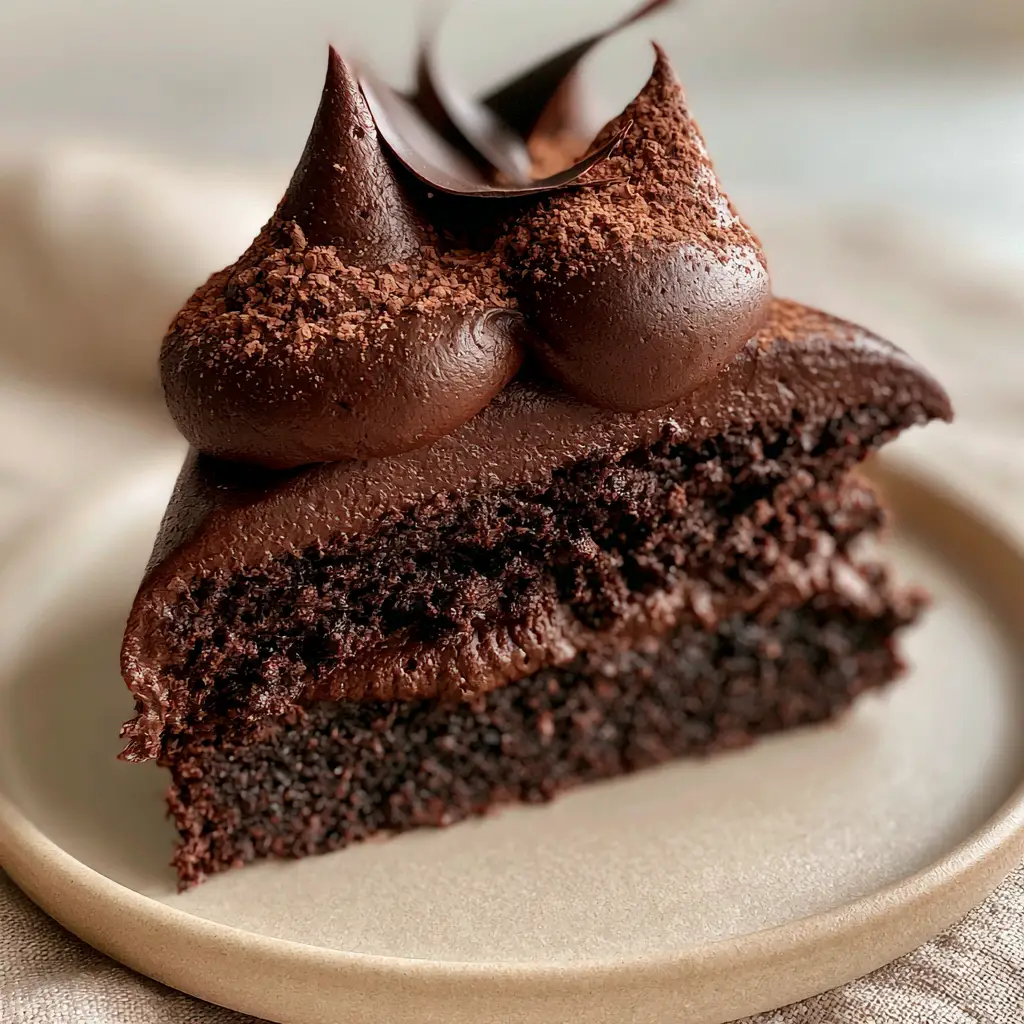
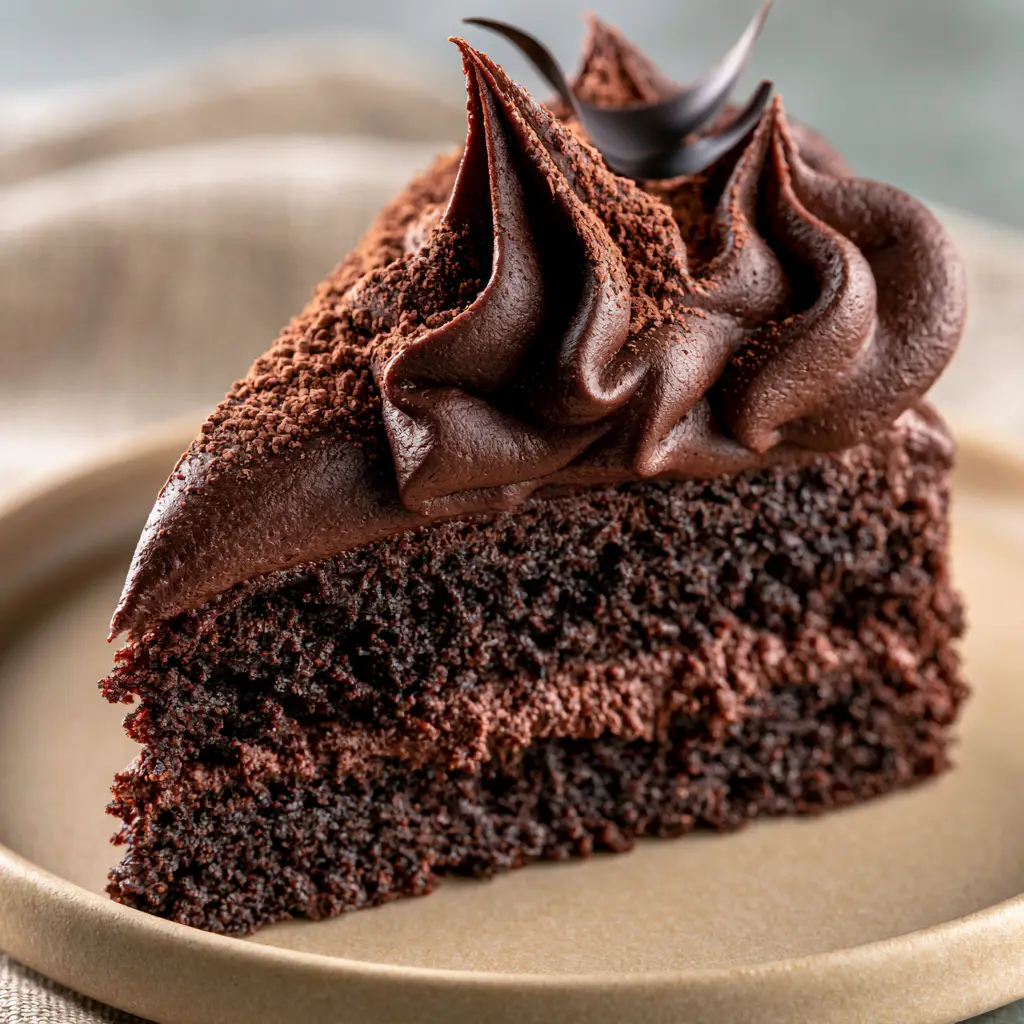
The secret to this chocolate buttercream frosting lies in the specific aerating technique and the use of high-quality fats. We are moving beyond basic sugary spreads to create a frosting that is light enough to eat with a spoon but sturdy enough to hold sharp, stable ridges. By the time you finish this guide, you will be able to replicate that iconic “handheld smartphone photo” look—a perfectly decorated slice on a matte beige plate, dusted with micro-fine cocoa.
Why This Is The Best Chocolate Buttercream Frosting You Will Ever Make
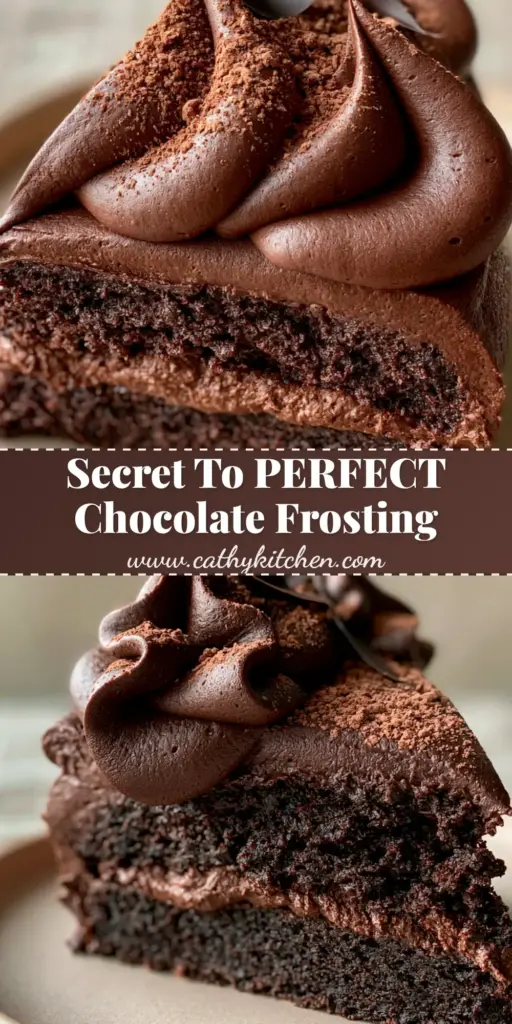
- Stable & Pipeable: This frosting holds its shape perfectly, creating those beautiful, billowy waves and sharp ridges seen in high-end bakeries.
- Satin-Matte Finish: Unlike greasy frostings, this recipe results in a deep mahogany brown finish that looks incredibly elegant on a matte beige ceramic plate.
- Deep Flavor Profile: By using Dutch-processed cocoa, we achieve a darker color and a smoother, less acidic chocolate flavor.
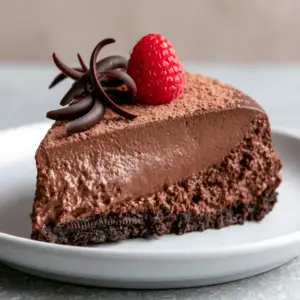
- Versatile Application: It is the ideal companion for moist chocolate cupcakes or even layered inside a decadent chocolate mousse cake.
The Anatomy of Perfect Chocolate Frosting: Essential Ingredients
Unsalted Butter (2 cups / 452g): Ensure your butter is softened to room temperature—around 65°F (18°C). This allows the fat molecules to trap air, creating that “whipped” texture.
Powdered Sugar (4-5 cups / 500-625g): Also known as confectioners’ sugar, this provides the structure. Sifting is non-negotiable for a “micro-fine” finish.
Dutch-Processed Cocoa Powder (3/4 cup / 75g): This is the secret to the mahogany color. It has been treated with alkali to reduce acidity, resulting in a mellow, earthy chocolate taste.
Heavy Cream (3-4 tablespoons / 45-60ml): Heavy cream introduces moisture and fat, thinning the frosting to the perfect “billowy” consistency without sacrificing stability.
Pure Vanilla Extract (2 teaspoons / 10ml): Vanilla acts as a flavor enhancer, rounding out the bitterness of the cocoa.
Fine Sea Salt (1/2 teaspoon / 3g): Salt is the invisible hero that cuts through the intense sweetness of the powdered sugar.
How to Achieve the Perfect Whipped Consistency
Step 1: The Creaming Phase
Start by placing your softened unsalted butter into the bowl of a stand mixer fitted with the paddle attachment. Beat the butter on medium-high speed for a full 5 minutes.
You want the butter to turn nearly white and look incredibly fluffy. This stage is crucial for the “airy, cloud-like” texture described in our visual blueprint. If the butter isn’t pale, keep whipping.
Step 2: Sifting for Smoothness
While the butter is whipping, sift your powdered sugar and Dutch-processed cocoa powder together into a medium bowl. Do not skip sifting.
Cocoa powder is notorious for forming small, stubborn clumps. To achieve that ultra-smooth chocolate buttercream frosting, the dry ingredients must be a micro-fine dust before they touch the butter.
Step 3: Gradual Integration
Turn the mixer to the lowest speed. Gradually add the sugar and cocoa mixture one cup at a time. This prevents a “sugar cloud” from escaping the bowl and ensures the cocoa is evenly distributed.
Once the dry ingredients are incorporated, scrape down the sides of the bowl with a silicone spatula. Ensure no pockets of unmixed butter remain at the bottom.
Step 4: The Flavor and Fluidity Boost
Add the heavy cream, vanilla extract, and sea salt. Increase the speed to medium and whip for another 2-3 minutes.
Watch as the frosting transforms into a satin-matte mahogany brown. If the frosting feels too stiff to create “billowy waves,” add an extra tablespoon of heavy cream. If it feels too soft, add another 1/4 cup (30g) of powdered sugar.
Visual Cues: How to Know It Is Perfect
Your chocolate buttercream frosting is ready when it meets these three criteria:
1. It holds a “stiff peak” when the paddle is lifted.
2. The color is a deep, rich mahogany brown.
3. The texture is smooth enough to be spread into sharp, stable ridges.
For the ultimate Pinterest-worthy presentation, pipe the frosting onto your cake and use a small offset spatula to create swirling motions. Top with delicate dark chocolate curls and a final dusting of micro-fine cocoa powder for that professional touch.
Expert Tips for Success
- Temperature Control: If your kitchen is too warm, the frosting will lose its “sharp ridges.” Chill the bowl for 10 minutes if the frosting feels “melty.”
- The “Air Bubble” Fix: After the final whip, use a spatula to stir the frosting by hand for 1 minute. This knocks out large air bubbles, ensuring an “ultra-smooth” finish.
- Cocoa Matters: Standard natural cocoa powder will result in a lighter, more orange-toned frosting. Use Dutch-processed for that deep mahogany look.
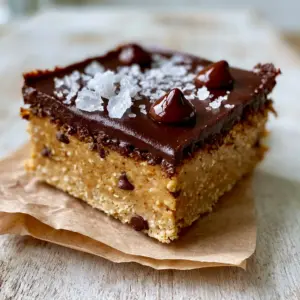
- Pairing: This frosting is the perfect topping for fudgy chocolate brownies if you want to elevate a casual snack.
Storage and Make-Ahead Instructions
Room Temperature: You can keep the frosted cake at room temperature for up to 2 days, provided your kitchen isn’t too hot.
Refrigeration: Store chocolate buttercream frosting in an airtight container in the fridge for up to 1 week. Before using, let it come to room temperature and re-whip it for 2 minutes to restore the billowy texture.
Freezing: This frosting freezes beautifully for up to 3 months. Thaw overnight in the refrigerator before re-whipping.
What to Serve With This Frosting
While this is perfect for cakes, you can also use it to sandwich nutella stuffed chocolate chip cookies together for a decadent treat. For a lighter contrast, serve a slice of frosted cake alongside fresh berries or a dollop of whipped cream.
Frequently Asked Questions
Yes, but it will change the visual outcome. Natural cocoa is more acidic and lighter in color, resulting in a lighter tan frosting rather than the deep mahogany finish shown in this recipe.
After whipping with the stand mixer, use a flexible spatula to stir the frosting by hand, pressing it against the sides of the bowl for 1 minute. This ‘deflates’ large bubbles for a smooth finish.
For an even darker color, use extra-dark Dutch-processed cocoa or ‘black cocoa’ for a portion of the recipe. The color will also deepen naturally as the frosting sits and the cocoa hydrates.
While stable for room temperature, butter-based frostings will soften in high heat. If baking for an outdoor event, replace 1/4 of the butter with high-quality vegetable shortening to increase the melting point.
Graininess is usually caused by unsifted powdered sugar or cocoa powder. To fix this, ensure you sift all dry ingredients and whip the frosting for an additional 2-3 minutes with a splash of heavy cream.
The Final Recipe: Whipped Chocolate Buttercream
Chocolate Buttercream Frosting: The Ultimate Whipped & Velvety Recipe
Ingredients
Equipment
Method
- In a stand mixer, beat the softened butter on medium-high speed for 5 minutes until pale and fluffy.
- Sift the powdered sugar and Dutch-processed cocoa powder together to ensure a micro-fine texture.
- Add the dry ingredients to the butter on low speed until combined, then add cream, vanilla, and salt.
- Increase speed to medium-high and whip for 3 minutes until billowy waves and stable ridges form.
Notes
Stir by hand at the end to remove air bubbles for a smoother finish.
Share Your Masterpiece!
Did you achieve those perfect billowy waves? We want to see! Save this recipe to your Dessert Recipes board on Pinterest and follow cathy_kitchen_official for more baking inspiration. If you made this, please drop a photo in the comments below and leave a 5-star rating—it helps other bakers find the best chocolate buttercream frosting recipe!