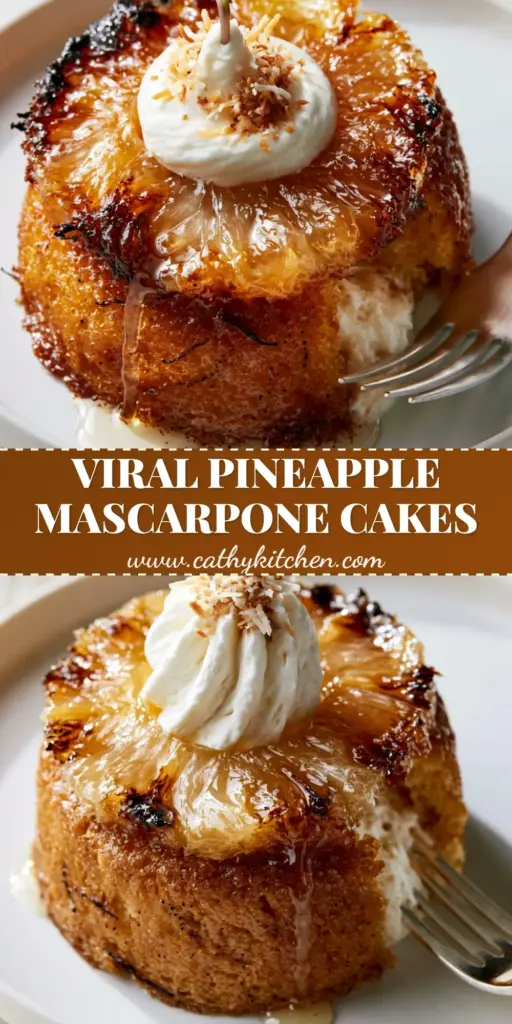
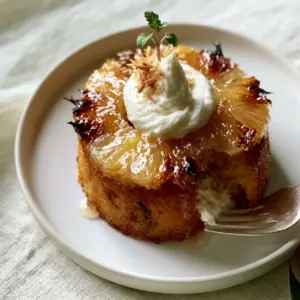
These Pineapple Mascarpone Mini Cakes are the ultimate handheld luxury, combining the tropical sweetness of charred fruit with a velvety, cloud-like cream. If you have been searching for a dessert that looks like it stepped out of a high-end patisserie but feels like a warm hug, this is it. The combination of a golden vanilla sponge and a hidden creamy mascarpone filling creates a flavor profile that is both sophisticated and nostalgic.
Imagine biting into a soft, vanilla bean-flecked cake, only to be met with a burst of honey-glazed pineapple and a cooling dollop of whipped mascarpone. Much like our popular mini strawberry cream cakes, these individual treats are perfect for garden parties, bridal showers, or a special weekend treat. Let’s dive into how you can recreate this Pinterest-viral dessert in your own kitchen.
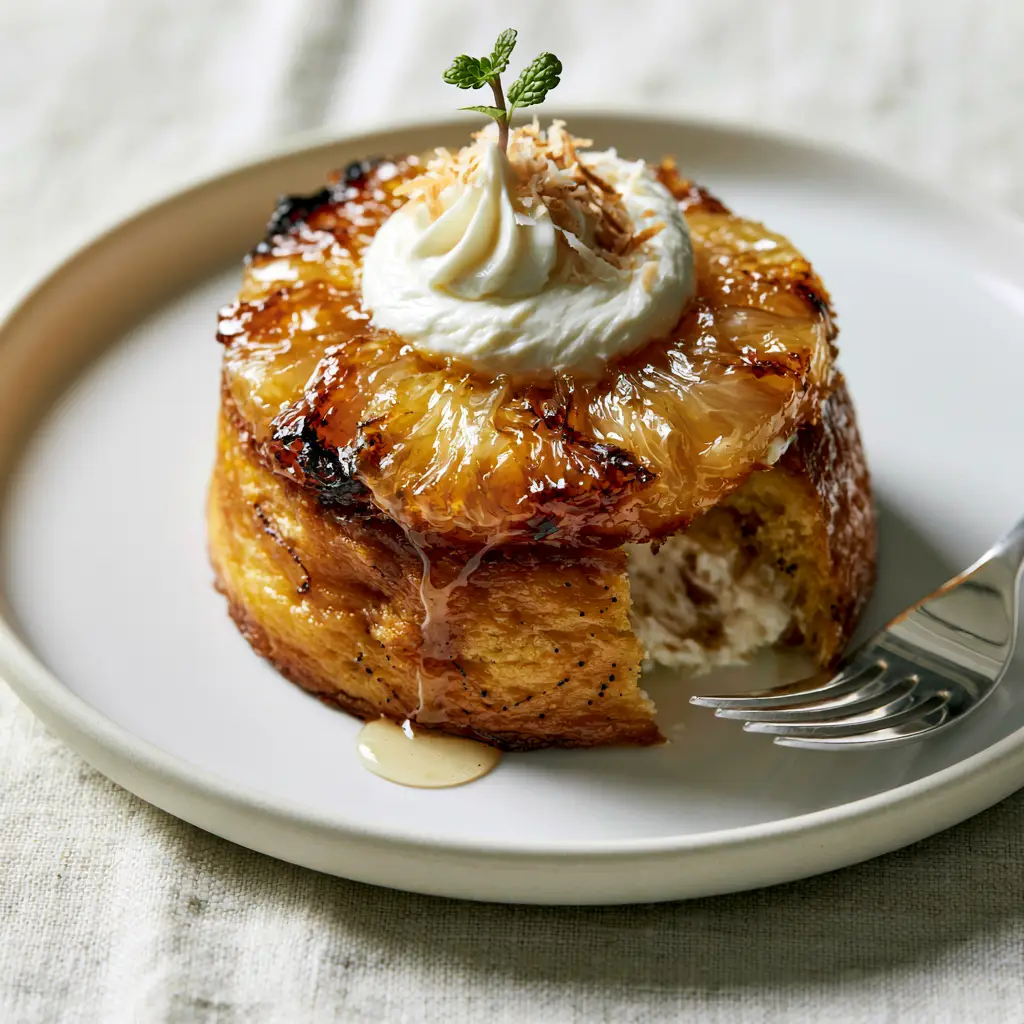
Why You Will Obsess Over These Pineapple Mascarpone Mini Cakes
- The Perfect Texture Contrast: A moist, buttery sponge paired with translucent caramelized pineapple that has perfectly charred amber edges.
- Hidden Creamy Center: Every cake features a secret core of whipped mascarpone frosting that surprises your guests at the first fork-break.
- Honey-Glazed Shine: A glossy honey finish that catches the light and adds a floral sweetness to the tropical pineapple.
- Vanilla Bean Elegance: Visible vanilla bean seeds throughout the cake and frosting provide an upscale aesthetic and deep flavor.
The Essential Ingredients for Tropical Cake Perfection
Creating the perfect Pineapple Mascarpone Mini Cakes requires high-quality ingredients that balance fat, acid, and sugar. Here is what you need to gather.
The Golden Vanilla Sponge
- 1 ½ cups (190g) All-Purpose Flour: Provides the structure for our mini cakes.
- 1 cup (200g) Granulated Sugar: For sweetness and a tender crumb.
- ½ cup (115g) Unsalted Butter, softened: Ensures a rich, buttery mouthfeel.
- 2 large Eggs: Room temperature eggs emulsify better into the batter.
- ½ cup (120ml) Whole Milk: Keeps the sponge moist and light.
- 1 teaspoon (5ml) Vanilla Bean Paste: Essential for those beautiful visible vanilla specks.
The Honey-Caramelized Pineapple
- 6 Fresh Pineapple Rings: Sliced thin for that translucent, elegant look.
- 3 tablespoons (45ml) Honey: Use a high-quality floral honey for the glaze.
- 1 tablespoon (15g) Butter: To help achieve those charred amber edges in the pan.
The Whipped Mascarpone Filling & Topping
- 8 oz (225g) Mascarpone Cheese: Cold mascarpone whips into a thick, velvety texture.
- ½ cup (120ml) Heavy Whipping Cream: Adds lightness to the dense cheese.
- ¼ cup (30g) Powdered Sugar: Just enough to sweeten without being cloying.
- Fresh Micro-Mint & Toasted Coconut: For the final garnish and visual pop.
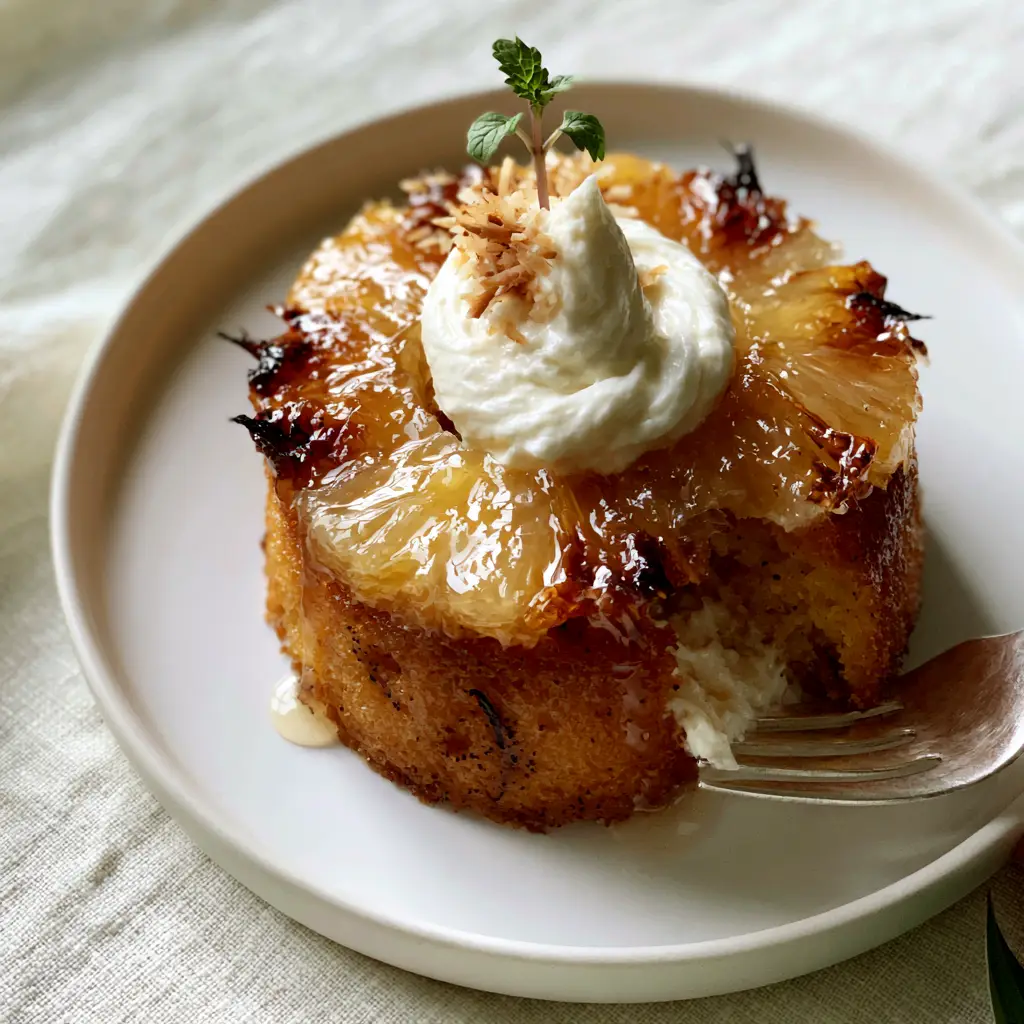
How to Make Pineapple Mascarpone Mini Cakes Step-by-Step
Follow these detailed stages to ensure your cakes look exactly like the professional Visual Recipe Blueprint. Precision is key for the “Pinterest-perfect” result!
Step 1: Baking the Vanilla Bean Sponge
Preheat your oven to 350°F (175°C). Grease a mini cake tin or a large muffin tin. Cream the butter and sugar until pale and fluffy, then add your eggs one at a time. Fold in the vanilla bean paste—you want to see those black seeds distributed evenly.
Alternate adding the flour and milk, mixing until just combined. Overmixing leads to tough cakes, and we want these to be as soft as our strawberry shortcake cake. Fill the tins about 3/4 full and bake for 18-20 minutes until a toothpick comes out clean.
Step 2: Mastering the Caramelized Pineapple Ring
While the cakes cool, place a non-stick skillet over medium-high heat. Add a knob of butter and lay your pineapple rings flat. Drizzle the honey glaze over the rings. Cook for 3-4 minutes per side until you see charred amber edges and the fruit becomes slightly translucent.
The smell of caramelizing sugars and tropical fruit is one of the best parts of making Pineapple Mascarpone Mini Cakes. Once glossy and charred, set them aside on a piece of parchment paper to cool slightly.
Step 3: Whipping the Velvety Mascarpone
In a chilled bowl, beat the cold mascarpone, heavy cream, and powdered sugar. Start slow, then increase the speed until stiff peaks form. The texture should be a thick, velvety dollop of snow-white frosting. Transfer to a piping bag fitted with a large round tip.
Step 4: The Internal Filling Assembly
Once the cakes are cool, use a small knife or a corer to remove a small portion of the center of each cake. Pipe the mascarpone frosting deep into the center. This creates the “clean break” reveal when a fork cuts through the side, just like in our stuffed cookie recipes.
Step 5: Finishing the Visual Masterpiece
Place a caramelized pineapple ring on top of each filled cake. Pipe a final generous dollop of whipped mascarpone into the center of the pineapple ring. Garnish with a single tiny sprig of fresh micro-mint and a delicate sprinkle of toasted coconut flakes.
Expert Tips for the Best Mini Pineapple Cakes
- Temperature Control: Ensure your mascarpone is very cold before whipping, or it may break and become grainy.
- Pineapple Precision: If using canned pineapple, pat it extremely dry before caramelizing to ensure the honey creates a glossy shine rather than a watery mess.
- The Reveal: To get that perfect “silver fork break” photo for Pinterest, serve the cakes while the sponge is slightly warm but the frosting is chilled.
- Vanilla Quality: Don’t skip the vanilla bean paste; the visual specks are a hallmark of high-end Pineapple Mascarpone Mini Cakes.
Storage, Reheating & Freezing
Because of the fresh mascarpone and fruit, these cakes are best enjoyed the day they are made. However, you can store them in an airtight container in the refrigerator for up to 2 days. We do not recommend freezing the fully assembled cakes as the pineapple texture will change.
If you want to meal prep these, you can bake the sponge cakes and freeze them (wrapped tightly) for up to a month. Thaw and then add the fresh fruit and whipped topping just before serving, similar to how you might prep moist banana bars.
What to Serve With This
These Pineapple Mascarpone Mini Cakes are quite rich, so they pair beautifully with a light, acidic beverage. A cold glass of prosecco or a tart lime spritzer complements the honey glaze perfectly. If you are looking for more finger-food inspiration, check out our cute snack ideas for a themed party spread!
Frequently Asked Questions
You can bake the sponge cakes a day early, but for the best visual appeal and texture, caramelize the pineapple and pipe the fresh frosting just before serving.
Yes, you can use canned rings, but be sure to pat them extremely dry with paper towels before caramelizing in the honey and butter to ensure they get those charred amber edges.
You can scrape the seeds from one fresh vanilla bean pod directly into the batter and frosting for the same high-end visual effect.
Mascarpone has a high fat content and can break if over-mixed or if it’s too warm. Always use cold mascarpone and whip just until stiff peaks form.
The Ultimate Pineapple Mascarpone Mini Cakes Recipe
Pineapple Mascarpone Mini Cakes with Honey Glaze and Vanilla Bean
Ingredients
Equipment
Method
- Cream butter and sugar until fluffy. Add eggs and vanilla bean paste. Alternate flour and milk until just combined.
- Fill mini cake tins 3/4 full. Bake at 350°F (175°C) for 18-20 minutes. Cool completely.
- Heat butter and honey in a skillet. Sear pineapple rings for 3-4 minutes per side until charred amber edges appear and fruit is glossy.
- Beat cold mascarpone, cream, and powdered sugar to stiff peaks.
- Remove a small core from each cake. Pipe mascarpone into the center.
- Place pineapple ring on top. Pipe a dollop of frosting in the center hole. Garnish with micro-mint and toasted coconut.
Notes
Whip mascarpone while cold to prevent curdling.
Save This Recipe to Pinterest!
Did you fall in love with these Pineapple Mascarpone Mini Cakes? Make sure to save this recipe to your Dessert Board on Pinterest so you never lose it! Follow @cathy_kitchen_official for more elegant, viral-worthy bakes.
If you make these, please come back and leave a 5-star rating and a comment below. We love seeing your photos—share your “fork break” shots with us!