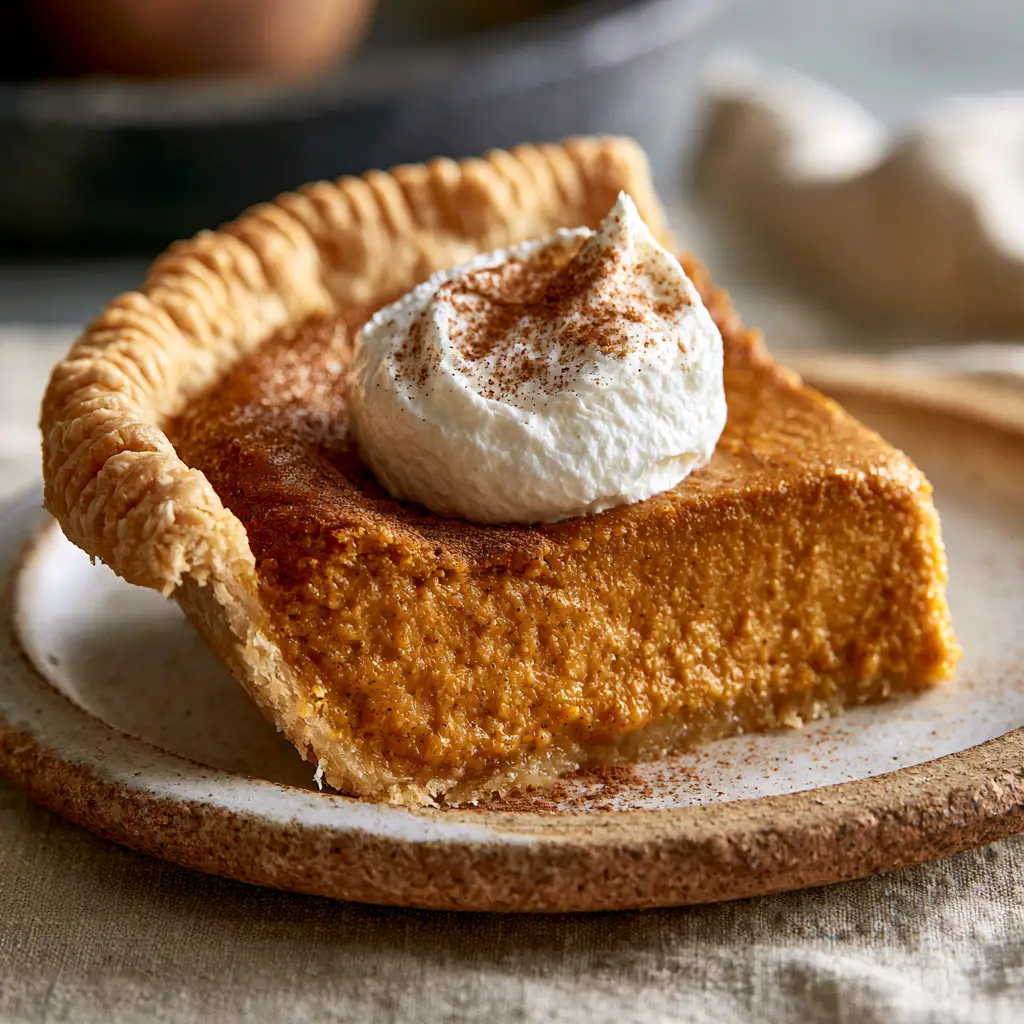
When it comes to the holiday season, nothing commands the center of the table quite like traditional Thanksgiving pie recipes. This specific version is designed to be the crown jewel of your feast, featuring a velvety burnt-orange custard that melts in your mouth and a crust so flaky it shatters at the touch of a fork.
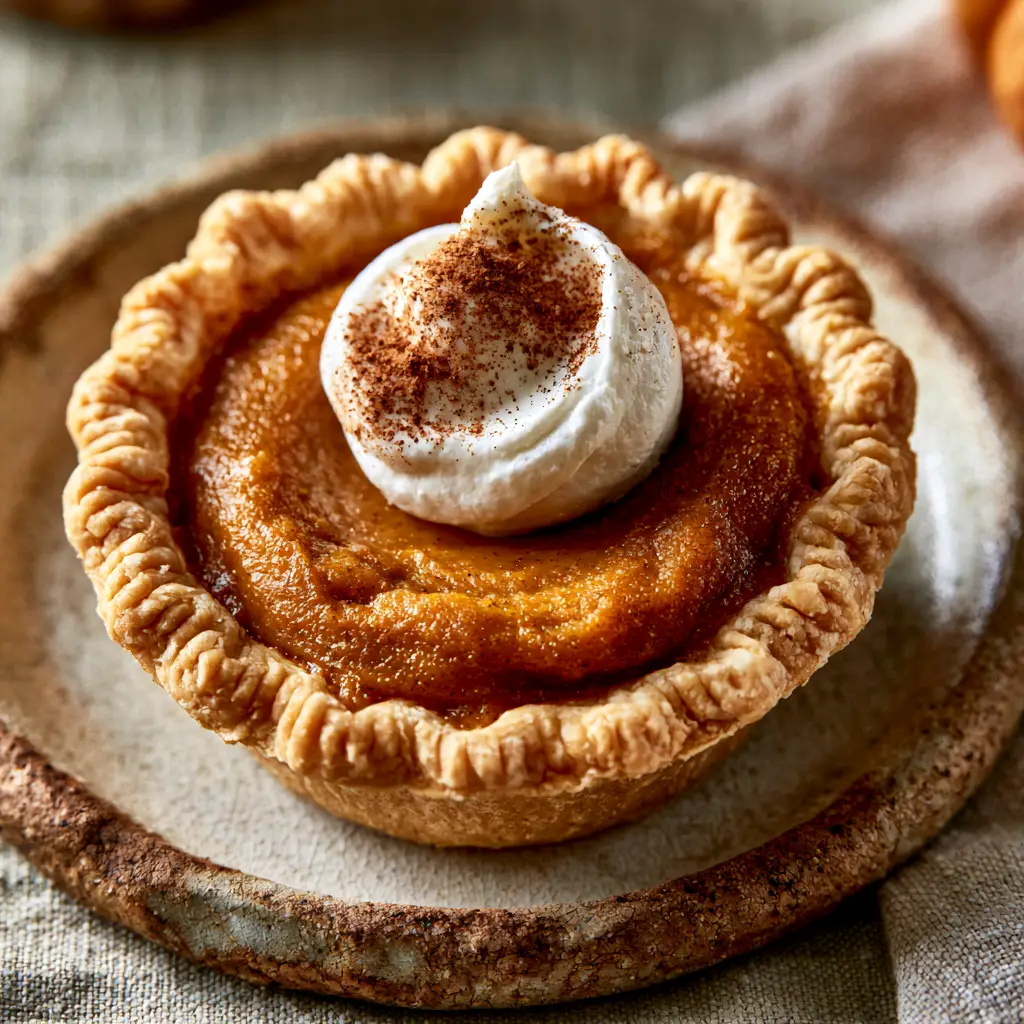
We have meticulously crafted this recipe to match the rustic elegance of a handheld smartphone photo, capturing that perfect moment on a neutral linen table setting. From the intricately crimped edges to the light dusting of cinnamon over a fresh cloud of whipped cream, every detail is engineered for visual and culinary perfection.
Whether you are a seasoned baker or this is your first time hosting, our forensic approach to pastry science ensures a result that looks exactly like the professional shots you see on social media. Get ready to master the art of the perfect pumpkin custard today.
Why This Will Be the Star of Your Holiday Dessert Table
- Visual Precision: Achieve that iconic “burnt-orange” hue using a specific blend of dark brown sugar and high-quality pumpkin purée.
- Textural Contrast: The “velvety” smooth custard provides a luxurious mouthfeel against the “shattery” golden-brown butter crust.
- Structural Integrity: Our blind-baking technique prevents the dreaded “soggy bottom,” ensuring every slice stands tall on a rustic ceramic plate.
- Sensory Perfection: The aromatic dusting of ground cinnamon provides an immediate olfactory trigger that says “the holidays have arrived.”
The Essential Pantry Staples for the Perfect Pumpkin Custard
All-Purpose Flour (315g / 2 ½ cups): This provides the necessary structure for our crimped flaky golden pie crust, allowing for beautiful fluted edges. We use a higher-protein flour to ensure the crust can hold the weight of the dense custard.
Unsalted Butter, Cubed and Chilled (225g / 1 cup): Cold butter is the secret to those visible flakes. When the cold fat hits the hot oven, it creates steam pockets that lift the dough into layers.
Pumpkin Purée (425g / 15 oz): Use 100% pure pumpkin, not pumpkin pie filling. This allows us to control the spices and sweetness to achieve that specific burnt-orange color.
Evaporated Milk (354ml / 12 oz): This is the “invisible” ingredient that creates the velvety texture. It provides more protein and fat than regular milk without the excess water content.
Dark Brown Sugar (150g / ¾ cup): The molasses content in dark brown sugar is what gives our filling its deep, burnt-orange complexity compared to the pale yellow of store-bought pies.
Large Eggs (3 units): These act as the binder, setting the custard so it is firm enough to slice but soft enough to be described as velvety.
Ground Cinnamon, Ginger, and Cloves: This blend provides the “Classic Thanksgiving” flavor profile. We will save extra cinnamon for that final aesthetic dusting over the cream.
Professional Tools for a Picture-Perfect Result
To achieve the “crimped flaky golden pie crust” seen in our visual blueprint, you will need a 9-inch (23cm) deep-dish ceramic pie plate. A glass or ceramic plate conducts heat evenly, which is vital for browning the bottom of the crust.
A pastry cutter or food processor is essential for incorporating the butter without melting it with your hands. Finally, ensure you have pie weights or dried beans for the blind-baking phase to prevent the crust from shrinking down the sides of the dish.
How to Master the Hand-Crimped Butter Crust
Phase 1: Cutting the Fat and Chilling
In a large bowl, combine your flour and a pinch of salt. Add the chilled, cubed butter (225g / 1 cup) and use a pastry cutter to work the fat until the largest pieces are the size of peas.
Drizzle in ice-cold water (60ml to 120ml / ¼ to ½ cup) one tablespoon at a time, mixing until the dough just holds together. Wrap the dough tightly and chill for at least 1 hour; this allows the gluten to relax, preventing the crust from being tough.
Phase 2: Rolling and Crimping for Aesthetic Appeal
On a floured surface, roll the dough into a 12-inch (30cm) circle. Carefully drape it over your ceramic plate, leaving an inch of overhang.
Fold the overhang under itself to create a thick border resting on the rim. Use your thumb and forefinger to “crimp” the edges into a decorative flute, which will turn golden and crisp in the oven.
The Secret to a Velvety Burnt-Orange Filling
Phase 3: Whisking the Custard Base
In a medium bowl, whisk the pumpkin purée (425g / 15 oz) with the dark brown sugar (150g / ¾ cup) and spices. The mixture should look dark and glossy.
Add the eggs one at a time, followed by the evaporated milk (354ml / 12 oz). Whisk gently to avoid creating air bubbles, which can cause the surface of your Thanksgiving pie recipes to crack during baking.
Phase 4: The Two-Stage Bake
Preheat your oven to 425°F (220°C). Pour the filling into your pre-baked crust. Bake at this high heat for 15 minutes to “set” the edges and develop the golden color of the crust.
Lower the temperature to 350°F (175°C) and continue baking for 35-40 minutes. Look for the “Visual Cue”: the edges should be set and slightly puffed, while the center should still have a slight “jiggle” like gelatin.
Expert Tips for a No-Crack Finish
- Avoid Over-Mixing: When combining the custard, use a whisk or spatula rather than an electric mixer to keep air out of the batter.
- The Carry-Over Cook: Remove the pie from the oven when the center is still wobbly. The residual heat will finish setting the custard as it cools on the counter.
- Room Temp Ingredients: Ensure your eggs and pumpkin are at room temperature before mixing to ensure a perfectly smooth emulsion.
- Tinfoil Shield: If your crimped edges are browning too quickly, loosely cover the perimeter with foil halfway through the bake.
Cooling, Serving, and Proper Storage
Allow the pie to cool completely at room temperature for at least 3 hours. This is the most critical step for achieving the velvety texture described in our blueprint. Chilling it too quickly in the fridge can cause the filling to pull away from the crust.
Once cooled, the pie can be stored in the refrigerator for up to 4 days. For the best flavor, let the slice sit at room temperature for 20 minutes before serving to soften the butter in the crust.
What to Serve With Thanksgiving Pie Recipes
While this pumpkin pie is a showstopper on its own, it fits perfectly into a larger holiday spread. If you are looking for other seasonal treats to round out your table, consider these warm fruit dumplings for those who prefer fruit-forward desserts.
If you need a lighter, chilled option after a heavy turkey dinner, these no-bake dessert inspirations can be adapted with autumnal spices. For a different texture entirely, a classic baked crisp offers a wonderful oat-based crunch that contrasts beautifully with our velvety custard.
Common Questions About Holiday Baking
We recommend 100% pure pumpkin purée. Pie mix contains pre-added sugars and spices that can throw off the ‘burnt-orange’ color and velvety texture of this specific recipe.
Yes, because pumpkin pie is a custard-based dessert containing eggs and milk, it must be refrigerated once it has completely cooled to room temperature.
Use a deep-dish ceramic plate and fold the excess dough under the rim. Use your knuckles or thumb and forefinger to pinch the dough into uniform flutes.
Blind-baking the crust before adding the filling is essential. This sets the pastry so the wet custard doesn’t soak in, ensuring a crisp, golden bottom.
Cracks usually occur from over-baking or air bubbles. Remove the pie while the center still has a slight jiggle and whisk your custard gently to avoid incorporating air.
Classic Velvety Pumpkin Pie Recipe
Thanksgiving pie recipes: The Ultimate Velvety Pumpkin Pie with a Flaky Butter Crust
Ingredients
Equipment
Method
- Combine flour and salt. Cut in chilled butter until pea-sized. Add ice water until dough forms.
- Chill dough for 1 hour. Roll into a 12-inch circle and place in pie plate. Crimp the edges tightly.
- Whisk pumpkin, brown sugar, spices, eggs, and evaporated milk until velvety and smooth.
- Pour into crust. Bake at 425°F (220°C) for 15 mins, then 350°F (175°C) for 35-40 mins until center slightly jiggles.
- Once cooled, add a dollop of whipped cream and a dusting of cinnamon for the final visual finish.
Notes
Do not over-bake; the center should have a slight wobble when removed.
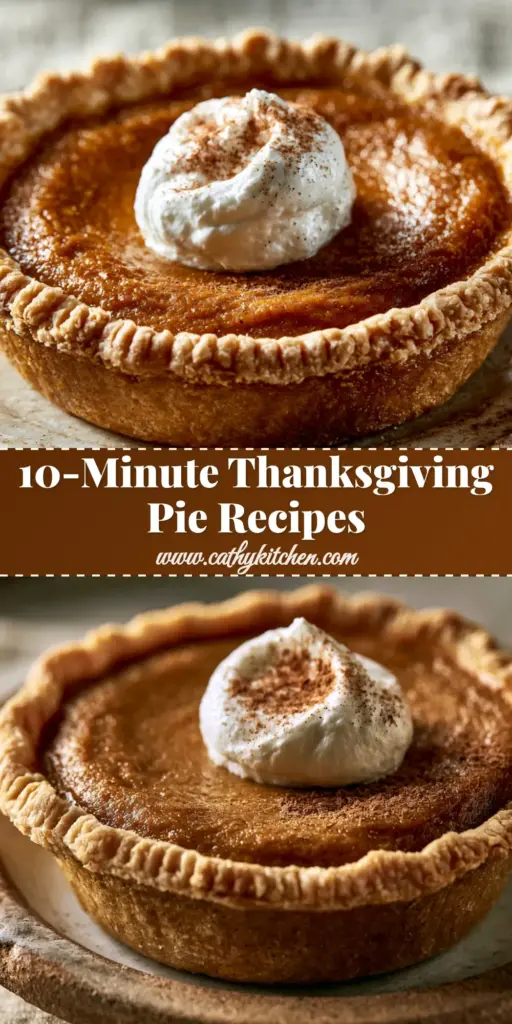
The Final Touch: Whipped Cream and Cinnamon
To achieve the exact look of our Midjourney prompt, wait until just before serving to add the dollop of fresh whipped cream. Use a heavy cream with at least 36% fat content for a stable, cloud-like peak.
Hold a fine-mesh sieve over the pie and add a teaspoon of ground cinnamon. Tap the side of the sieve gently to create that “light dusting” that defines professional Thanksgiving pie recipes. This final step adds a pop of warmth to the burnt-orange custard and makes every slice a work of art.
Did you make this recipe? We would love to see your results! Tag us on social media or leave a comment below with your favorite holiday baking memories. Don’t forget to follow our Pinterest for more inspiration!