When the sun is blazing and the kitchen feels like a furnace, the last thing any home cook wants to do is preheat the oven. These No-bake summer desserts are the absolute gold standard for seasonal entertaining, offering a cool, creamy reprieve from the heat without sacrificing a single ounce of gourmet flair.
Imagine a dessert that combines the structural integrity of a buttery, pressed graham cracker crust with the ethereal lightness of a whipped cream cheese cloud. Topped with a vibrant, ruby-red layer of macerated strawberries and a translucent glaze that catches the natural sunlight, these bars are as visually stunning as they are delicious.
Whether you are hosting a backyard barbecue or looking for the perfect follow-up to a light summer garden pasta, these cheesecake bars deliver a professional-grade finish that looks like it came from a high-end patisserie. Let’s dive into the forensic details of making this chilled masterpiece.
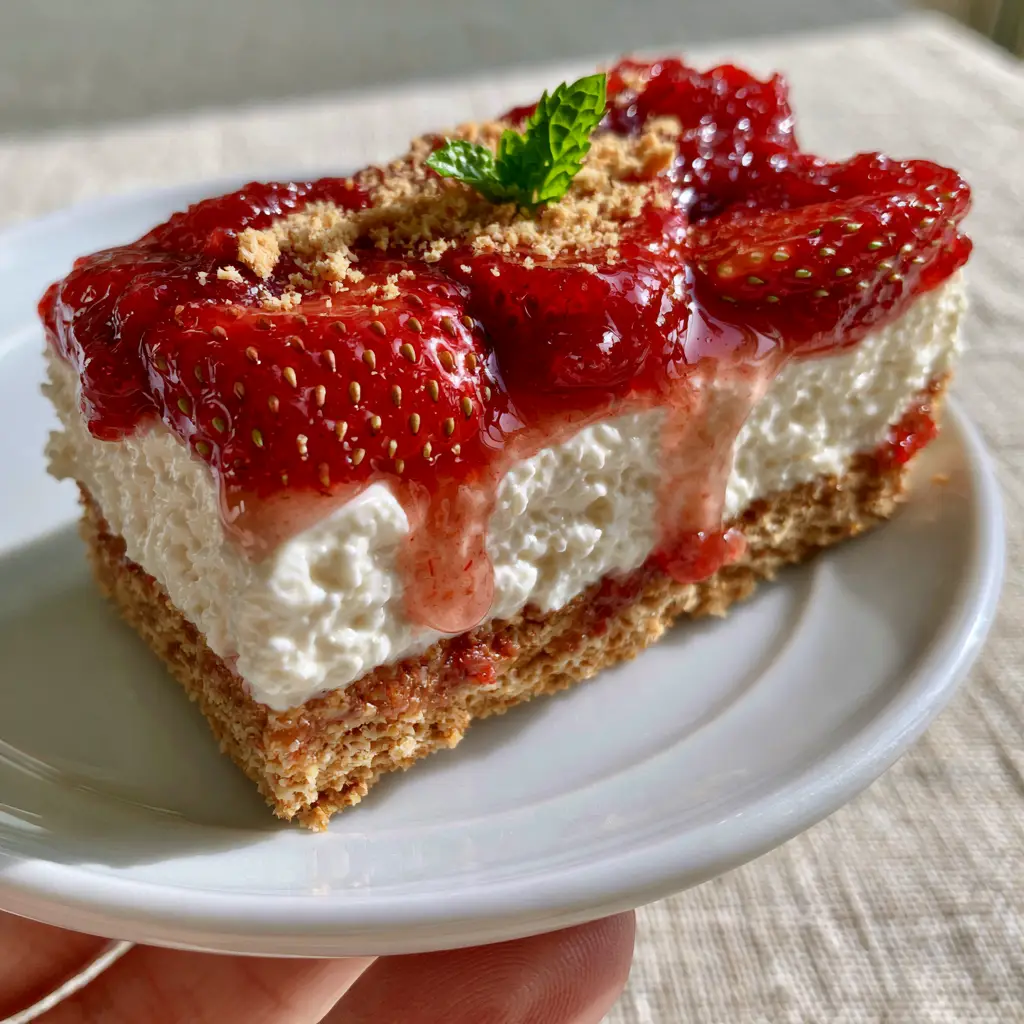
The Visual Anatomy of a Perfect Summer Cheesecake Bar
- Structural Contrast: A thick, golden-brown graham cracker base provides a crunchy foundation for the velvety layers above.
- The Snow-White Center: A dense, whipped cream cheese layer that maintains its shape while remaining soft enough to melt on the tongue.
- High-Gloss Finish: A translucent strawberry reduction glaze that pools around the fruit and artfully drips down the sides.
- Macro Details: Macerated strawberry slices where every tiny seed is visible, finished with a delicate dusting of graham cracker “sand” and a pop of green mint.
The Master Ingredient List for Chilled Success
To achieve the specific textures seen in our visual blueprint, we need a combination of structural fats and natural thickeners. Every ingredient serves a precise culinary purpose in this no-bake architecture.
For the Compressed Graham Foundation:
2 cups (200g) Graham Cracker Crumbs: These provide the earthy, honey-sweet base. Use finely pulsed crumbs to ensure the crust doesn’t crumble when sliced.
1/2 cup (115g) Unsalted Butter, Melted: The “glue” that binds the crumbs. As it chills, the butter solidifies, creating that signature “snap.”
2 tbsp (25g) Granulated Sugar: Adds a touch of extra sweetness and helps with the structural “crunch” through slight crystallization.
For the Velvety Whipped Cloud Layer:
16 oz (450g) Full-Fat Cream Cheese, Softened: This must be room temperature to avoid lumps. It provides the tangy, dense body of the filling.
1.5 cups (360ml) Heavy Whipping Cream, Cold: When whipped to stiff peaks, this introduces air, transforming the dense cheese into a snow-white mousse.
1 cup (120g) Powdered Sugar: Provides sweetness and contains a hint of cornstarch, which helps stabilize the no-bake filling.
1 tsp (5ml) Vanilla Bean Paste: Those tiny black specks offer a visual cue of high quality and deep floral flavor.
1 tbsp (15ml) Lemon Juice: The acid reacts with the proteins in the cream cheese to help the filling “set” firmly without gelatin.
For the Ruby-Red Strawberry Topping & Glaze:
1 lb (450g) Fresh Strawberries, Sliced: Look for deep red berries for the best visual impact.
1/4 cup (50g) Granulated Sugar: Used for macerating the berries to draw out their natural juices.
1/2 cup (120ml) Strawberry Puree or High-Quality Jam: This forms the base of our glossy, translucent reduction glaze.
1 tsp (5g) Cornstarch dissolved in 1 tbsp water: The secret to that thick, dripping glaze that clings to the sides of the bars.
The Final Garnishes:
Fresh Mint Sprigs: For a vibrant green contrast against the ruby red.
Extra Graham Cracker Dust: To add a professional “finished” look to the plate.
Essential Tools for Professional Results
Achieving a perfectly rectangular, handheld bar requires the right equipment. A 9×9 inch (23x23cm) square baking pan is ideal, but for the cleanest edges, a springform pan or a removable-bottom tart pan is even better.
You will also need a high-speed hand mixer or stand mixer to aerate the cream cheese and heavy cream. An offset spatula is your best friend here; it allows you to smooth the snow-white filling into a perfectly level horizon before adding the fruit.
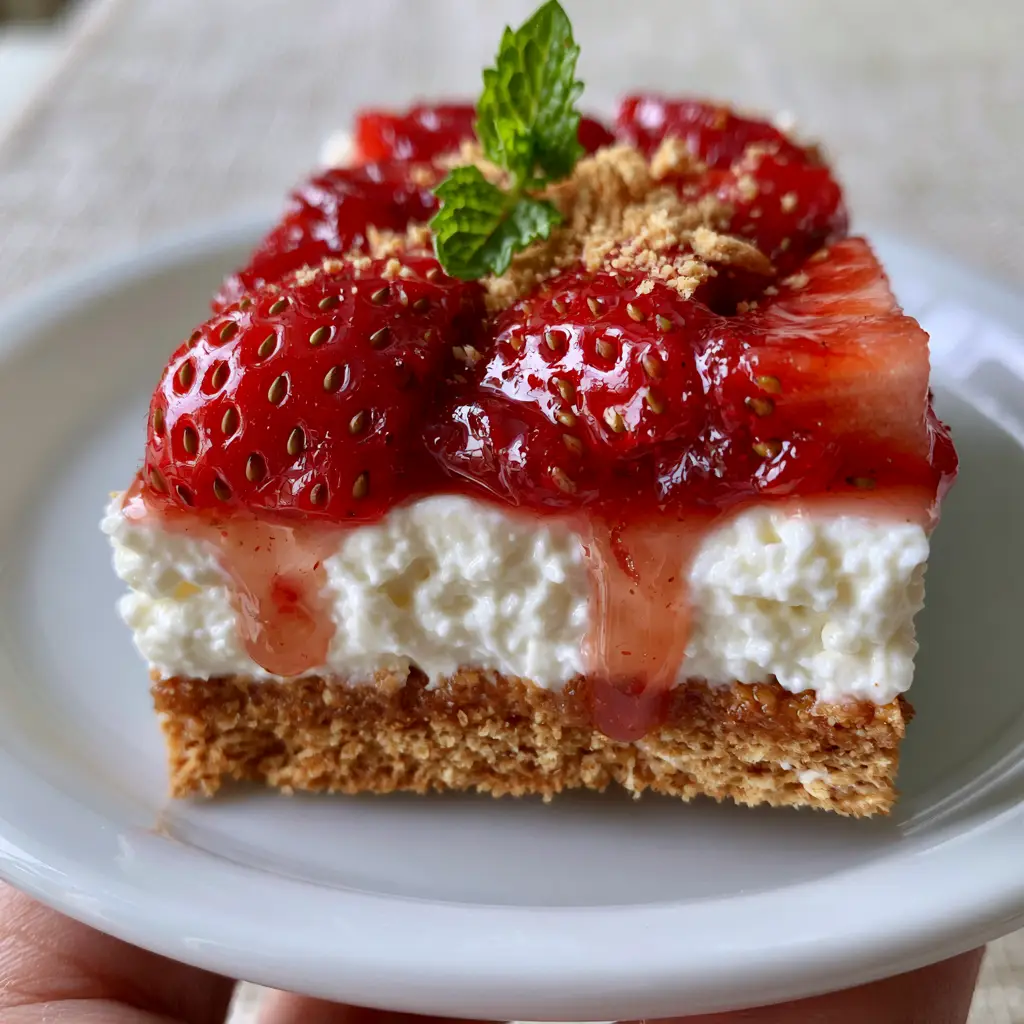
Step-By-Step Construction of the Strawberry Bars
Phase 1: Engineering the Pressed Crust
In a medium bowl, combine the graham cracker crumbs, melted butter, and sugar. Stir until the mixture resembles wet sand and holds its shape when squeezed.
Transfer the mixture to your lined pan. Use the bottom of a flat measuring cup to press the crumbs firmly into the corners and base. This compression is vital for a “handheld” bar. Chill in the freezer for 15 minutes to set the butter.
Phase 2: Whipping the Velvet Filling
In a large bowl, beat the softened cream cheese and powdered sugar until completely smooth and aerated. In a separate chilled bowl, whip the heavy cream to stiff peaks.
Gently fold the whipped cream into the cream cheese mixture using a spatula. Add the lemon juice and vanilla. The mixture should be thick, white, and hold its shape. Spread this over the chilled crust, smoothing the top with your offset spatula.
Phase 3: Crafting the Glossy Macerated Topping
Toss your sliced strawberries with granulated sugar and let them sit for 20 minutes. You will see the “ruby” juice begin to pool—this is maceration. Drain the excess juice into a small saucepan.
Add the strawberry puree to the saucepan and bring to a simmer. Whisk in the cornstarch slurry and cook for 1-2 minutes until thick and translucent. This is your glossy reduction. Let it cool slightly so it doesn’t melt the cream cheese.
Phase 4: The Final Assembly and Chill
Arrange the macerated strawberry slices in overlapping rows across the top of the cream cheese. Pour the cooled strawberry glaze over the fruit, ensuring it fills the gaps between the seeds. Chill the entire tray for at least 6 hours, or ideally overnight, to ensure a clean slice.
Expert Tips for the Perfect Slice
- The Clean Cut: Dip a sharp knife in hot water and wipe it dry between every single cut. This ensures the white filling doesn’t smudge onto the ruby glaze.
- Temperature Control: Never add the glaze while it is hot. It should be room temperature—still pourable but not warm enough to break the cream cheese emulsion.
- Stability: If your kitchen is very humid, you can add a teaspoon of instant gelatin to the cream cheese mix for extra “handheld” insurance.
- Garnish Timing: Add the fresh mint sprig and the graham cracker dust only seconds before serving to prevent the mint from wilting and the dust from becoming soggy.
Storage and Make-Ahead Instructions
These No-bake summer desserts actually improve with time as the crust softens slightly and the flavors marry. You can store them in an airtight container in the refrigerator for up to 4 days.
While you can freeze the base and the cream cheese layer for up to a month, we do not recommend freezing the fresh strawberry topping. The berries will lose their structural integrity and become mushy upon thawing, destroying that beautiful “visible seed” aesthetic.
Seasonal Pairings and Serving Suggestions
These bars are the perfect conclusion to a variety of summer meals. If you’ve just enjoyed a bowl of lemony summer squash pasta, the strawberry acidity will cleanse the palate beautifully.
For a larger gathering, serve these alongside other picnic classics like chicken bacon ranch pasta salad or a refreshing watermelon feta salad. The contrast between the salty salad and the sweet, creamy bars is a crowd-pleasing combination.
If you’re feeling adventurous with your fruit desserts, you might also enjoy our peach dumplings or a warm peach crisp, but for the hottest days of August, the no-bake method is unbeatable.
Frequently Asked Questions
While you can use frozen berries for the cooked reduction glaze, we highly recommend fresh strawberries for the top layer to achieve the visible seeds and firm texture shown in the photos.
Not necessarily. This recipe relies on the high fat content of cream cheese and heavy cream, along with the acidity of lemon juice, to set firmly enough to be handheld without gelatin.
The key is to compress the graham cracker crust firmly using a flat object and to ensure the cream cheese filling is fully chilled (at least 6 hours) so the fats can solidify into a stable structure.
This usually happens if the heavy cream wasn’t whipped to stiff peaks before folding, or if the cream cheese was whipped for too long, causing it to break down. Adding a splash of lemon juice helps stabilize the proteins.
The Ultimate No-Bake Strawberry Cheesecake Bar Recipe
No-bake summer desserts: The Ultimate Glazed Strawberry Cheesecake Bars
Ingredients
Equipment
Method
- Combine graham cracker crumbs, melted butter, and sugar. Press firmly into a lined 9x9 pan.
- Place in the freezer for 15 minutes to set while preparing the filling.
- Beat softened cream cheese and powdered sugar until smooth and light.
- In a separate bowl, whip heavy cream to stiff peaks, then gently fold into the cream cheese mixture with lemon juice and vanilla.
- Spread the filling over the crust and smooth with an offset spatula. Chill for 1 hour.
- Toss strawberries with sugar. Let sit for 20 minutes to release juices.
- Simmer strawberry puree and juice with the cornstarch slurry until thick and translucent. Let cool.
- Arrange strawberries on the cheesecake and pour the glaze over. Chill for at least 6 hours before slicing.
Notes
Ensure the cream cheese is truly room temperature to avoid a lumpy texture.
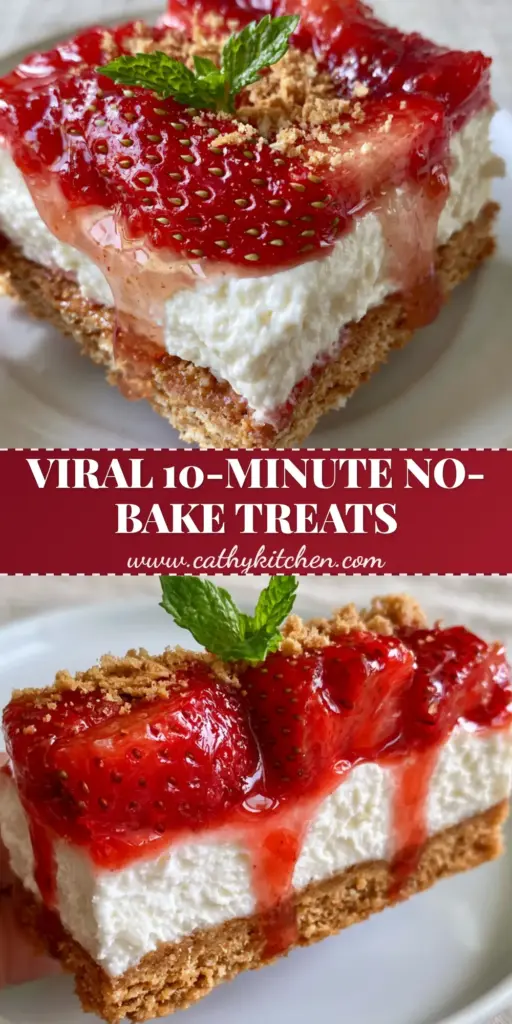
Experience the Taste of Summer
There is something deeply satisfying about a dessert that requires zero oven time yet delivers such a high-impact visual and flavor profile. These strawberry bars are a testament to the power of simple, high-quality ingredients treated with professional technique.
The next time the forecast calls for a heatwave, don’t reach for the oven mitts. Reach for the cream cheese and the freshest berries you can find. Your guests will be amazed that something this beautiful didn’t require a single minute of baking.
If you loved this recipe, please leave a comment below and share your photos with us! Don’t forget to follow our latest culinary adventures on Pinterest for more inspiration.