There is a specific kind of magic that happens when toasted rolled oats meet a melted brown sugar base. These chocolate chip oatmeal cookie bars are not your average crumbly snack; they are a dense, decadent, and visually stunning dessert designed to be the centerpiece of your white ceramic baking dish.
Imagine lifting a thick, square-cut bar while the morning light catches the glistening moisture of semi-melted dark chocolate chunks. The contrast between the rustic, textured top and the soft, chewy center creates a sensory experience that rivals any high-end bakery offering.
By focusing on high-quality ingredients and specific culinary techniques like pre-toasting your oats, we elevate the humble oatmeal bar into a gourmet treat. Every bite delivers a balance of caramelized sugar, nutty oats, and the sharp hit of flaky sea salt garnish that cuts through the richness perfectly.
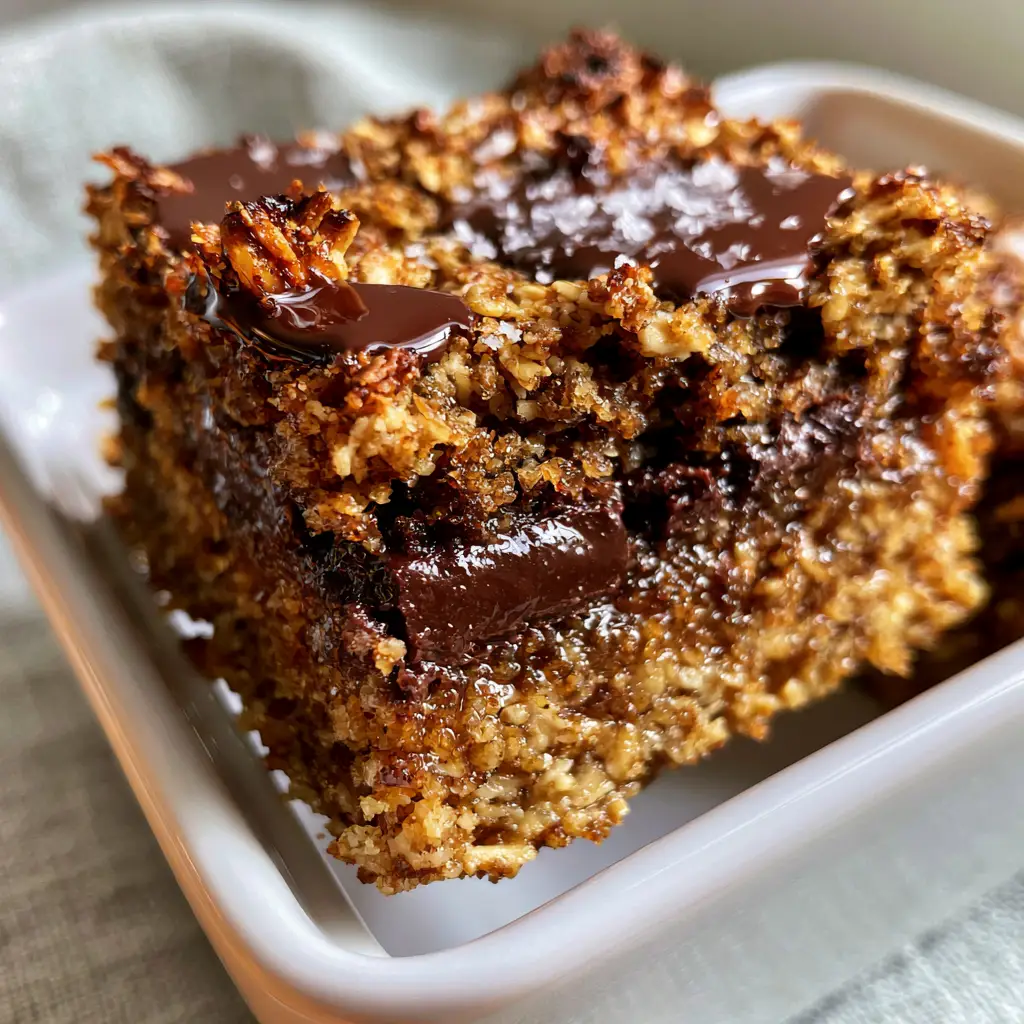
The Anatomy of a Perfect Oatmeal Cookie Bar
- Unrivaled Texture: A meticulously tested ratio of fats to sugars ensures a soft chewy center that stays moist for days.
- Gourmet Visuals: We achieve those iconic golden-brown baked edges and rustic textured surfaces seen in professional food photography.
- Depth of Flavor: By using dark chocolate chunks instead of standard chips, you create those deep, luxurious pools of chocolate that define a world-class dessert.
- Salty-Sweet Balance: The addition of flaky sea salt isn’t just a garnish; it’s a functional ingredient that enhances the profile of the toasted oats.
The Pantry Essentials for Maximum Chewiness
Toasted Old Fashioned Rolled Oats: You will need 3 cups (300g) of oats. Toasting them in the oven before mixing is the secret to the deep nuttiness and structural integrity of these chocolate chip oatmeal cookie bars.
Melted Unsalted Butter: Using 1 cup (225g) of melted butter instead of creamed butter creates a denser, fudgier texture. This foundational fat provides the glistening moisture visible in the final bake.
Dark Brown Sugar: We use 1.5 cups (330g) to provide that deep molasses flavor and essential moisture. It is the primary engine behind the soft chewy center and the caramelized, golden-brown edges.
Dark Chocolate Chunks: Use 1.5 cups (250g) of hand-chopped chocolate bars. Chunks have a different melting point than chips, resulting in the semi-melted dark chocolate chunks that look so appetizing in the visual blueprint.
Pure Vanilla Extract: 1 tablespoon (15ml) acts as a flavor enhancer. It bridges the gap between the earthy oats and the intense dark chocolate.
Flaky Sea Salt: A generous pinch for the garnish. It provides a crystalline visual texture and a sharp contrast to the melted brown sugar base.
All-Purpose Flour: 1.5 cups (190g) provides the necessary structure. It acts as the “glue” that holds the heavy inclusions like oats and chocolate together without becoming cakey.
Large Egg & One Yolk: The extra yolk is a professional secret. It adds fat and lecithin, ensuring the bars remain fudgy rather than crumbly when cut into thick squares.
Kitchen Tools for Professional Results
To achieve the macro-level beauty of these bars, a 9×9 inch (23x23cm) white ceramic baking dish is essential. The ceramic material provides gentle, even heat distribution, which is critical for preventing the edges from becoming too hard while the center stays soft.
You will also need parchment paper to create a “sling.” This allows you to lift the entire block of bars out of the dish cleanly, ensuring those sharp, square-cut edges seen in the handheld smartphone photography style of our visual guide.
A heavy-bottomed skillet is recommended for toasting the oats if you prefer the stovetop method, though the oven method is more consistent for large batches. Finally, a sharp chef’s knife is non-negotiable for creating those clean, eye-level shots of the interior texture.
A Masterclass in Toasted Oat Perfection
Phase 1: Developing the Nutty Foundation
Preheat your oven to 350°F (175°C). Spread your rolled oats on a baking sheet and toast for 8-10 minutes. You are looking for a fragrant aroma and a slight change in color; this step ensures the oats remain distinct and textured within the dough.
Phase 2: Constructing the Melted Base
In a large bowl, whisk together the melted butter and dark brown sugar. Whisk vigorously for 2 minutes until the mixture looks glossy and smooth. This step ensures the sugar is partially dissolved, leading to that “glistening moisture” mentioned in the visual prompt.
Add the egg, extra yolk, and vanilla extract. Beat until the mixture lightens slightly in color. This aeration provides just enough lift to keep the bars from being too heavy while maintaining a dense foundation.
Phase 3: Folding and Incorporating
Gently fold in your toasted oats, flour, and baking soda. Use a spatula to ensure no dry pockets remain. Finally, fold in 1 cup of the dark chocolate chunks, reserving the remaining half cup for the top surface.
Phase 4: Achieving the Visual Surface
Press the dough evenly into your prepared white ceramic baking dish. Press the remaining chocolate chunks into the surface, ensuring some are partially exposed. This technique creates the “extra melted chocolate pools” that make the macro photography look so enticing.
Bake for 22-25 minutes. Look for the specific sensory cue: the edges should be a deep golden-brown and slightly pulled away from the sides, while the center should still have a slight jiggle when the pan is moved.
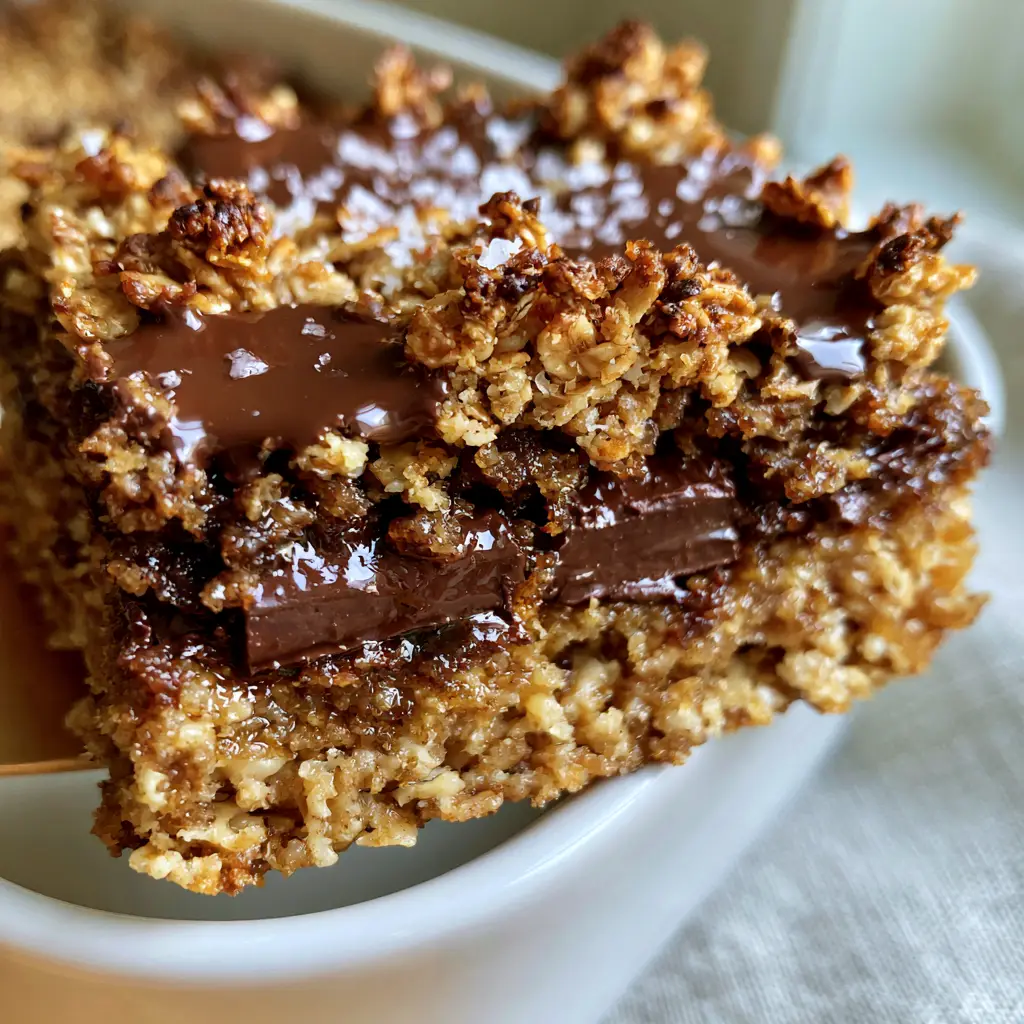
Pro-Tips for That Visual Wow Factor
- The “Tap” Method: Halfway through baking, gently tap the baking dish against the oven rack. This deflates any air bubbles, ensuring the bars stay dense and chewy rather than cake-like.
- The Salt Timing: Apply the flaky sea salt immediately after the dish comes out of the oven. The residual heat from the melted chocolate pools will help the salt crystals adhere.
- Cooling is Cooking: Do not cut these bars while hot. They need at least 2 hours to set. This patience results in the clean, thick, square-cut appearance required for an authentic, unedited look.
- Quality Chocolate: Use a chocolate bar with at least 60% cocoa. The higher cocoa butter content allows for that semi-melted, flowing texture even after the bars have cooled slightly.
Keeping Your Bars Fresh and Fudgy
These chocolate chip oatmeal cookie bars are incredibly resilient. Store them in an airtight container at room temperature for up to 5 days. For the best “just-baked” experience, a 10-second zap in the microwave will revive the melted chocolate pools.
If you want to freeze them, wrap individual square-cut portions in plastic wrap and then place them in a freezer bag. They will stay fresh for up to 3 months. This makes them a great make-ahead option if you are planning a larger spread including a Chinese Chicken Salad or a hearty Loaded Cowboy Salad.
Creative Pairings for Every Occasion
These bars are versatile enough to follow almost any meal. Their rustic, morning-light aesthetic makes them perfect for a brunch spread. Consider serving them alongside a light Frozen Yogurt Bark for a contrast in temperatures and textures.
For a more indulgent dessert experience, crumble a room-temperature bar over a slice of Buster Bar Ice Cream Cake. The combination of cold ice cream and chewy toasted oats is a texture lover’s dream.
If you’re looking for other bar-style inspirations, our Peanut Butter Cup Cookie Bars offer a similar chewy profile with a different flavor twist that is equally optimized for those thick, square-cut photos.
Frequently Asked Questions
While you can, rolled oats provide the rustic texture and structural integrity essential for thick bars. Quick oats will result in a softer, less textured bar.
Yes! Toasting the oats for 8-10 minutes adds a deep, nutty flavor and prevents the oats from absorbing too much moisture, keeping the bars chewy rather than mushy.
The key is using hand-chopped dark chocolate chunks and pressing a few extra pieces into the surface of the dough immediately before baking.
This usually happens due to over-baking or over-measuring the flour. Ensure you use the ‘spoon and level’ method for flour and look for a slight jiggle in the center before removing from the oven.
Ceramic retains heat more evenly than metal, which helps achieve those perfectly golden-brown edges without burning, while keeping the interior dense and moist.
The Ultimate Chocolate Chip Oatmeal Cookie Bars Recipe
Chocolate Chip Oatmeal Cookie Bars: The Thick, Chewy, and Salty Gold Standard
Ingredients
Equipment
Method
- Preheat oven to 350°F (175°C). Spread oats on a sheet pan and bake for 8-10 minutes until fragrant and golden.
- Whisk melted butter and brown sugar until glossy. Add egg, yolk, and vanilla, whisking until combined.
- Fold in flour, baking soda, and toasted oats. Stir in 1 cup of chocolate chunks.
- Press dough into a parchment-lined white ceramic dish. Top with remaining chocolate. Bake for 22-25 minutes until edges are golden-brown.
- Sprinkle with flaky sea salt immediately. Cool completely before cutting into thick squares.
Notes
Use a ceramic dish for even browning and a soft center.
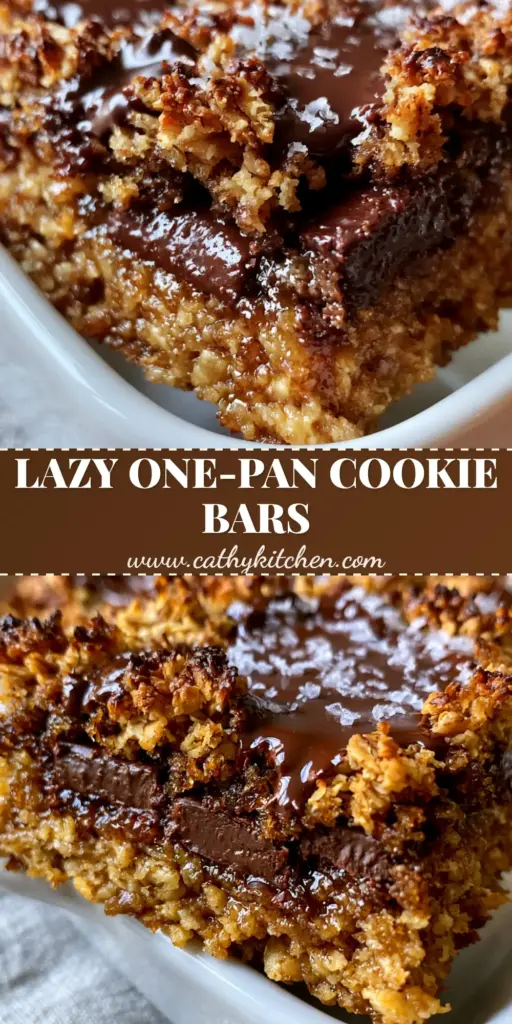
Closing & Call to Action
Mastering these chocolate chip oatmeal cookie bars is a rite of passage for any enthusiastic home cook. The combination of the toasted oats, the melted brown sugar base, and that essential flaky sea salt garnish creates a dessert that is as beautiful as it is delicious. We can’t wait to see how yours turn out in your own ceramic dishes!
If you enjoyed this deep-dive into culinary textures, please leave a comment below and let us know your favorite type of chocolate to use. Don’t forget to follow us on Pinterest and share your creations with our community!