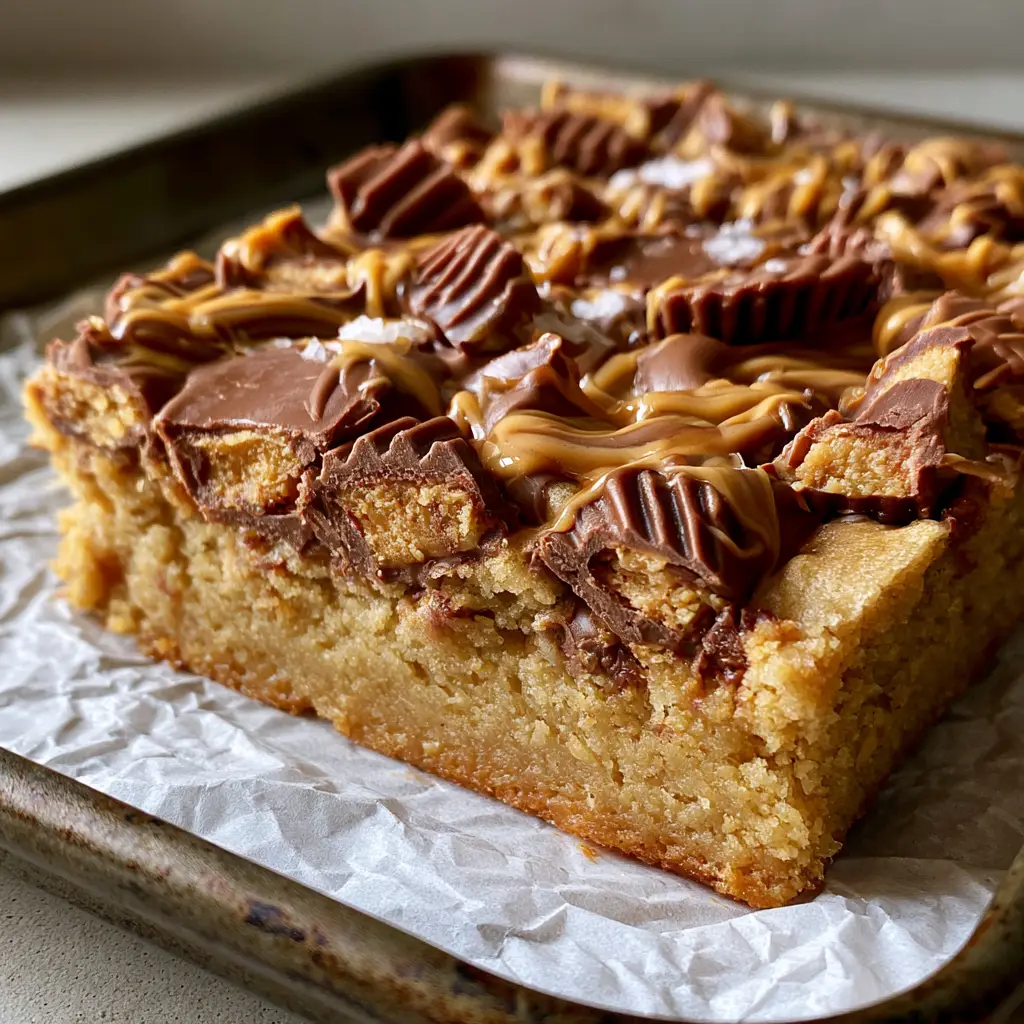
There is a specific kind of magic that happens when you pull a batch of Peanut Butter Cup Cookie Bars out of the oven. Imagine a thick, square bar with a dense, golden-tan chewy blondie base that gives way to a visibly soft, fudge-like gooey center. The aroma of toasted butter and roasting peanuts fills your kitchen, signaling that something truly indulgent is about to happen.
These Peanut Butter Cup Cookie Bars aren’t just another dessert; they are a textural masterpiece. Every bite offers the signature ridged chocolate edges of chopped Reese’s, contrasted against glossy ribbons of peanut butter and a sophisticated finish of flaky sea salt. Whether you are a lifelong peanut butter lover or simply a fan of the perfect underbaked cookie, this recipe is designed to deliver professional-grade results from your home oven.
The Architecture of an Irresistible Peanut Butter Blondie
- The Fudge-Like Core: By utilizing a specific ratio of brown sugar to flour, we achieve an ultra-moist, underbaked center that stays soft for days.
- Visual Texture: The top is heavily layered with chopped Reese’s peanut butter cups, showing off those iconic ridges and creamy interiors.
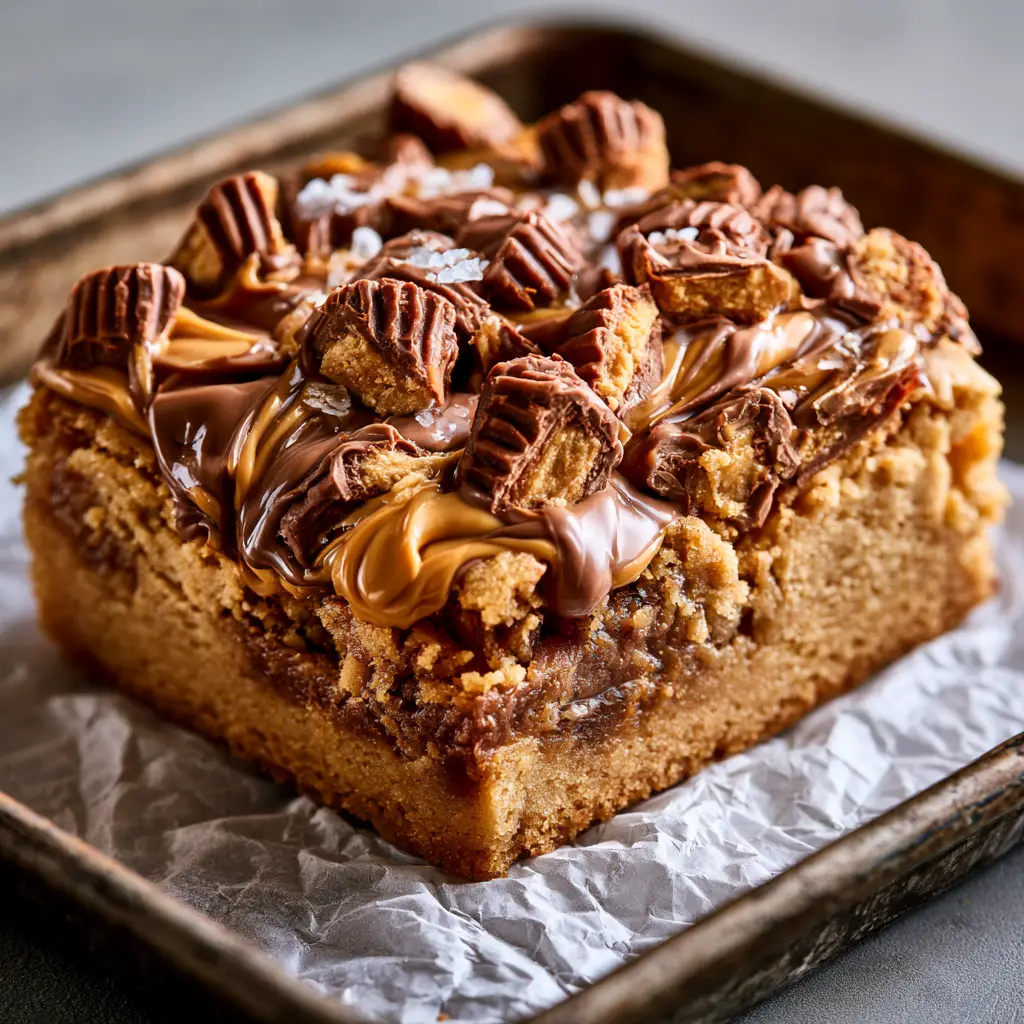
- The Gourmet Finish: Swirls of melted milk chocolate and glossy peanut butter ribbons are drizzled across the surface, making these bars look like they came from a high-end bakery.
- Salt-Sugar Balance: A generous scatter of flaky sea salt cuts through the richness, elevating the peanut flavor and balancing the milk chocolate sweetness.
Essential Components for the Perfect Cookie Bar
Unsalted Butter (1 cup / 225g): We start with melted butter to ensure a dense, fudgy texture rather than a cake-y one. Melting the butter breaks down the milk solids, which helps create that shiny, crackly top we all crave.
Dark Brown Sugar (1.5 cups / 330g): Brown sugar provides the essential moisture and molasses notes needed for a golden-tan chewy blondie base. It is the secret to achieving that deep, caramel-like flavor profile.
Large Eggs (2 plus 1 yolk): The addition of an extra egg yolk is a professional baker’s trick. It increases the fat content, ensuring the center remains fudge-like and decadent even after cooling.
Vanilla Extract (1 tbsp / 15ml): High-quality vanilla acts as a flavor enhancer for the chocolate and peanut butter components. It rounds out the sweetness and adds aromatic depth.
All-Purpose Flour (2.25 cups / 280g): This provides the necessary structure. We use a precise amount to ensure the bars are thick enough to hold the heavy toppings without becoming tough.
Reese’s Peanut Butter Cups (2 cups / 300g): You will need to chop these into varied sizes. Some large chunks provide a “bite,” while smaller shards melt into the dough, creating pockets of peanut butter joy.
Creamy Peanut Butter (1/3 cup / 85g): This is used for the “glossy ribbons” swirled on top. Choose a standard creamy brand (not natural/oil-separating) for the most stable swirl.
Milk Chocolate Chips (1/2 cup / 90g): These are melted down to create the final drizzle. The milk chocolate complements the milk chocolate coating of the peanut butter cups perfectly.
Flaky Sea Salt (1 tsp / 5g): Do not skip the salt. Those few granules scattered on top provide the “pop” that distinguishes an average treat from an elite Peanut Butter Cup Cookie Bar.
The Science of Using a Dark Metal Sheet Pan
To achieve the exact visual described—a golden-brown base with a soft center—the choice of bakeware is critical. We recommend using a dark metal sheet pan or 9×9 square pan. Dark metal absorbs and radiates heat more aggressively than glass or ceramic.
This intense heat transfer is what sears the edges of the dough, creating that firm, chewy perimeter. Meanwhile, the white parchment paper lining provides a non-stick barrier that allows for easy removal and creates a beautiful rustic aesthetic for serving. If you love this type of pan-style baking, you should also check out our chewy chocolate chip oatmeal cookie bars.
Step-by-Step Evolution: From Dough to Masterpiece
Preparing the Golden-Tan Base
In a large bowl, whisk your melted butter and dark brown sugar vigorously for at least two minutes. You want the sugar to begin dissolving into the fat, which creates the foundation for a shiny, “crinkled” top. Add the eggs, the extra yolk, and the vanilla, whisking until the batter is smooth and slightly pale.
Gently fold in your dry ingredients. Do not overmix here! Overmixing develops gluten, which would turn our fudge-like center into something bread-like. Stop just when the last streak of flour disappears into the golden dough.
Integrating the Textural Elements
Take 1.5 cups (225g) of your chopped Reese’s peanut butter cups and fold them into the dough. The variety in size is key; you want those ridged chocolate edges to be visible. Spread the thick dough into your parchment-lined dark metal pan, smoothing it with an offset spatula.
Once even, press the remaining 0.5 cups (75g) of chopped cups into the surface. This ensures the visual recipe blueprint of a top “heavily layered” with candy is achieved.
Creating the Signature Swirls
Drop small dollops of the creamy peanut butter onto the surface of the dough. Use a toothpick or a butter knife to gently pull the peanut butter through the dough, creating glossy ribbons. Be careful not to over-swirl; you want distinct “ribbons,” not a muddy mixture.
The Critical Bake and Sensory Cues
Bake at 350°F (175°C) for 25-30 minutes. Look for the “Visual & Sensory Cues”: the edges should be a deep golden-brown and slightly pulled away from the parchment, while the center should still have a slight “jiggle” when the pan is nudged. This jiggle is the hallmark of the fudge-like underbaked center.
The Final Artistic Flourish
While the bars cool in the pan, melt your milk chocolate in 30-second intervals in the microwave. Once glossy and smooth, use a spoon to create a melted milk chocolate drizzle in a zig-zag pattern across the entire pan. Immediately sprinkle the flaky sea salt over the wet chocolate so it adheres.
Expert Strategies for Cookie Bar Success
- The Parchment Overhang: Always leave two inches of white parchment paper hanging over the sides of the dark metal pan. This acts as a “sling,” allowing you to lift the entire block of Peanut Butter Cup Cookie Bars out once cooled without breaking the soft center.
- Temperature Control: Ensure your eggs are at room temperature. Cold eggs can seize the melted butter, leading to an uneven texture in the blondie base.
- The Waiting Game: These bars MUST cool for at least one hour before slicing. Because the center is fudge-like and underbaked, slicing too early will result in a mess rather than clean, thick squares.
- Knife Cleanliness: For those perfect macro-photography-ready slices, wipe your knife with a warm, damp cloth between every single cut.
Managing and Storing Your Decadent Creation
These bars are remarkably shelf-stable thanks to their high fat and sugar content. Store them in an airtight container at room temperature for up to 4 days. If you prefer an even denser, more truffle-like texture, store them in the refrigerator.
To freeze, wrap individual squares in plastic wrap and place them in a freezer-safe bag for up to 3 months. To reheat, simply pop a bar in the microwave for 10-15 seconds to restore that “just out of the oven” gooeyness. If you enjoy cold desserts, you might also love our Buster Bar ice cream cake.
Perfect Pairings for a Dessert Spread
If you are serving these Peanut Butter Cup Cookie Bars at a gathering, balance the richness with some lighter options. We love pairing them with a fresh frozen yogurt bark for a cold contrast. For a full “dinner and dessert” menu, consider starting with a light Chinese chicken salad to offset the indulgence of the peanut butter cups.
For a cozy night in, these bars are the perfect follow-up to a comforting plate of slow cooker Lipton onion potatoes. The salty-savory profile of the potatoes prepares the palate perfectly for the sweet and salty blondie finish.
Frequently Asked Questions
Yes, but be aware that glass retains heat differently. You may need to increase the bake time by 3-5 minutes, and the edges may not be as deeply golden-brown as they would be in a dark metal pan.
It is best to use a standard ‘no-stir’ creamy peanut butter. Natural peanut butters that separate can become oily when heated, which prevents the clean, glossy ribbons shown in the photos.
Dark brown sugar is recommended for its higher molasses content, which contributes to the fudge-like center. Light brown sugar works but will result in a milder flavor and slightly less moisture.
Look for a slight jiggle in the center 2-3 inches of the pan when shaken. The edges should be set and golden-brown, but the middle should still look slightly soft.
Cake-y bars usually result from over-measuring flour or over-mixing the eggs. Ensure you use the spoon-and-level method for flour and stop mixing as soon as the dry ingredients are incorporated.
The Ultimate Peanut Butter Cup Cookie Bars Recipe
Peanut Butter Cup Cookie Bars: The Ultimate Fudgy Blondie Recipe
Ingredients
Equipment
Method
- Preheat oven to 350°F (175°C). Line a dark metal pan with white parchment paper, leaving an overhang on the sides.
- In a large bowl, whisk melted butter and dark brown sugar until combined and smooth. Whisk in eggs, egg yolk, and vanilla.
- Gently fold in flour and fine salt until just combined. Stir in 1.5 cups of the chopped Reese's peanut butter cups.
- Spread dough into pan. Top with remaining chopped Reese's. Dollop creamy peanut butter on top and swirl with a knife to create glossy ribbons.
- Bake for 25-30 minutes until edges are golden-brown and the center has a slight jiggle for a fudge-like finish.
- Once cooled slightly, drizzle with melted milk chocolate and sprinkle with flaky sea salt. Cool completely before slicing into thick squares.
Notes
Do not overbake if you want a soft, fudge-like center.
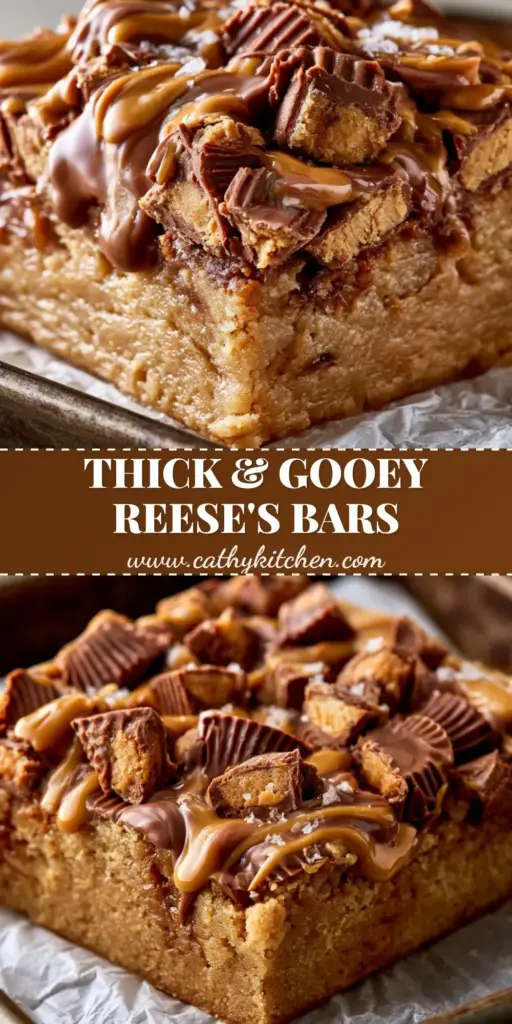
Join the Cathy Kitchen Community!
These Peanut Butter Cup Cookie Bars are guaranteed to be the star of your next bake sale, party, or midnight snack session. The combination of the golden-brown blondie base and the rich Reese’s topping is truly unbeatable. We can’t wait to see your results!
Did you get that perfect fudge-like center? Let us know in the comments below! Don’t forget to sign up for our newsletter for more elite-level recipes, and be sure to share your beautiful bakes to Pinterest so others can enjoy the peanut butter magic too.