There is a specific kind of magic that happens when cold, velvety vanilla bean ice cream meets a cascading river of glossy warm chocolate fudge. The Buster Bar Ice Cream Cake is not just a dessert; it is a structural masterpiece of contrasting temperatures and textures. From the dense, dark chocolate cookie foundation to the crown of golden-roasted salted peanuts, every bite is a nostalgic trip to the best summer afternoons.
When you pull this cake from the freezer, you will notice a slight condensation forming on the plate, a visual cue that the frozen interior is beginning to temper perfectly. The side profile reveals a stunning architecture: a thick one-inch crust, a massive layer of premium vanilla, and that signature heavy fudge drip. This is the ultimate showstopper for any gathering, designed to keep your guests reaching for “just one more sliver.”
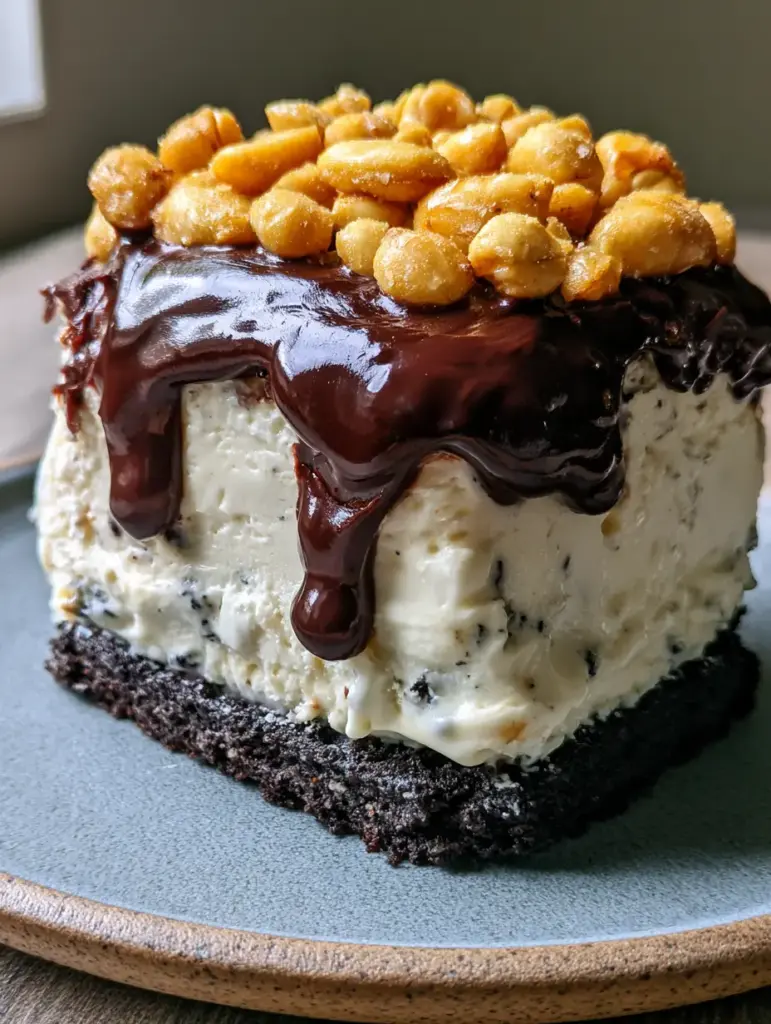
Why This Homemade Buster Bar Ice Cream Cake Outshines the Original
While we all have fond memories of the drive-thru classic, making a Buster Bar Ice Cream Cake at home allows for a level of decadence that commercial versions simply cannot match. By controlling the quality of the ingredients, you ensure that every layer is a premium experience rather than a sugary afterthought.
- The 1-Inch Foundation: Unlike thin, soggy crusts, this recipe utilizes a dense, dark chocolate sandwich cookie base that provides a satisfying, crumbly crunch in every mouthful.
- Visual Vanilla Bean Flecks: By using premium vanilla bean ice cream, you get those beautiful black flecks that signal real flavor and high-quality dairy.
- Glossy Fudge Technology: Our homemade fudge sauce is engineered to be ultra-glossy and thick, creating that heavy, cascading pour that clings to the ice cream without running off.
- Whole Nut Impact: We use whole roasted salted peanuts rather than chopped bits, providing a massive salty-savory contrast to the sweet dark chocolate.
The Essential Elements for a Perfect Buster Bar Ice Cream Cake
To achieve the forensic accuracy required for this dessert, we must look beyond just the flavors and focus on the structural integrity of each component. High-quality fats and proper temperatures are the “invisible” ingredients that make this cake professional-grade.
Dark Chocolate Sandwich Cookies: 36 cookies (approx. 450g). These provide the cocoa-heavy base; ensure you do not remove the cream filling, as it acts as a binder for the crust.
Unsalted Butter, Melted: 1/2 cup (115g). The butter hydrates the cookie crumbs, allowing them to be pressed into a dense, 1-inch thick layer that won’t fall apart when sliced.
Premium Vanilla Bean Ice Cream: 1.5 quarts (1.4L). Look for a brand that lists “vanilla bean” specifically to ensure those iconic black flecks are visible in the side profile.
Heavy Whipping Cream: 1 cup (240ml). This is the base of our glossy fudge, providing the necessary fat content to keep the chocolate smooth and pourable even when chilled.
Dark Cocoa Powder: 1/2 cup (45g). Using a Dutch-processed cocoa will give you that “ultra-glossy dark chocolate” appearance described in our visual blueprint.
Granulated Sugar: 1 cup (200g). Essential for the fudge to create a syrup-like consistency that captures the light and creates a gentle gleam.
Whole Roasted Salted Peanuts: 1.5 cups (225g). These must be whole and golden-roasted to provide the specific aesthetic and crunch required for the “crown” of the cake.
Fine Sea Salt: 1/4 tsp (1.5g). A tiny amount added to the fudge enhances the chocolate notes and bridges the gap to the salted peanuts.
Professional Tools for a Flawless Finish
To recreate the “thick square slice” seen in professional food photography, you need the right equipment to maintain clean lines and even layers. A standard 9×9 inch (23x23cm) square baking pan is the ideal vessel for this Buster Bar Ice Cream Cake.
Line your pan with parchment paper, leaving an overhang on the sides. This “sling” allows you to lift the entire frozen block out for clean slicing. A heavy-duty food processor is also vital for turning the dark chocolate cookies into a uniform, sandy crumble that packs down into a sturdy foundation.
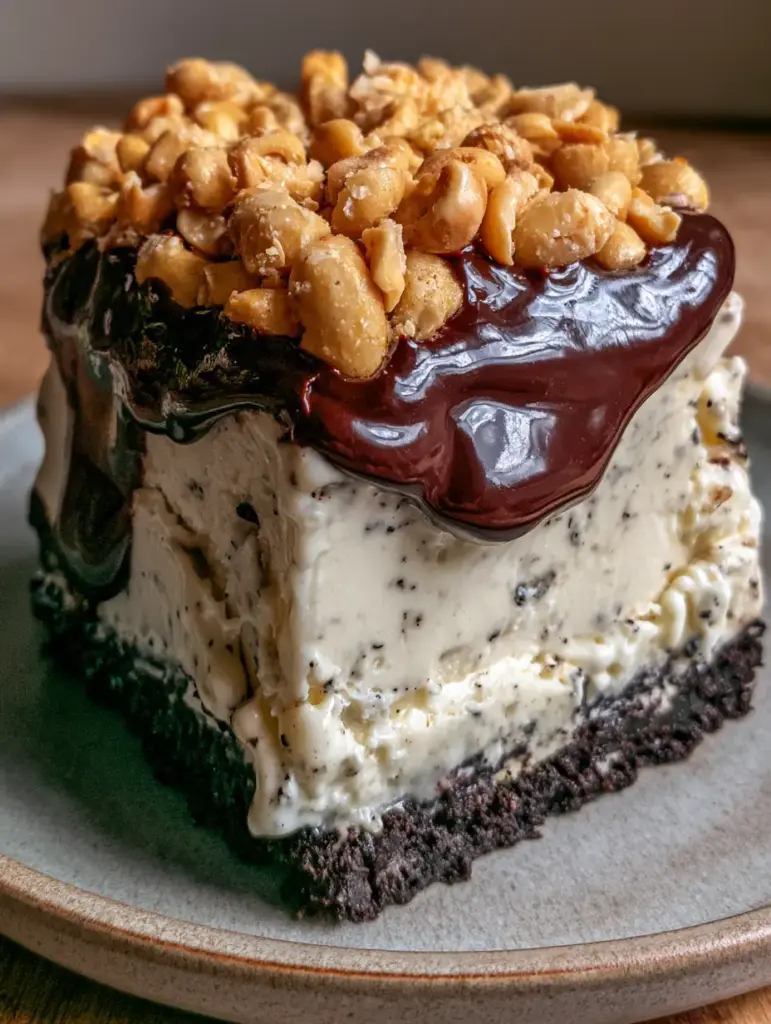
Step-by-Step Architecture of the Buster Bar Ice Cream Cake
Constructing the Dark Cookie Foundation
Begin by pulsing the chocolate sandwich cookies in a food processor until they reach a fine, uniform crumb consistency. Drizzle in the melted butter and pulse again until the mixture resembles wet sand and holds together when pinched.
Transfer the crumbs to your prepared pan and press down firmly. You are aiming for a dense, 1-inch thick layer. Use the bottom of a flat measuring cup to pack the crust tightly, especially into the corners, ensuring a level base for the ice cream to sit upon.
Layering the Massive Vanilla Bean Middle
Remove your vanilla bean ice cream from the freezer and let it sit at room temperature for about 10–15 minutes. You want it to be “velvety” and pliable, but not liquid. If it melts too much, you lose the structural “massive layer” appearance.
Spread the softened ice cream over the crust, using an offset spatula to smooth the top perfectly flat. As you work, you should see the visible black vanilla flecks swirling through the white dairy. Place the pan back in the freezer for at least 2 hours to firm up before adding the fudge.
Crafting the Ultra-Glossy Chocolate Fudge Pour
In a medium saucepan over medium heat, whisk together the heavy cream, sugar, and dark cocoa powder. Bring the mixture to a gentle boil, then reduce the heat and simmer for 5–8 minutes. You will hear the sound of the bubbles thickening into a slow, rhythmic pop.
Once the sauce is thick enough to coat the back of a spoon, remove it from the heat and stir in a tablespoon of butter for extra shine. Let the fudge cool until it is just warm to the touch. It must be pourable and glossy, but not hot enough to melt the ice cream layer instantly.
The Final Crown of Roasted Peanuts
Pour the slightly warm fudge over the cold ice cream, allowing it to naturally cascade toward the edges. While the fudge is still tacky, immediately sprinkle the whole roasted salted peanuts across the top. Press them in very slightly so they are “embedded into the fudge” as per the visual blueprint. Freeze the entire Buster Bar Ice Cream Cake for at least 6 hours, or overnight, for the best slicing results.
Expert Tips for Food-Blog Quality Results
- The Hot Knife Trick: To get that “extreme close-up, side-profile” clean cut, dip a long chef’s knife into a tall glass of hot water, wipe it dry, and make one clean downward stroke. Repeat for every cut.
- Managing Condensation: The “slight condensation on the plate” occurs naturally when a very cold ceramic plate meets humid air. To replicate this, chill your matte grey ceramic plates in the freezer for 10 minutes before serving.
- Fudge Gloss Maintenance: If your fudge looks dull, you likely overcooked it. A splash of corn syrup (optional) can help maintain that high-resolution gleam, but proper simmering usually does the trick.
- Peanut Selection: Avoid “dry roasted” peanuts. You want the oil-roasted variety because the oil creates a barrier that keeps the peanuts crunchy even when sitting on top of the moist fudge.
How to Store and Preserve Your Frozen Masterpiece
Because this Buster Bar Ice Cream Cake relies on specific textures, storage is key. Once the cake is fully frozen and sliced, you can wrap individual squares in plastic wrap and then foil to prevent freezer burn. It will stay fresh and delicious for up to two weeks.
When serving, remember that the ice cream should be “beginning to soften slightly at the edges” to achieve the best mouthfeel. Let the slice sit at room temperature for about 3-5 minutes before diving in. This allows the flavors of the dark chocolate and vanilla bean to really bloom.
What to Serve with This Decadent Dessert
Since this cake is incredibly rich and heavy on the chocolate-peanut profile, it pairs beautifully with a fresh, acidic counterpoint. A vibrant Chinese chicken salad or a crisp loaded cowboy salad makes for a fantastic main course that leaves you craving a cold, sweet finish.
If you are hosting a larger dessert bar, you might also consider offering lighter options like frozen yogurt bark for those who want a smaller frozen treat. For those who can’t get enough of the peanut butter and chocolate combination, these peanut butter cup cookie bars are a great room-temperature alternative to have on the table.
Frequently Asked Questions
While you can, whole roasted salted peanuts provide the specific ‘crown’ aesthetic and a more significant crunch that balances the massive layer of vanilla ice cream.
The key is temperature control. The ice cream must be frozen solid (at least 2 hours), and the fudge must be cooled until it is just barely warm to the touch, not hot, before pouring.
For clean, square slices that hold their shape, the cake needs at least 6 hours in the freezer, though overnight is recommended for the best results.
Standard chocolate sandwich cookies (like Oreos) are best because the cream filling helps bind the crumbs into the dense, 1-inch thick layer required for the foundation.
Glossiness in fudge comes from the proper emulsification of fats and sugars. Simmering the sauce for the full 5-8 minutes ensures the sugar dissolves completely, and adding a touch of butter at the end provides that high-resolution gleam.
The Ultimate Buster Bar Ice Cream Cake Recipe
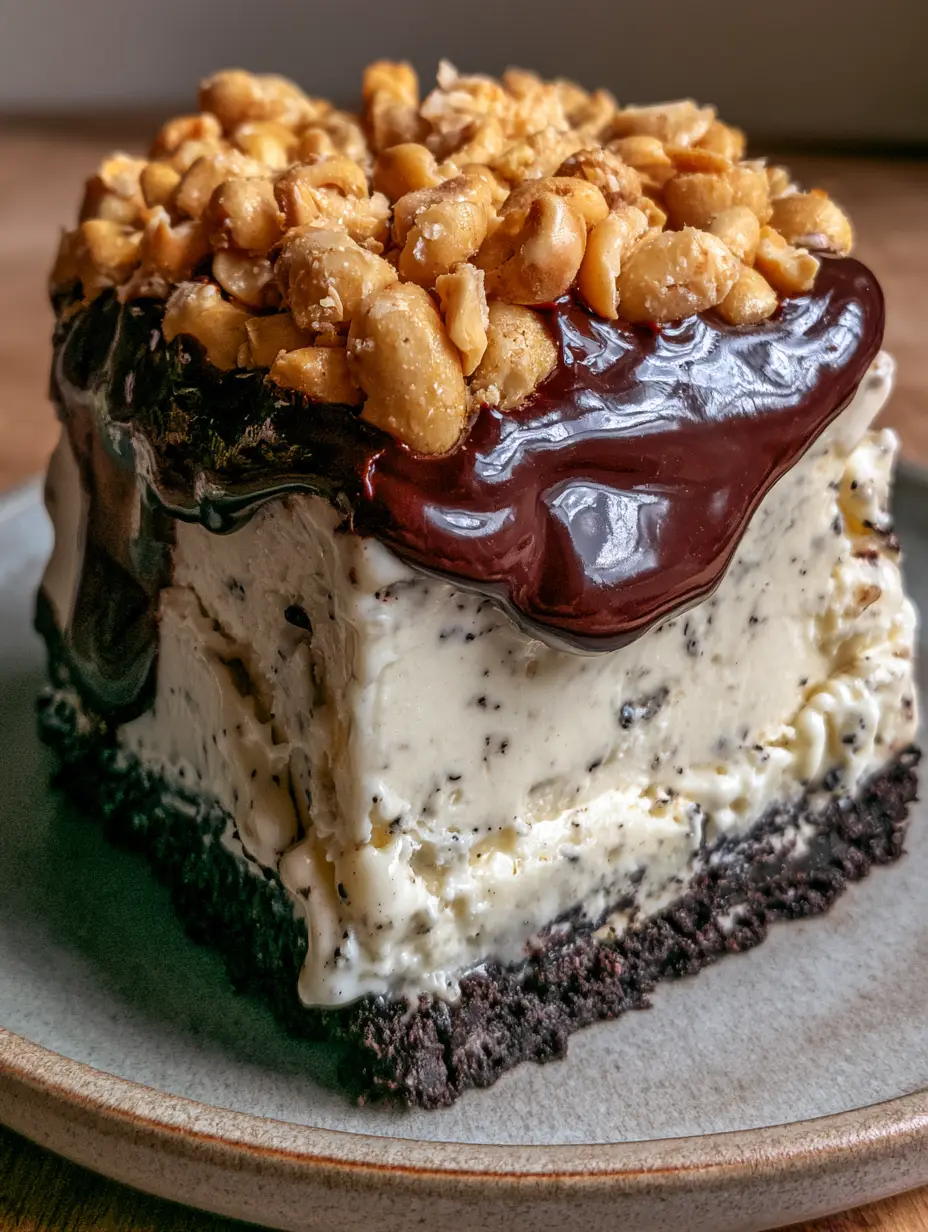
Buster Bar Ice Cream Cake: The Ultimate Layered Frozen Dessert Recipe
Ingredients
Equipment
Method
- Pulse the chocolate sandwich cookies in a food processor until they are fine crumbs. Add melted butter and pulse until the mixture looks like wet sand.
- Press the mixture into the bottom of a parchment-lined 9x9 inch pan, creating a dense 1-inch thick foundation. Freeze for 15 minutes.
- Spread the softened vanilla bean ice cream over the frozen crust. Smooth the top with an offset spatula. Freeze for at least 2 hours until firm.
- In a saucepan, whisk cream, sugar, cocoa, and salt. Simmer for 5-8 minutes until thick and glossy. Let cool until just warm.
- Pour the glossy fudge over the frozen ice cream. Immediately top with whole roasted peanuts. Freeze for 6+ hours before slicing.
Notes
Ensure the peanuts are oil-roasted and salted for the best flavor contrast.
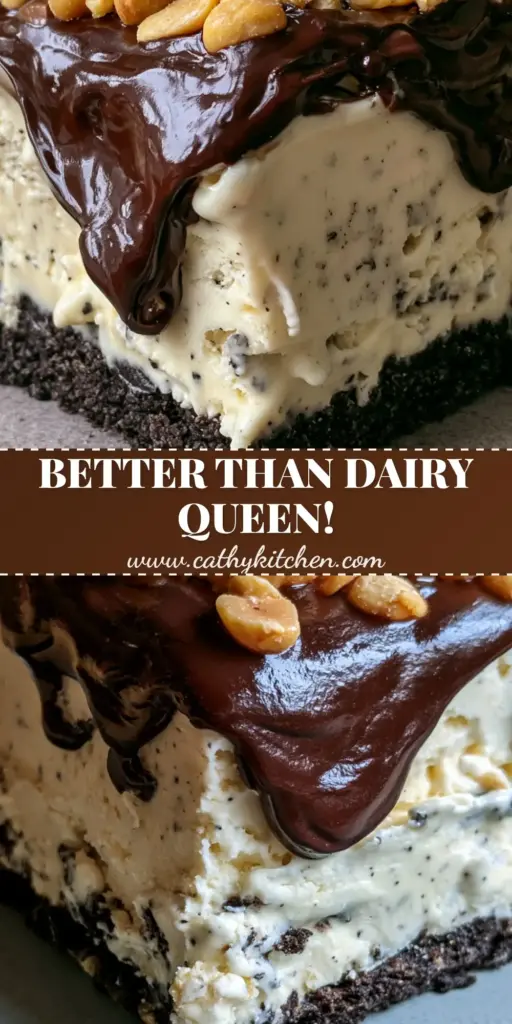
Bringing the Dairy Queen Classic Home
Creating this Buster Bar Ice Cream Cake at home is a rewarding culinary project that yields professional, visually stunning results. The combination of the dark, crumbly cookie crust and the heavy cascading fudge creates a sensory experience that no store-bought cake can replicate. Whether it’s the crunch of the roasted peanuts or the velvety vanilla bean finish, this recipe hits every mark.
If you enjoyed making this showstopping dessert, please leave a comment below and let us know how yours turned out! Don’t forget to share your photos and follow us on Pinterest for more high-RPM recipe inspiration. Happy freezing!