Finding the perfect balance between a healthy vegetable and a satisfying starch can be a challenge, but these air fryer side dishes deliver on every level. Imagine biting into a potato wedge with a jagged, golden-brown crust that shatters under your teeth, paired with broccoli florets that have been transformed into nutty, caramelized bites of heaven.
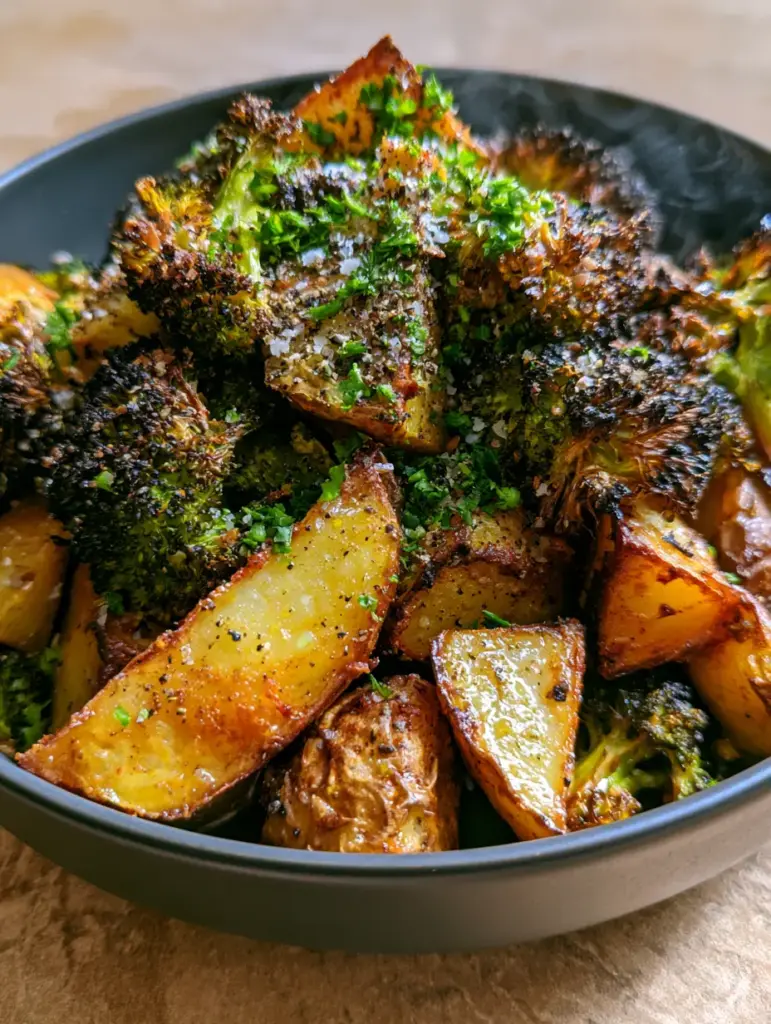
This recipe isn’t just about convenience; it is about utilizing high-velocity convection heat to achieve textures that a traditional oven simply cannot replicate. We are going for that specific “blistered skin” look and “glistening olive oil” finish that makes a meal feel like it came from a high-end bistro.
Whether you are looking for a quick weeknight addition or a show-stopping accompaniment for a dinner party, these air fryer side dishes will become your new gold standard for texture and flavor. Let’s dive into the science of the perfect crunch.
Why You Will Love This Crispy Air-Fried Duo
- Textural Masterclass: You get the contrast between the fluffy interior of the potatoes and the dark, caramelized, crispy tips of the broccoli.
- Visually Stunning: The vibrant green of the fresh parsley against the matte-charcoal bowl creates a professional, restaurant-quality presentation.
- Efficient Cooking: By timing the addition of the vegetables, you can cook your entire side dish in one basket.
- Healthier Crunch: Achieve that deep-fried “shatter” using only a fraction of the oil, thanks to the efficiency of the air fryer.
The Anatomy of Perfect Air Fryer Side Dishes
Russet Potatoes (2 Large): We use Russets because their high starch content is essential for achieving those jagged, extra-crispy edges and a floury, soft interior. If you want to expand your repertoire, check out our collection of air fryer favorites.
Broccoli Florets (3 Cups / 270g): Fresh broccoli is non-negotiable here; the moisture in the florets allows the tips to char and crisp up without becoming mushy.
Extra Virgin Olive Oil (3 tbsp / 45ml): This provides the “glistening sheen” seen in the photos and acts as the heat conductor to blister the potato skins effectively.
Flaky Sea Salt (1 tsp / 5g): We use flaky salt specifically to catch the light and provide a burst of clean salinity that doesn’t disappear into the crust.
Fresh Parsley (2 tbsp / 8g): Finely minced parsley adds a “vibrant green” pop and a hit of freshness that cuts through the rich, roasted flavors.
Cracked Black Pepper (1/2 tsp / 2g): Freshly cracked pepper provides a woody heat that complements the charred broccoli perfectly.
Essential Tools for High-Definition Results
To achieve the “macro shot” quality of this dish, you need an air fryer with a large enough basket to prevent overcrowding. Overcrowding leads to steaming rather than searing. A sharp chef’s knife is also vital for creating those jagged potato edges that catch the heat and turn golden-brown.
A large stainless steel mixing bowl is necessary to ensure every millimeter of the vegetables is coated in a glistening, light oil sheen before they hit the heat. Finally, a matte ceramic serving bowl helps retain the heat and makes the colors of the dish truly pop.
How to Master the Dual-Texture Air Fry Strategy
Preparing the Potatoes for Maximum Blistering
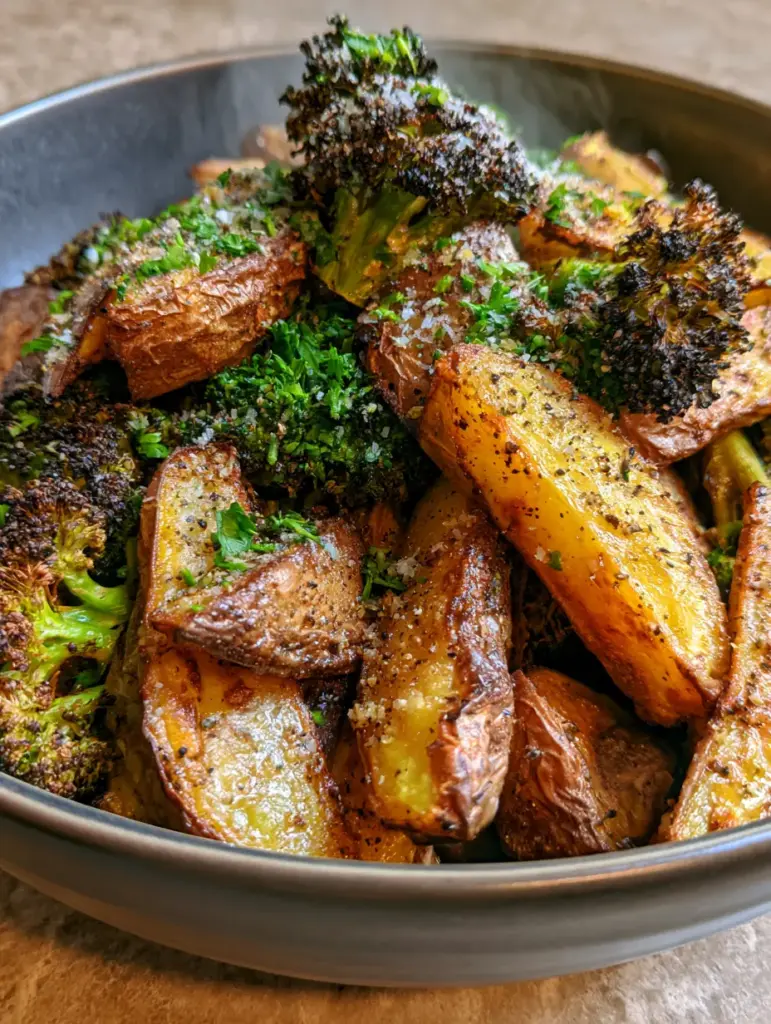
Start by scrubbing your Russet potatoes but leave the skins on; this is the key to that “blistered skin texture.” Cut them into even wedges. For the best results, soak the wedges in cold water for 30 minutes to remove excess surface starch, then pat them completely dry with a lint-free towel.
Dry potatoes are crispy potatoes. If they are even slightly damp, they will steam. Toss the dried wedges with 2 tablespoons (30ml) of the olive oil and half of the salt and pepper until they are glistening.
Achieving the Perfect Broccoli Char
Cut your broccoli into medium-sized florets, keeping the stems short. You want a lot of surface area on the “bushy” part of the floret, as these are the parts that will develop those “dark, caramelized, crispy tips.”
In a separate bowl, toss the broccoli with the remaining 1 tablespoon (15ml) of oil. We season the broccoli separately because it requires less cooking time than the potatoes and we want to ensure even distribution of the oil coating.
The Two-Stage Cooking Process
Preheat your air fryer to 400°F (200°C). Arrange the potato wedges in a single layer in the basket. Air fry for 15 minutes, shaking the basket halfway through. You are looking for the edges to start turning a light golden-brown.
After 15 minutes, add the broccoli florets to the basket with the potatoes. Air fry for an additional 8-10 minutes. Look for “steam wisps” rising and the broccoli tips turning a deep, dark brown. The potatoes should now have jagged, extra-crispy edges.
Chef’s Secrets for Extra-Crispy Success
- Don’t Crowd the Basket: If you have a smaller air fryer, cook in two batches. Air needs to circulate around each wedge to create that “blistered” look.
- The “Dry” Rule: I cannot emphasize this enough—moisture is the enemy of the crunch. Use a salad spinner if necessary to dry your broccoli after washing.
- The Post-Fry Season: Add a final dusting of flaky sea salt and the minced parsley immediately after removing from the heat so the residual oil helps them stick.
- Oil Choice: While olive oil is great for flavor, avocado oil is a fantastic alternative if you want to push the temperature even higher without smoke.
Smart Storage and Reheating Methods
These air fryer side dishes are best enjoyed immediately while the steam is still rising. However, if you have leftovers, store them in an airtight container in the fridge for up to 3 days. To reheat, place them back in the air fryer at 375°F (190°C) for 3-4 minutes to restore the “jagged, golden-brown edges.” Avoid the microwave, as it will make the broccoli soggy.
What to Pair with Your Air-Fried Veggies
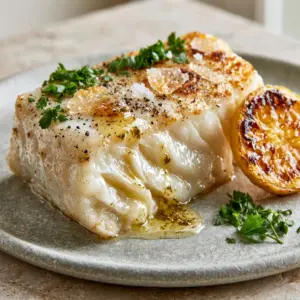
This side dish is incredibly versatile. It pairs beautifully with a protein-heavy main like our Air Fryer Halibut for a light yet satisfying dinner. If you are looking for more vegetable-forward options, consider serving it alongside some Zucchini Crisps for a full-on “crunch-fest.”
For a Mediterranean-inspired spread, these potatoes and broccoli work wonders next to a fresh Horiatiki Salad or some savory Zucchini Balls.
Questions From Home Cooks
No, potatoes take significantly longer to reach a golden-brown state. Start the potatoes first for 15 minutes, then add the broccoli for the final 8-10 minutes.
While you can, frozen broccoli will not achieve the same ‘charred, crispy tips’ as fresh. If using frozen, increase the temperature and cook for a shorter time to avoid sogginess.
No, leaving the skins on is essential for the ‘blistered skin texture’ and adds a depth of flavor and nutrition to the dish.
Use a sharp chef’s knife and cut with a slight ‘rocking’ motion. The uneven surface area created by hand-cutting is what turns into those extra-crispy bits in the air fryer.
Sogginess is usually caused by overcrowding the basket or not drying the vegetables properly after washing. Ensure a single layer and pat everything bone-dry.
The Ultimate Crispy Potato and Broccoli Recipe
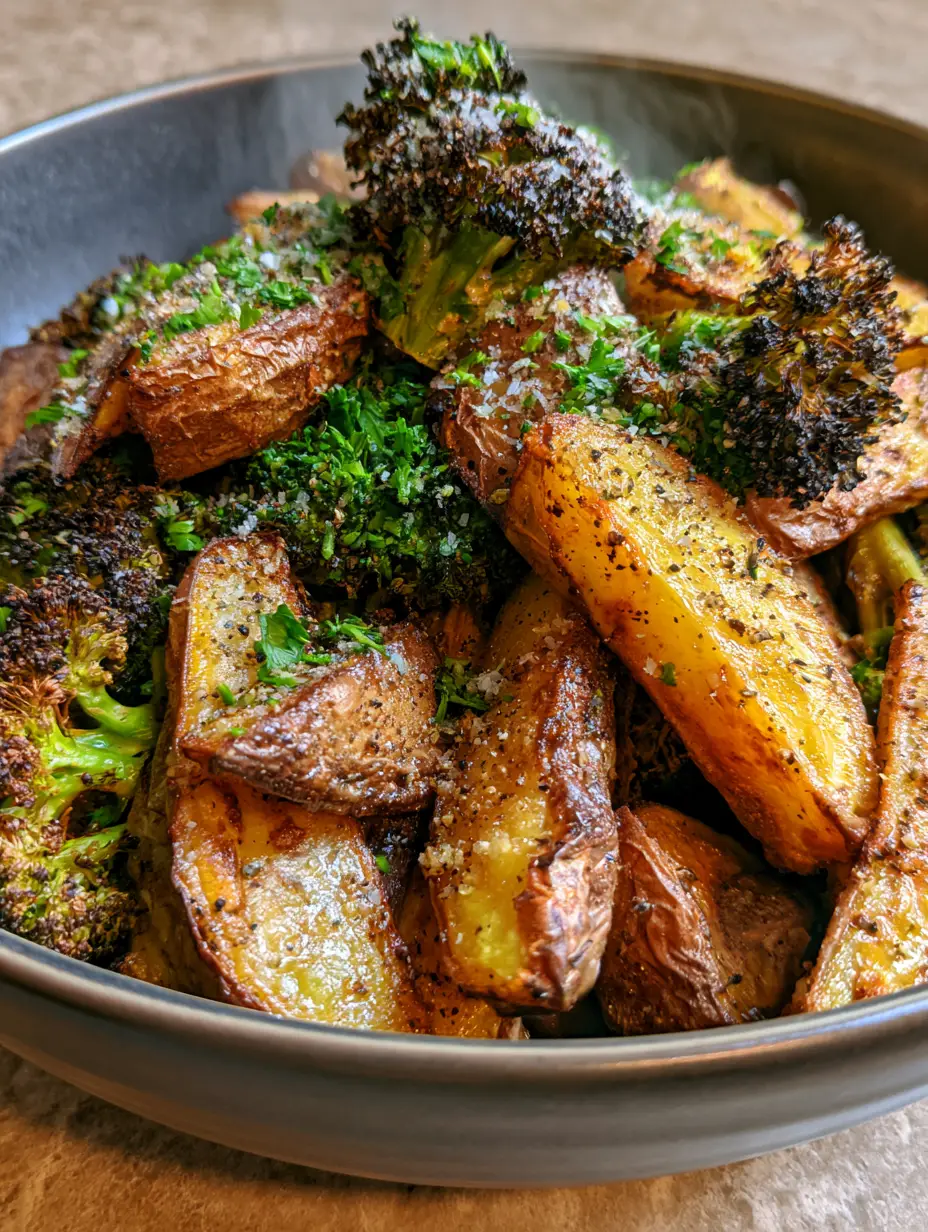
Air Fryer Side Dishes: Extra Crispy Potato Wedges and Charred Broccoli
Ingredients
Equipment
Method
- Cut the russet potatoes into even wedges. Soak them in cold water for 30 minutes, then pat them thoroughly dry with a towel.
- Toss the dried potatoes with 2 tbsp of olive oil, salt, and pepper in a large bowl until glistening.
- Preheat air fryer to 400°F (200°C). Place potatoes in a single layer and air fry for 15 minutes, shaking halfway through.
- Add the broccoli florets tossed in the remaining 1 tbsp of oil. Cook for 8-10 more minutes until broccoli tips are charred and potatoes are golden-brown.
- Remove from air fryer and immediately toss with fresh minced parsley and an extra pinch of flaky sea salt.
Notes
Ensure the broccoli is completely dry before adding oil to prevent steaming.
Bring the Bistro Home
Mastering these air fryer side dishes is a game-changer for any home cook. The combination of the high-definition textures, the nutty char of the broccoli, and the salty, jagged edges of the potatoes creates a sensory experience that far exceeds the effort required.
If you enjoyed this recipe, please leave a comment below and tell us how your “blistered skins” turned out! Don’t forget to share your photos and tag us on Pinterest so we can see your culinary creations.