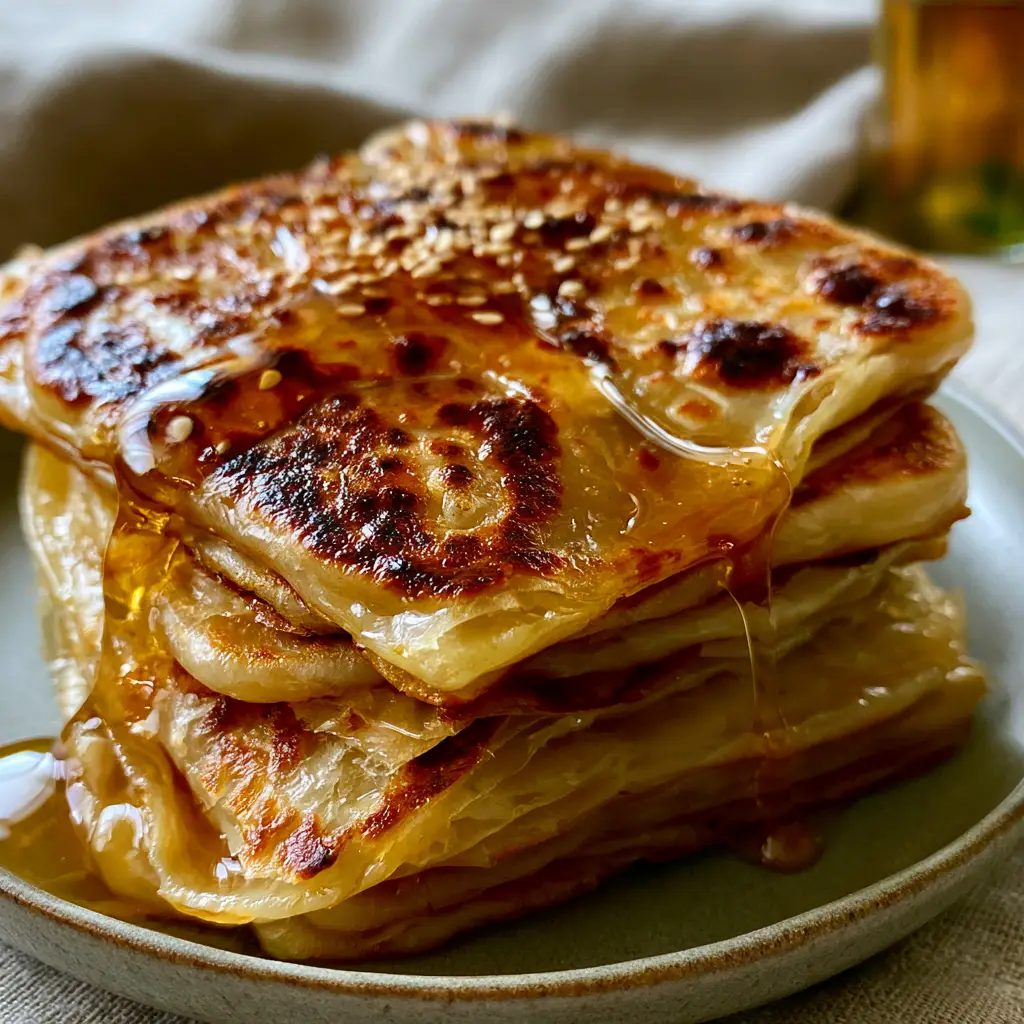
Moroccan Msemen is the undisputed king of North African breakfast tables. If you have ever scrolled through Pinterest and stopped dead in your tracks at a stack of golden, square, flaky pancakes dripping with honey, you have already met Msemen. This traditional bread is famous for its hundreds of paper-thin, translucent dough layers that shatter when you bite into them.
Making authentic Moroccan Msemen at home is a culinary rite of passage. It is not just about mixing flour and water; it is about the rhythmic stretching of dough, the generous application of clarified butter, and the magic of the double-fold technique. When done correctly, the exterior becomes expertly blistered with deep amber charred spots, while the inside remains soft and steamy.
Why You Will Obsess Over This Moroccan Msemen Recipe
- Shatteringly Crisp Texture: The combination of fine semolina and high-heat searing creates a crust that crackles with every bite.
- Visual Masterpiece: With translucent paper-thin internal layers, this bread is as beautiful to tear apart as it is to eat.
- The Perfect Balance: The savory, buttery dough perfectly offsets a heavy drizzle of wildflower honey and toasted white sesame seeds.
- Versatile Pairing: It works just as well with a bowl of Moroccan Couscous as it does with your morning coffee.
The Secret Ingredients for Authentic Moroccan Msemen
To achieve the forensic visual accuracy of a traditional souk-style Msemen, you need the right ratio of grains. We use a blend of all-purpose flour for elasticity and fine semolina for that signature sandy crunch.
Fine Semolina (Smida): 2 cups (340g). This is the backbone of the bread. It provides the structure and the golden hue. Do not use coarse semolina; it will tear the dough.
All-Purpose Flour: 2 cups (250g). Flour provides the gluten necessary to stretch the dough until it is translucent without breaking.
Warm Water: 1.5 cups (360ml). The water must be “baby bath” warm to activate the dough’s elasticity quickly.
Clarified Butter (Smegman): 1/2 cup (115g), melted. Clarified butter has a higher smoke point than regular butter, allowing those deep amber charred spots to form without burning.
Vegetable Oil: 1/2 cup (120ml). Used primarily for coating your hands and the work surface. This prevents sticking during the extreme stretching process.
Wildflower Honey & Toasted Sesame Seeds: For the final garnish. The viscous amber honey pools into the flaky crevices for a professional food blogger aesthetic.
Salt and Sugar: 1 tsp (6g) each. Salt for flavor, sugar to aid in the blistered browning of the exterior.
Mastering the Stretch: Step-by-Step Instructions
Phase 1: Creating the Elastic Dough
In a large bowl, combine your semolina, flour, sugar, and salt. Gradually add the warm water. Knead the dough for at least 10 minutes by hand (or 6 minutes in a stand mixer) until it is smooth and extremely pliable. It should feel like a soft earlobe.
Divide the dough into 12 equal-sized balls, roughly the size of a large plum. Coat each ball in vegetable oil and place them on a tray. Cover with plastic wrap and let them rest for at least 30 minutes. Resting is non-negotiable; it relaxes the gluten so you can stretch the dough paper-thin.
Phase 2: The Art of the Fold
Generously oil your work surface. Take one dough ball and flatten it with your palm. Using an outward sliding motion, stretch the dough until it is a massive, translucent circle. You should be able to see the grain of the wood or the color of the counter through the dough.
Drizzle the surface with clarified butter and sprinkle a pinch of dry semolina. Fold the top third down to the center, and the bottom third up, creating a long rectangle. Drizzle more butter, then fold the left side to the center and the right side over it. You now have a square with multiple layers of folded semolina dough.
Phase 3: Searing for Maximum Blistering
Heat a heavy-bottomed skillet or a cast-iron griddle over medium-high heat. Take a folded square and gently pat it out to enlarge it slightly. Place it on the hot pan.
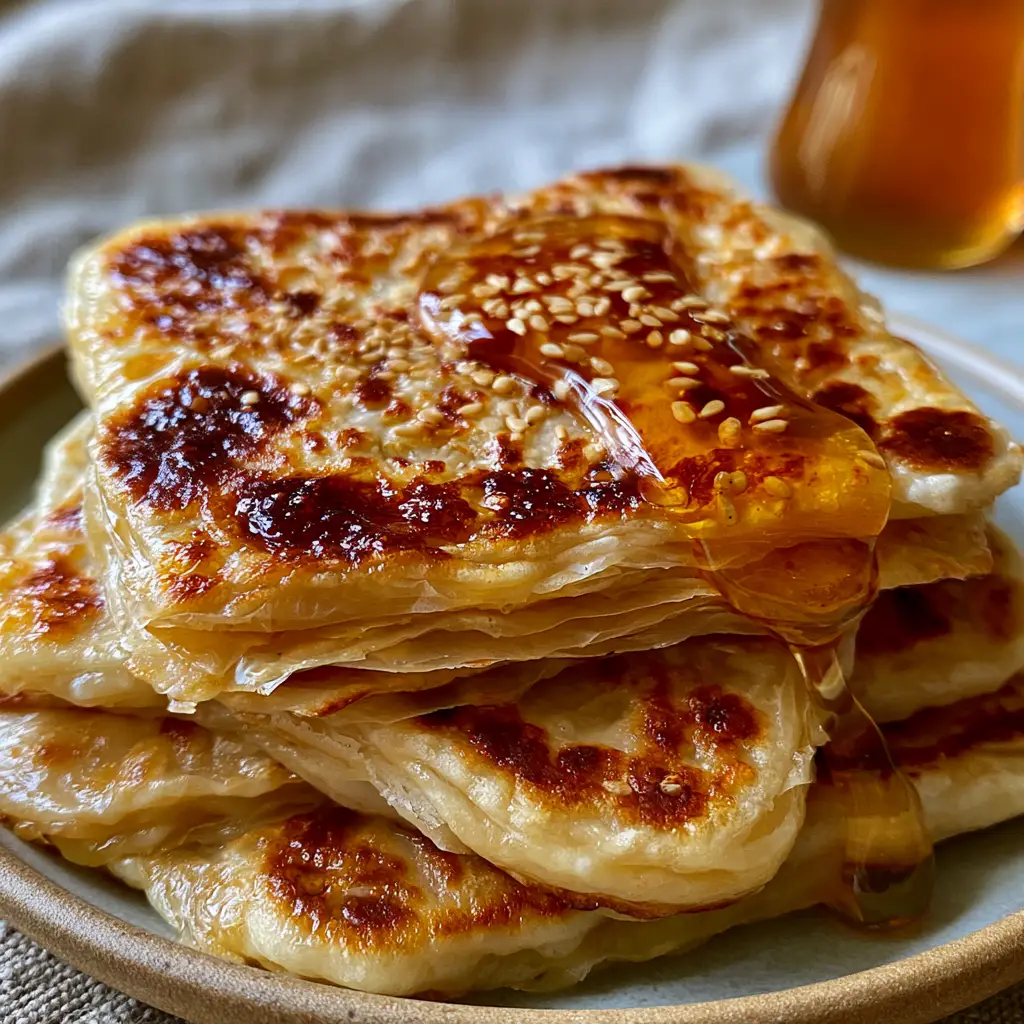
Cook for 2-3 minutes per side. You are looking for expertly blistered surfaces and a golden-brown toasted exterior. The Msemen will puff up with steam vapor as the internal layers separate. Flip frequently to ensure even browning and a shatteringly crisp texture.
Expert Tips for Success
- Temperature Control: If the pan is too cold, the Msemen will be tough. If it is too hot, the outside will burn before the paper-thin internal layers cook through.
- Oil Your Hands: Keep your hands constantly slicked with oil. This acts as a lubricant, allowing you to stretch the dough without it snagging and tearing.
- The Double Fold: For even more layers, you can place one folded square inside another translucent dough circle and fold again. This is how you achieve “hundreds of layers.”
- Serving Temperature: Always serve Moroccan Msemen piping hot. The steam vapor trapped inside keeps the layers tender.
What to Serve With Moroccan Msemen
While Msemen is traditionally a breakfast item served with Moroccan mint tea, its versatility makes it a great side dish. You can serve it alongside savory items like Chermoula marinated fish or even use it as a wrap for homemade doner kebab meat.
For a sweet treat, nothing beats the classic combination of butter and honey. The thick, viscous stream of amber honey drizzled over a hot stack creates a sticky, delicious glaze that complements the toasted sesame seeds perfectly.
Storage, Reheating, and Freezing
Msemen stays fresh at room temperature for about 24 hours if wrapped tightly in foil. To store longer, place the cooled squares in a freezer bag with parchment paper between them. They freeze beautifully for up to 3 months.
To reheat, do not use a microwave—it will make them rubbery. Instead, place them back on a dry skillet over medium heat for 1-2 minutes per side until the shatteringly crisp texture returns.
Frequently Asked Questions
You can, but clarified butter (ghee) is preferred because it has a higher smoke point. This allows you to get those beautiful amber charred spots without the butter burning and turning bitter.
Avoid the microwave! Reheat your Msemen on a hot, dry skillet for about 1 minute per side. This restores the shatteringly crisp exterior while keeping the inside soft.
Yes, fine semolina (Smida) has a slightly coarser grain than semolina flour (Finot), though both can work. Avoid ‘coarse’ semolina, as the large grains will tear your paper-thin dough layers.
The secret lies in the double-folding technique and stretching the dough until it is translucent. Using plenty of clarified butter between folds ensures the layers separate during cooking.
This usually happens if the dough didn’t rest long enough or if the heat was too low. Resting relaxes the gluten, and high heat ensures the steam vapor puffs up the layers quickly.
The Ultimate Moroccan Msemen Recipe Card
Moroccan Msemen: The Ultimate Guide to Crispy, Layered Flatbread
Ingredients
Equipment
Method
- Combine semolina, flour, salt, and sugar. Slowly add warm water and knead for 10 minutes until smooth and elastic.
- Divide into 12 balls, coat in oil, cover, and rest for 30-45 minutes to relax gluten.
- On an oiled surface, stretch a dough ball until it is paper-thin and translucent.
- Apply clarified butter and a dusting of semolina. Fold into thirds like a letter, then into thirds again to form a square.
- Cook on a hot skillet for 2-3 minutes per side until blistered with amber spots and golden brown.
- Drizzle with wildflower honey and sprinkle with toasted sesame seeds while hot.
Notes
Resting the dough is critical for the translucent stretch.
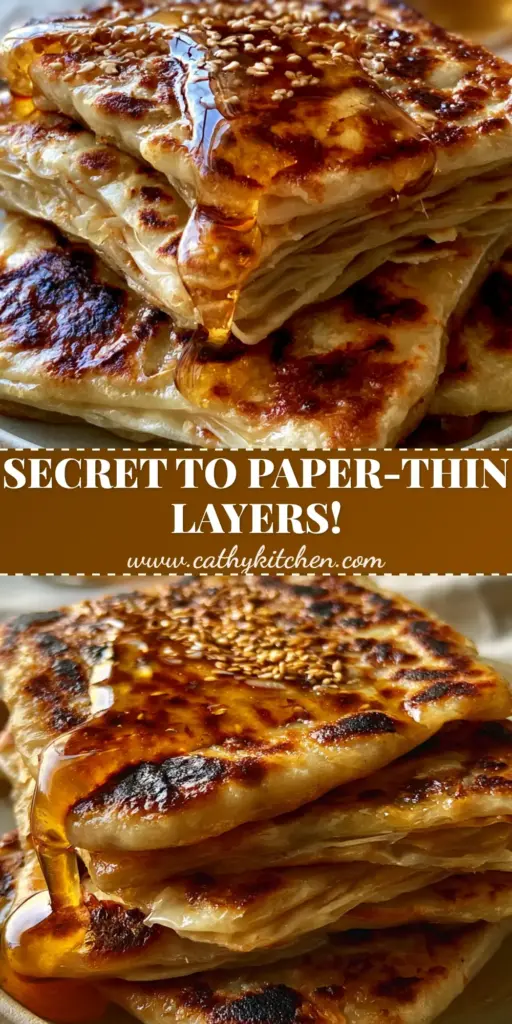
Save This Recipe to Pinterest!
If you loved this guide to making Moroccan Msemen, don’t forget to save it to your “Global Breakfasts” or “Bread Recipes” board on Pinterest! Following cathy_kitchen_official helps us bring you more authentic, visual recipes every week. If you make these, please upload a photo in the comments below and leave a 5-star rating—we love seeing your golden-brown, flaky layers!