There is nothing quite like the sight of a bubbling white ceramic dish emerging from the oven, filled with shredded chicken enchiladas smothered in a deep crimson sauce and molten cheese. This recipe is designed for the home cook who craves authentic Mexican flavors but needs a reliable, crowd-pleasing dinner that looks like it stepped off a professional photo shoot. By using juicy rotisserie chicken and a specific layering technique, we achieve a texture that is both tender and structurally sound.
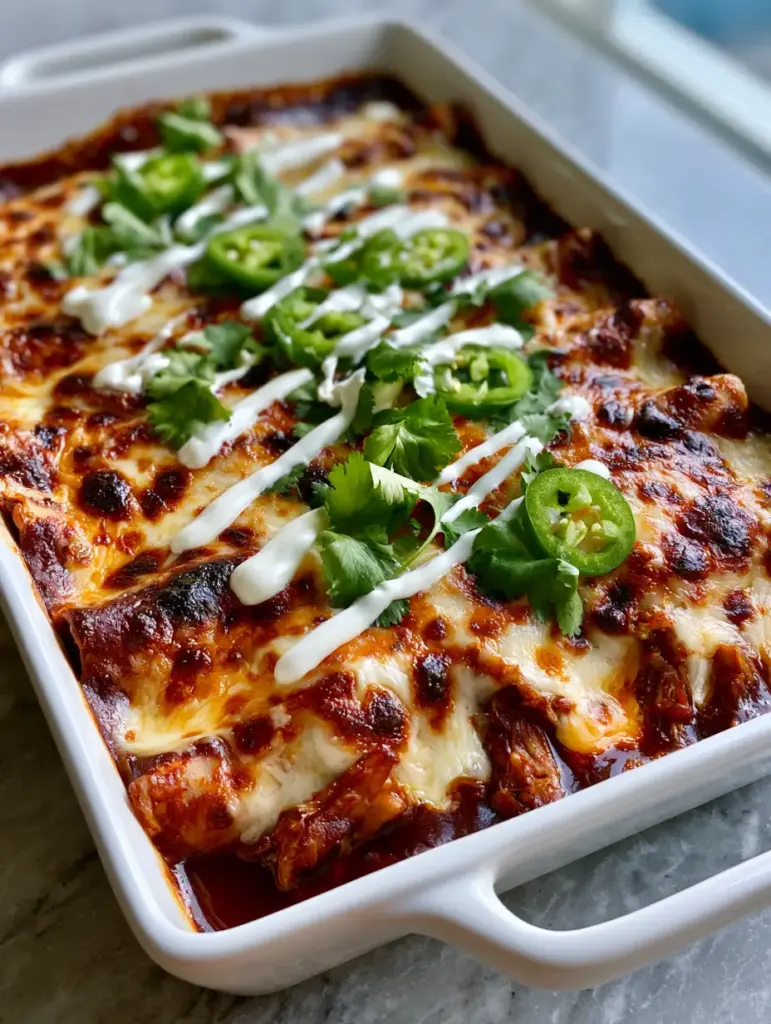
When you pull these shredded chicken enchiladas out of the heat, you are greeted by the aroma of toasted corn and earthy chilies. The visual of those golden-brown cheddar bubbles against the vibrant green of fresh cilantro and jalapeños is enough to make anyone stop their Pinterest scroll. Whether you are prepping for a busy weeknight or hosting a festive Sunday dinner, this dish delivers on every sensory promise.
Why You Will Love This Layered Enchilada Casserole
- Ultra-Juicy Texture: We use hand-shredded rotisserie chicken to ensure every bite is succulent and perfectly seasoned.
- The Perfect Cheese Pull: A blend of buttery Monterey Jack and sharp Cheddar creates those iconic toasted bubbles and a gooey, molten interior.
- Effortless Layering: Instead of rolling individual tortillas, we layer them to ensure every inch of the dish is saturated with authentic red enchilada sauce.
- Visual Contrast: The stark white of the Mexican crema drizzle against the deep red sauce and bright green jalapeños makes this a centerpiece-worthy meal.
If you love the flavors in this dish, you should also check out our Easy Chicken Enchilada Bowls for a quick lunch alternative, or try our Whole30 Chili Con Queso for a dairy-free appetizer that still hits those savory notes.
Essential Ingredients for Authentic Flavor
To create the best shredded chicken enchiladas, each ingredient must serve a culinary purpose. We are building layers of flavor, starting with the foundation of corn and ending with the bright acidity of fresh garnishes.
Shredded Rotisserie Chicken: Using a pre-roasted chicken saves time and guarantees white meat that stays tender during the second bake. You will need about 4 cups (600g) of hand-shredded meat.
Authentic Red Enchilada Sauce: Look for a sauce with a deep crimson hue and a base of dried guajillo or ancho chilies. This provides the “glistening” look mentioned in our visual blueprint. You’ll need 28 oz (800ml).
Corn Tortillas: We use yellow or white corn tortillas for their sturdy structure and earthy flavor. They hold up much better to the sauce than flour versions.
The Cheese Blend: Monterey Jack provides the meltability, while Sharp Cheddar provides the flavor and those essential “charred golden-brown spots” when hit with high heat. Use 2 cups (225g) of each.
Mexican Crema: This is thinner and saltier than American sour cream, allowing for that perfect “zig-zag drizzle” that finishes the dish. If you only have sour cream, thin it with a teaspoon of lime juice.
Fresh Aromatics: Raw jalapeño slices add a vibrant green pop and a crisp bite, while fresh cilantro leaves provide a citrusy finish to cut through the richness of the cheese.
Mastering the Art of Layering Enchiladas
Most people struggle with enchiladas because the tortillas become soggy or the filling is dry. By following these professional steps, you ensure a restaurant-quality result every time.
Step 1: Preparing the Chicken Foundation
In a large mixing bowl, combine your 4 cups (600g) of shredded rotisserie chicken with 1/2 cup (120ml) of the red enchilada sauce. This pre-seasoning step ensures the meat is juicy and flavorful before it even hits the pan. Season with a pinch of salt and cracked black pepper to taste.
Step 2: Prepping the Ceramic Dish
Select a white ceramic baking dish (approx. 9×13 inches or 23×33 cm). Spread a thin layer of sauce across the bottom. This prevents the bottom layer of tortillas from sticking and creates that “pooling” effect of sauce at the edges that we want to see.
Step 3: Building the Layers
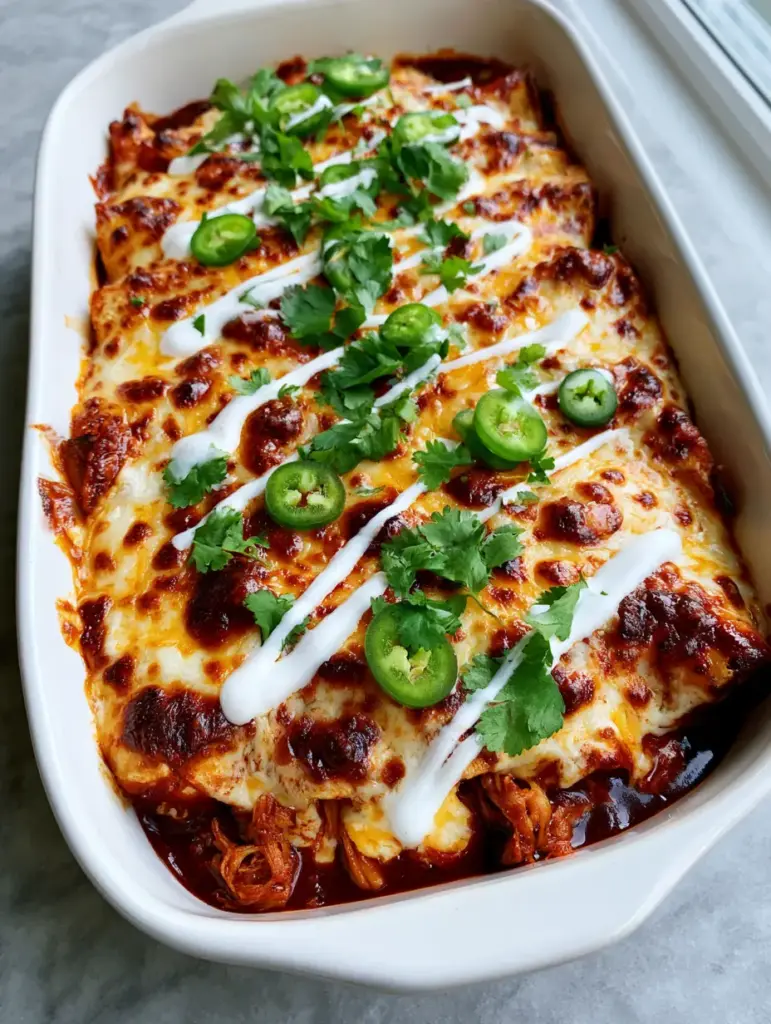
Place a layer of corn tortillas over the sauce, slightly overlapping them. Top with half of the shredded chicken mixture and a generous sprinkle of the Monterey Jack cheese. Repeat the layers: sauce, tortillas, chicken, and cheese. For the final layer, place the remaining tortillas and pour the rest of the crimson sauce over the top, ensuring full coverage.
Step 4: The Final Cheese Blanket
Top the entire dish with the remaining Monterey Jack and the sharp cheddar. Focus the cheddar in small clusters; this is what creates those beautiful toasted cheddar cheese bubbles and charred spots during the baking process.
Baking for Visual and Flavor Excellence
Place the dish in a preheated oven at 375°F (190°C). Bake for 20-25 minutes. You are looking for the cheese to be completely molten and bubbling. For the final 2-3 minutes, you can turn on the broiler to achieve those specific charred golden-brown spots on the cheese surface.
The “Visual & Sensory Cues” to watch for: the sauce should be simmering at the edges of the ceramic dish, and the white meat chicken should be just barely peeking through the thick blanket of bubbling cheese.
If you’re looking for something lighter to serve alongside, consider a Grilled Chicken Salad with a lime vinaigrette to balance the richness of the enchiladas.
Expert Tips for Pinterest-Perfect Enchiladas
- Don’t Oversauce: While we want “glistening” sauce, adding too much can make the tortillas disintegrate. Follow the measurements for the perfect balance.
- Room Temp Crema: Before drizzling the Mexican crema, let it sit at room temperature for 10 minutes or shake the bottle well. This ensures a smooth, professional zig-zag line.
- Cold Jalapeño Slices: Slice your jalapeños just before serving and keep them in cold water. This keeps them “vibrant green” and extra crunchy.
- The Resting Period: Let the dish sit for 5-10 minutes after removing it from the oven. This allows the sauce to thicken slightly, making for cleaner slices when serving.
Storage, Reheating, and Freezing
These shredded chicken enchiladas make for incredible leftovers. Store any remaining portions in an airtight container in the refrigerator for up to 3 days. The flavors often deepen overnight as the corn tortillas absorb more of the chili spices.
To reheat, place a serving in the oven at 350°F (175°C) covered with foil until heated through. This preserves the texture of the cheese better than a microwave. If you wish to freeze this dish, do so before the final bake. Wrap the ceramic dish tightly in plastic wrap and then foil. It will stay fresh for up to 2 months.
What to Serve With Your Enchiladas
To round out this Mexican feast, serve the dish with a side of cilantro lime rice or slow-cooked black beans. If you want to keep the menu varied, these enchiladas pair surprisingly well with a side of Lemon Roasted Greek Potatoes for a fusion-style dinner party.
For those who love a bit of heat, keep an extra bowl of the sliced jalapeños and some habanero hot sauce on the table. The creamy nature of the Monterey Jack cheese acts as a perfect foil for spicy additions.
Frequently Asked Questions
Yes! You can assemble the layers up to 24 hours in advance. Store the dish covered in the fridge and add an extra 5-10 minutes to the bake time.
While you can, corn tortillas are preferred for this layered style as they maintain their structure better and don’t become as gummy when soaked in red sauce.
Lightly coating the tortillas in sauce and ensuring you don’t overfill the dish with liquid helps. Using corn tortillas and baking at a high temperature also helps the edges crisp up.
A combination of Monterey Jack for its superior melt and a sharp Cheddar for flavor and color provides the best results for a home-style casserole.
The Ultimate Shredded Chicken Enchiladas Recipe
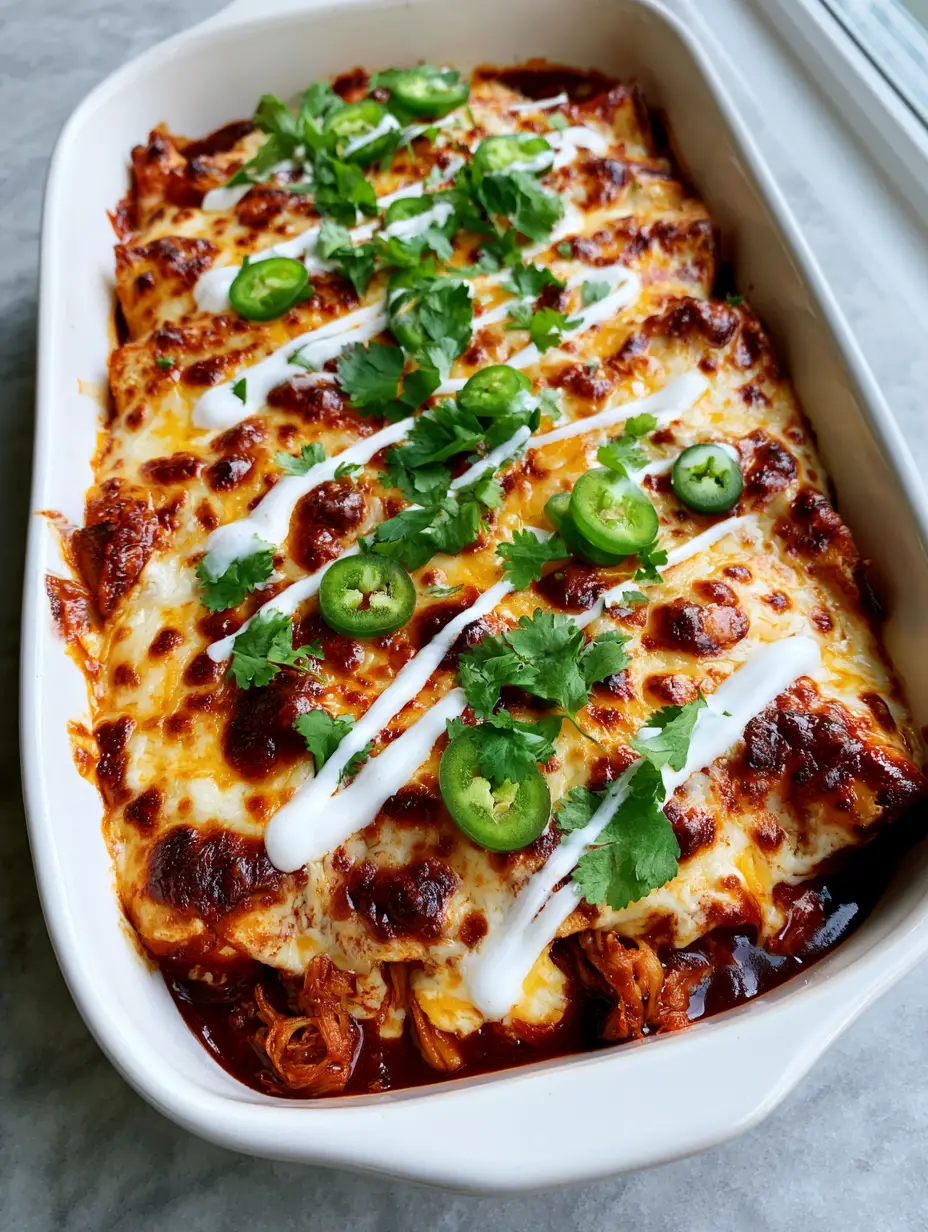
Shredded Chicken Enchiladas with Melty Monterey Jack and Charred Cheddar
Ingredients
Equipment
Method
- Preheat oven to 375°F (190°C). In a large bowl, toss shredded chicken with 1/2 cup of sauce to moisten.
- Spread a thin layer of sauce in a 9x13 dish. Layer tortillas, chicken, and Monterey Jack cheese twice, ending with a final layer of tortillas and the remaining sauce.
- Top with the remaining Monterey Jack and the Sharp Cheddar, focusing cheddar in spots to create toasted bubbles.
- Bake for 20-25 minutes until bubbling. Broil for 2 minutes to char the cheese spots.
- Drizzle with Mexican crema in a zig-zag pattern. Scatter cilantro and jalapeño slices over the top before serving.
Notes
Use a high-quality aged cheddar for the best charred spots.
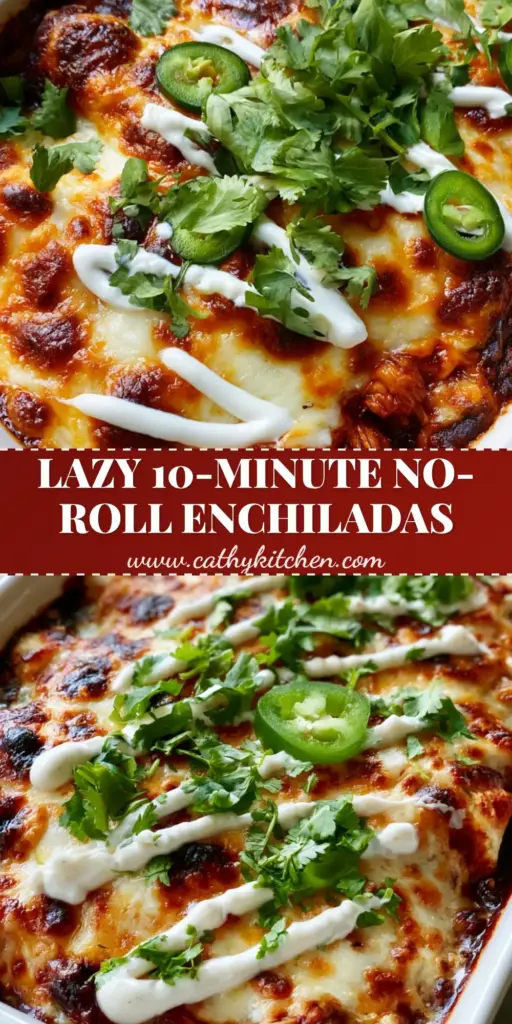
Join the Cathy Kitchen Community!
Did you make these shredded chicken enchiladas? We want to see your results! Save this recipe to your “Dinner Ideas” board on Pinterest and follow cathy_kitchen_official for more daily culinary inspiration. If you loved the charred cheese bubbles and the zesty crema drizzle, please leave us a 5-star rating and share a photo of your dish in the comments below. Your feedback helps our community grow and ensures everyone gets to enjoy these delicious flavors!