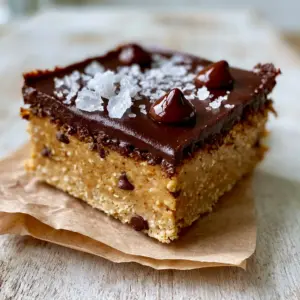
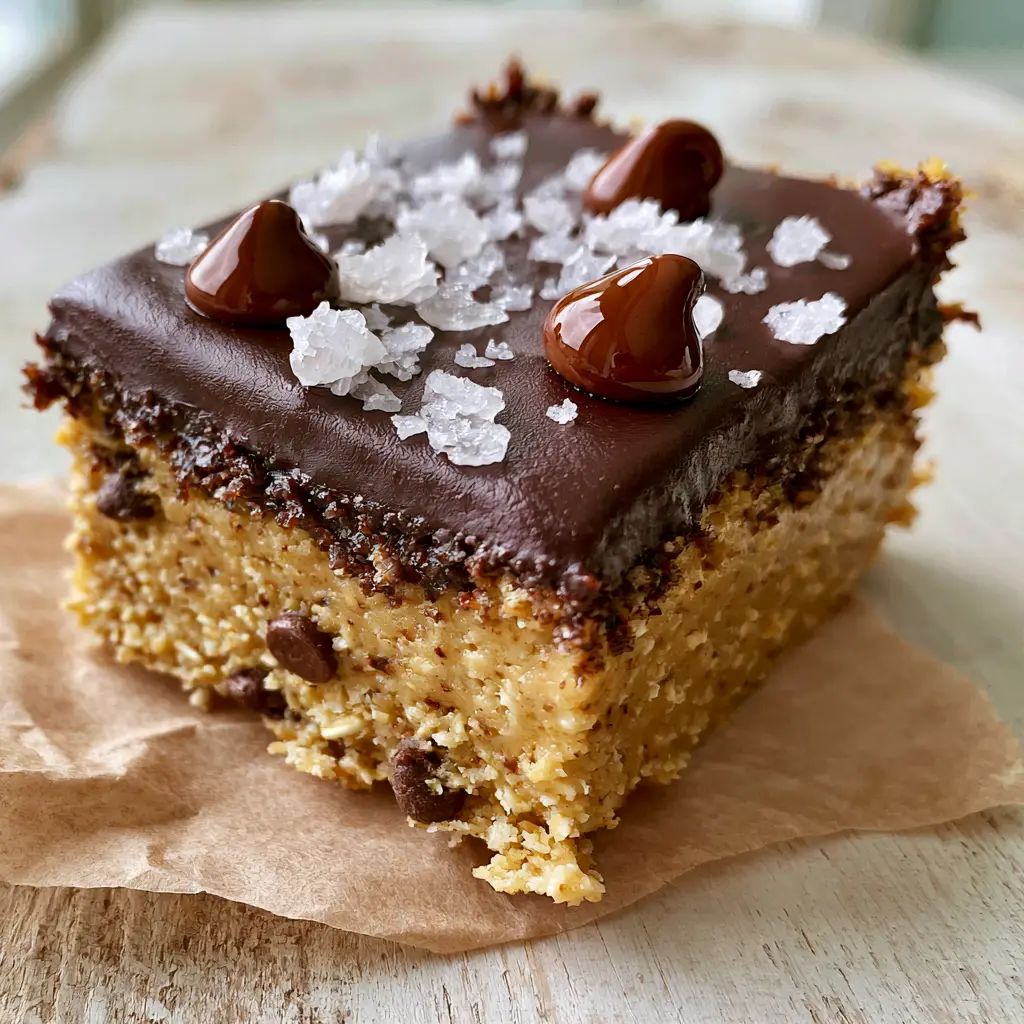
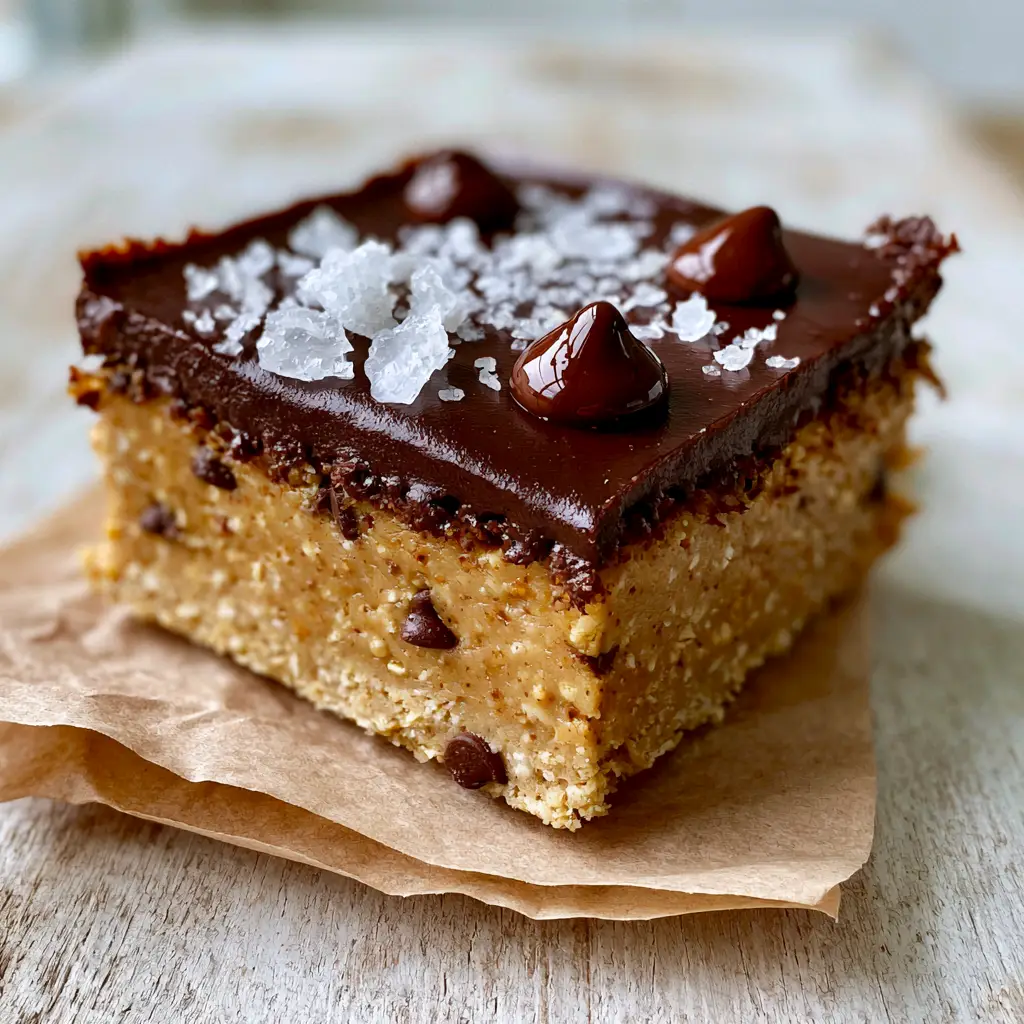
Peanut butter chocolate chip bars are the ultimate solution for when you crave a decadent, bakery-style treat but don’t want to turn on the oven. These bars feature a dense, chewy peanut butter fudge base, speckled with tiny granules of oat flour and mini semi-sweet chocolate chips. Topped with a glossy dark-chocolate ganache and a crunch of flaky sea salt, they are a masterclass in texture and flavor balance.
If you have ever scrolled through Pinterest looking for the perfect “healthy-ish” yet indulgent snack, you have likely seen peanut butter chocolate chip bars that look almost too good to be true. This recipe delivers on that visual promise, providing a clean-cut, professional-grade square that tastes even better than it looks. Whether you are a fan of edible chocolate chip cookie dough or you live for the combination of salt and sugar, this recipe is designed for you.
Why These Peanut Butter Chocolate Chip Bars Work
- The Perfect Texture: A dense, light-golden peanut butter foundation that mimics the chew of a high-end protein bar but tastes like fudge.
- Granular Contrast: The use of oat flour provides a subtle, rustic crumb that contrasts perfectly with the smooth, glossy dark chocolate.
- Sweet & Salty Balance: The addition of large, flaky sea salt crystals cuts through the richness of the dark chocolate ganache.
- No-Bake Simplicity: Achieve professional, clean-edged results without the risk of overbaking or dry edges.
Essential Ingredients for Success
To make the best peanut butter chocolate chip bars, quality is paramount. Because there is no baking involved, you will taste every single component. Selecting high-quality chocolate and the right consistency of peanut butter will determine the final “snap” of the ganache and the “chew” of the base.
The Peanut Butter Foundation
1 cup (250g) Creamy Peanut Butter: Use a processed, no-stir peanut butter for the most consistent texture. If using natural, ensure it is extremely well-mixed to avoid oily separation.
1/3 cup (80ml) Pure Maple Syrup or Honey: This acts as our liquid sweetener and binder. It provides a floral depth that granulated sugar cannot achieve in a no-bake setting.
2 cups (180g) Fine Oat Flour: This provides the “oat flour granules” mentioned in our visual blueprint. It gives the bars structure and a slightly nutty, rustic flavor profile.
The Mix-ins and Toppings
1/2 cup (90g) Mini Semi-Sweet Chocolate Chips: Using mini chips ensures that every bite of the dense base has chocolate distributed evenly without ruining the clean-cut edges.
1 cup (175g) Dark Chocolate Chips: For the ganache, choose a cacao percentage between 60% and 72% for that signature glossy, rich finish.
2 tbsp (30ml) Coconut Oil or Heavy Cream: This helps the ganache stay “slightly soft to the touch” rather than cracking like a hard chocolate shell.
Flaky Sea Salt: A generous scattering of Maldon or similar salt crystals is essential for the visual and flavor finish.
Step-by-Step Instructions for the Perfect Set
Step 1: Preparing the Dense Peanut Butter Base
In a large mixing bowl, combine the 1 cup (250g) of creamy peanut butter and 1/3 cup (80ml) of maple syrup. Whisk them together until the mixture is smooth and slightly thickened. This creates the “chewy, light-golden” foundation for our peanut butter chocolate chip bars.
Slowly fold in the 2 cups (180g) of oat flour and a pinch of salt. You are looking for a dough that is thick and slightly grainy, where you can see the tiny granules of the oats. If the dough is too wet, add another tablespoon of flour; if it’s too crumbly, add a teaspoon of melted peanut butter.
Finally, fold in the 1/2 cup (90g) of mini semi-sweet chocolate chips. Press this mixture firmly into an 8×8 inch (20×20 cm) pan lined with crumpled brown parchment paper. Use the bottom of a flat glass to ensure the surface is perfectly level for the ganache layer.
Step 2: Crafting the Glossy Dark Chocolate Ganache
In a microwave-safe bowl or using a double boiler, melt the 1 cup (175g) of dark chocolate chips with 2 tablespoons (30ml) of coconut oil. Stir every 30 seconds to ensure the chocolate does not burn. You want a liquid that is smooth, dark, and has a “wet sheen.”
Pour the chocolate over the peanut butter base. Tilt the pan gently to allow the chocolate to flow into the corners, creating a perfectly flat top layer. This is what gives the peanut butter chocolate chip bars their professional, eye-level appeal.
Step 3: The Visual Finishing Touches
While the chocolate is still wet, sprinkle a few whole glossy chocolate chips across the top. Then, let the bars sit at room temperature for 10 minutes before adding the flaky sea salt. If you add the salt too early, it will dissolve into the chocolate; waiting allows the crystals to sit proudly on top.
Place the pan in the refrigerator for at least 2 hours. This ensures the bars are “perfectly set but still soft to the touch.”
Expert Tips for Pinterest-Worthy Results
If you want your peanut butter chocolate chip bars to look exactly like the photos, follow these professional tips:
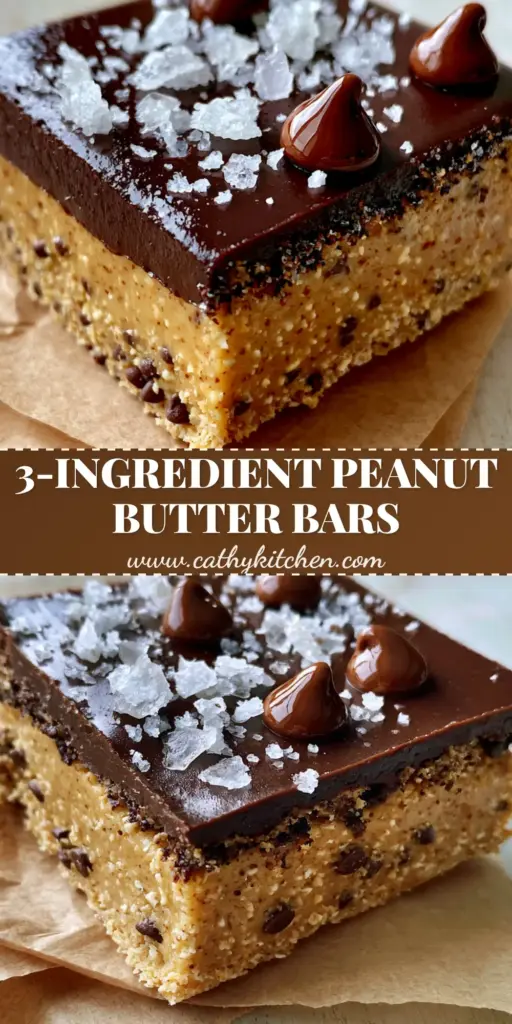
- The Clean Cut: Use a sharp chef’s knife dipped in hot water and wiped dry between every single cut. This ensures the defined edges seen in our macro photography.
- Parchment Paper Hack: Crumple your parchment paper before lining the pan. This prevents the edges from curling and gives the final product that rustic, “handheld smartphone photo” aesthetic.
- Oat Flour Quality: If you don’t have oat flour, blend rolled oats in a high-speed blender for 60 seconds until they reach a fine, granular consistency.
- Avoid the Crack: Never skip the coconut oil in the ganache. Without it, the chocolate becomes too brittle to slice cleanly, leading to cracks in your beautiful top layer.
How to Store Your Peanut Butter Bars
These peanut butter chocolate chip bars are best kept in the refrigerator. Because of the high peanut butter content, they can soften at room temperature, losing that “dense fudge” texture. Store them in an airtight container for up to 7 days.
For long-term storage, these bars freeze beautifully. Wrap individual squares in parchment paper and store them in a freezer bag for up to 3 months. They are fantastic eaten straight from the freezer, reminiscent of fudgy chocolate brownies but with a nutty twist.
What to Serve With These Bars
These bars are incredibly rich, so they pair best with beverages that provide a clean palate cleanse. A cold glass of milk (dairy or almond) is the classic choice. If you are serving these as part of a larger spread of salty snack ideas, consider pairing them with fresh tart berries to balance the dark chocolate.
If you enjoy the no-bake lifestyle, you might also want to try our 3-ingredient snacks or even these portable key lime pie jars for a citrusy contrast.
Frequently Asked Questions
Yes! As long as you ensure your oat flour is certified gluten-free, the rest of the ingredients are naturally gluten-free. This makes them a great option for those with sensitivities.
Oat flour provides the specific granular texture seen in the recipe. While you can use almond flour, the bars will be softer and less ‘chewy.’ Avoid using raw heat-treated wheat flour as it changes the flavor profile significantly.
When stored in an airtight container, these bars stay fresh and delicious for up to one week in the refrigerator.
Cracking usually happens if the chocolate is too hard. Adding coconut oil or a splash of heavy cream to the melted chocolate ensures it stays slightly soft, allowing for clean, defined slices.
The Ultimate Peanut Butter Chocolate Chip Bars Recipe
Peanut Butter Chocolate Chip Bars: The Ultimate No-Bake Fudgy Dessert
Ingredients
Equipment
Method
- Whisk together peanut butter and maple syrup until smooth.
- Stir in oat flour and mini chocolate chips until a dense dough forms.
- Press the mixture into a lined 8x8 pan, smoothing the top.
- Melt dark chocolate chips with coconut oil until glossy.
- Pour over the base, top with whole chips and flaky salt, then chill for 2 hours.
Notes
Store in the fridge to maintain the fudge-like texture.
Save, Share, and Rate!
We hope you love these peanut butter chocolate chip bars as much as we do! If you make them, please come back and leave a 5-star rating. It helps our community grow and allows others to find this delicious recipe. Don’t forget to Pin this to your favorite dessert board on Pinterest and follow cathy_kitchen_official for more daily kitchen inspiration. If you take a photo of your glossy ganache, tag us or share it in the comments below!