Key lime pie jars are the ultimate summer hack for anyone who loves the bright, zesty tang of the Florida Keys but wants to skip the hassle of a traditional oven-baked pie. These individual servings are not only incredibly portable for picnics and parties, but they also offer a stunning visual appeal that makes them a viral sensation on Pinterest. By layering a coarse, buttery graham cracker crust with a velvety, dense lime-cream filling, you create a dessert that is as beautiful as it is delicious.
If you are looking for a quick treat that looks like it came from a high-end bakery, these key lime pie jars are your new secret weapon. Whether you’re hosting a backyard BBQ or just need a simple snack idea to satisfy your sweet tooth, this recipe delivers maximum flavor with minimal effort. The combination of chilled glass jars and bright green lime zest flakes creates an irresistible aesthetic that captures the essence of tropical relaxation.
Why You’ll Love These Individual Key Lime Treats
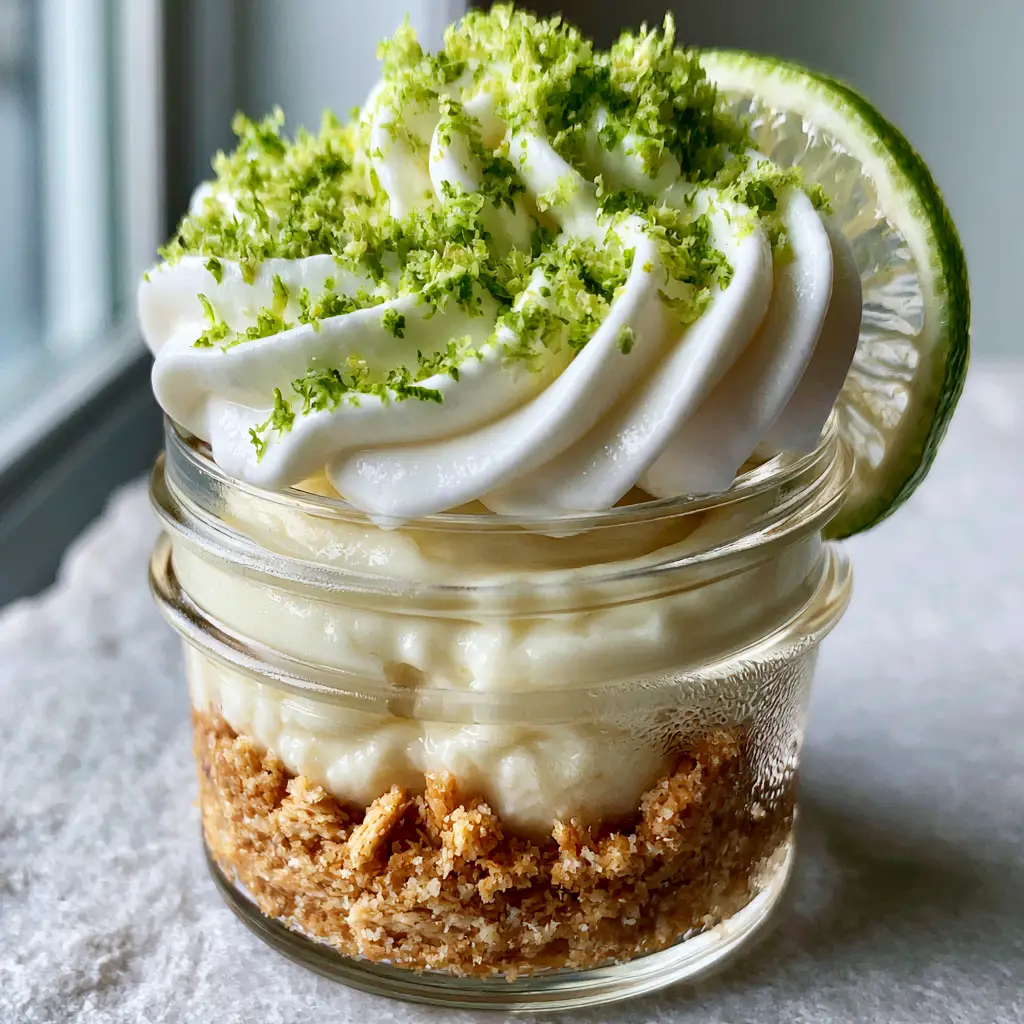
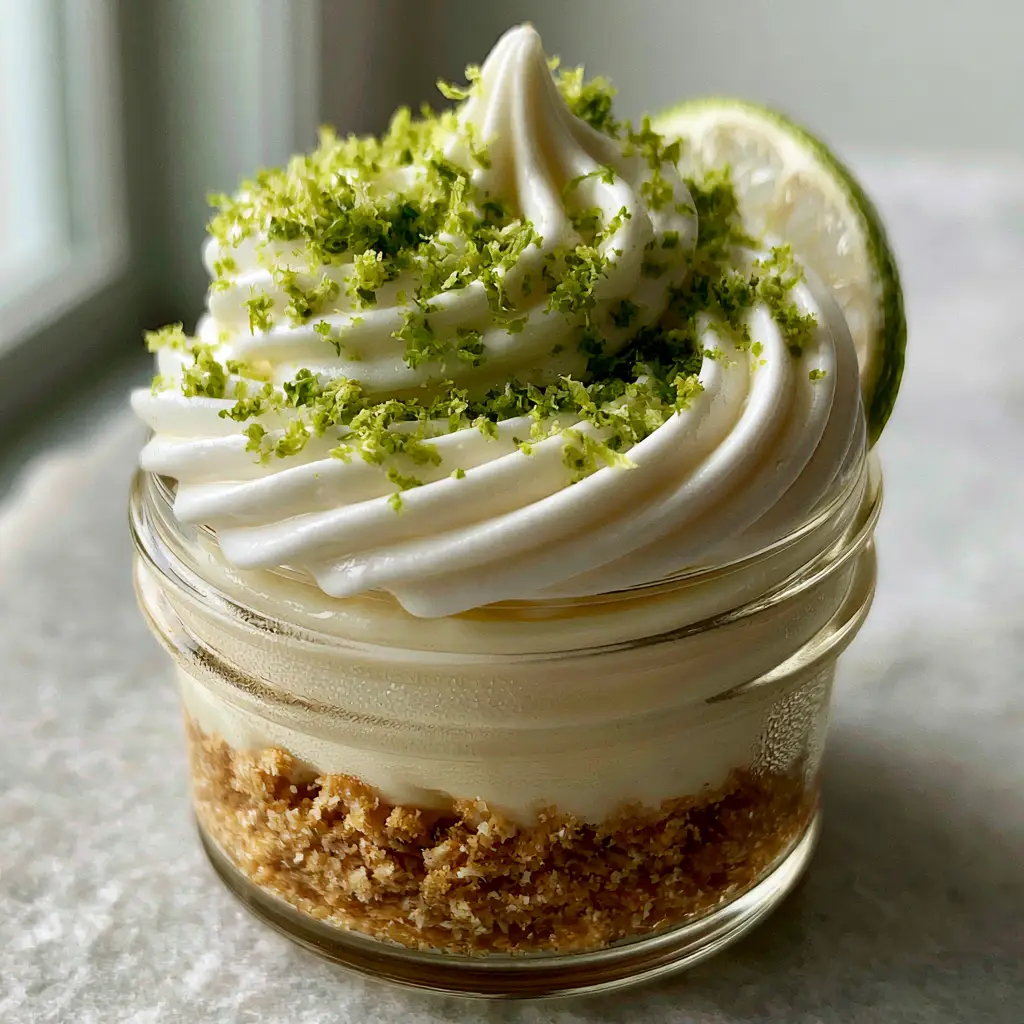
- Perfect Texture Contrast: You get a thick, golden layer of buttery graham cracker crust with visible coarse crumbs that perfectly balances the smooth filling.
- No-Bake Ease: This recipe takes only 15 minutes of active prep time, meaning you won’t have to turn on your oven during a heatwave.
- Professional Presentation: Crowned with a large, stiff, decorative swirl of white whipped cream and a translucent lime wheel slice, these jars look absolutely stunning.
- Make-Ahead Friendly: These jars actually taste better after the flavors have melded in the fridge, making them the perfect stress-free dessert for entertaining.
The Science of the Perfect No-Bake Filling
The magic of key lime pie jars lies in the chemical reaction between the acidity of the lime juice and the proteins in the sweetened condensed milk. This process, known as “cooking” with acid, allows the filling to thicken into a dense, velvety custard without the need for eggs or baking. To ensure your filling is stable enough to hold that signature whipped cream swirl, we use a combination of heavy cream and high-quality lime juice.
When you are scrolling through salty snack ideas or looking for the next viral dessert, the visual appeal of a dessert jar is unmatched. The clear glass shows off the distinct layers, which is why we emphasize the “thick, golden” nature of the crust. It provides the structural foundation for the entire dessert.
Essential Ingredients for Zesty Success
To achieve the forensic visual accuracy required for these key lime pie jars, you need to use specific ingredients that provide both flavor and structural integrity.
- Graham Cracker Crumbs: 1.5 cups (180g). Use a food processor to keep them coarse rather than a fine powder for that “visible crumb” look.
- Unsalted Butter: 6 tbsp (85g), melted. This binds the crust and provides that buttery golden finish.
- Sweetened Condensed Milk: 14 oz (397g). The base of our pale lime-cream filling.
- Key Lime Juice: 1/2 cup (120ml). Authentic Key limes are smaller and more acidic, but regular Persian limes work in a pinch.
- Lime Zest: 2 tbsp, freshly grated. This is essential for the bright green flakes dusted on top.
- Heavy Whipping Cream: 1 cup (240ml), chilled. This is whipped into the stiff, decorative swirl.
- Powdered Sugar: 2 tbsp (30g). To stabilize and sweeten the whipped topping.
Master the 15-Minute Method: A Step-by-Step Guide
Creating these key lime pie jars is a simple process, but following the order of operations is key to maintaining those beautiful layers.
Step 1: Construct the Coarse Graham Base
In a medium bowl, combine your 1.5 cups (180g) of graham cracker crumbs with 2 tablespoons (25g) of granulated sugar and the 6 tablespoons (85g) of melted unsalted butter. Mix until the texture resembles wet sand. Boldly press about 2-3 tablespoons into the bottom of each small glass mason jar. You want a thick, golden, buttery graham cracker crust that is clearly visible from the side of the glass.
Step 2: Whisk the Velvety Lime Filling
In a separate large bowl, whisk together the sweetened condensed milk, 1/2 cup (120ml) of lime juice, and 1 tablespoon of lime zest. As you whisk, you will feel the mixture begin to thicken into a dense, velvety custard. For extra stability and a pale lime-cream color, you can fold in a small amount of whipped cream at this stage. Carefully spoon the filling over the crust in each jar, leaving about an inch of space at the top.
Step 3: The Art of the Decorative Swirl
Whip the heavy cream and powdered sugar until stiff peaks form. Use a piping bag fitted with a large star tip to create a large, stiff, decorative swirl of white whipped cream on top of each jar. This is the hallmark of professional food styling. Dust the top heavily with bright green lime zest flakes and tuck a thin, translucent lime wheel slice into the side of the cream.
Pro Tips for Bakery-Style Presentation
- Chill the Jars: For that “slight chilled condensation” look shown in professional photos, place your empty glass jars in the freezer for 10 minutes before filling.
- Zest First: Always zest your limes before juicing them. It is nearly impossible to zest a squeezed lime!
- Clean Layers: Use a funnel or a piping bag to add the lime filling to the jars. This prevents the filling from smearing on the sides of the glass, keeping your key lime pie jars looking crisp and professional.
- Stabilize the Cream: If you are serving these at a party, add a teaspoon of instant pudding mix or gelatin to your whipped cream to ensure the stiff swirl doesn’t wilt in the heat.
Making Ahead and Storing Your Mini Pies
These key lime pie jars are the perfect make-ahead dessert. You can prepare the crust and filling up to 48 hours in advance. In fact, letting them sit in the refrigerator allows the graham cracker crust to soften just slightly, making it easier to scoop. If you are a fan of banana pudding treats, you know that a little “fridge time” only enhances the flavor profile.
Store the jars with their lids on in the refrigerator. Wait to add the fresh lime zest and the lime wheel garnish until just before serving to ensure the garnish looks fresh and the zest stays vibrant green rather than turning brown.
What to Serve With This
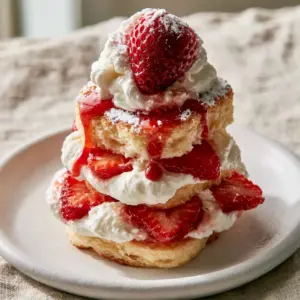
If you’re building a dessert table, these jars pair beautifully with other handheld treats. Try serving them alongside Nutella stuffed cookies for a mix of citrus and chocolate. If you want to keep the fruity theme going, a strawberry shortcake cake or even moist chocolate cupcakes provide a wonderful variety for guests to choose from.
Frequently Asked Questions
Yes! These make excellent frozen treats. Freeze them without the whipped cream topping, then thaw for 20 minutes before adding the cream and serving.
Yes! While Key limes are more tart and aromatic, regular Persian limes work perfectly. You can add a teaspoon of lemon juice to regular lime juice to mimic the extra acidity of Key limes.
Stored with a lid, these jars stay fresh for up to 3-4 days. For the best texture, add the whipped cream and fresh garnish just before serving.
Use a piping bag or a large Ziploc bag with the corner snipped off to pipe the filling and whipped cream into the jars. This prevents smudging the sides of the glass.
The thickening occurs because of the reaction between the lime juice and condensed milk. Ensure you are using real lime juice (not lime-flavored syrup) and whisk it thoroughly for at least 2 minutes.
The Official Key Lime Pie Jar Recipe
Key Lime Pie Jars: The Ultimate Easy No-Bake Dessert
Ingredients
Equipment
Method
- In a bowl, combine coarse graham cracker crumbs, melted butter, and sugar until it reaches a wet sand consistency.
- Distribute the mixture evenly into 6 small jars, pressing down firmly to create a thick, golden, buttery graham cracker crust layer.
- In a large bowl, whisk together the condensed milk, lime juice, and zest until the mixture thickens into a velvety custard.
- Spoon or pipe the lime filling over the crust in each jar, smoothing the top.
- Whip heavy cream and powdered sugar until stiff peaks form.
- Pipe a decorative swirl on each jar. Dust with extra lime zest and tuck a thin lime slice into the side before serving chilled.
Notes
If you can't find Key limes, a mix of regular lime juice and a splash of lemon juice mimics the tartness perfectly.
Join the Cathy Kitchen Community!
If you loved these key lime pie jars, please make sure to Save this recipe to your Pinterest Dessert Board so you can find it later! Following me at cathy_kitchen_official ensures you never miss a zesty update. Did you make these? I would love to see your results! Post a photo of your jars in the comments below and don’t forget to leave a 5-star rating to help other home cooks find this recipe. Happy no-baking!