When the temperature rises, our four-legged companions feel the heat just as much as we do. Finding the perfect way to cool them down while providing a nutritious snack is a priority for every pet parent. These Frozen Dog Treats are the ultimate solution, blending high-quality proteins with antioxidant-rich fruits for a snack that is as beautiful as it is beneficial.
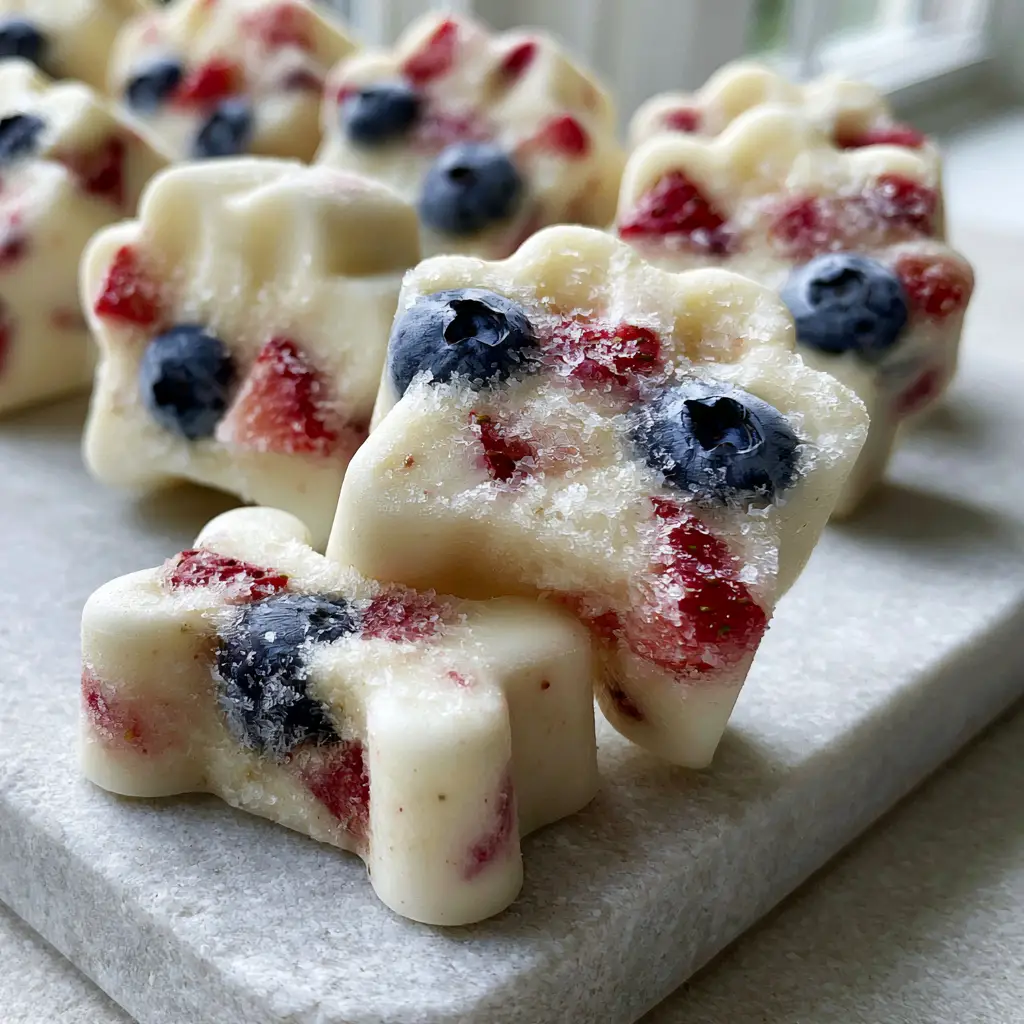
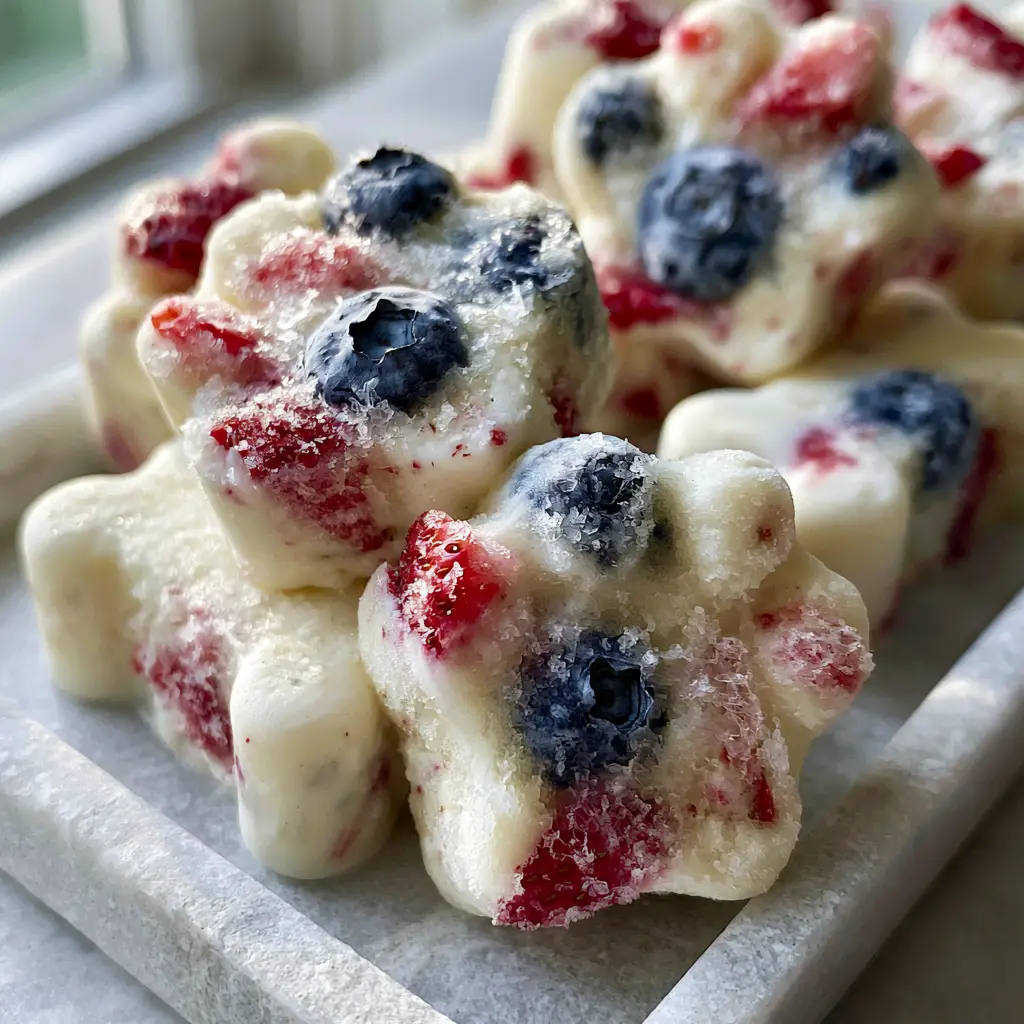
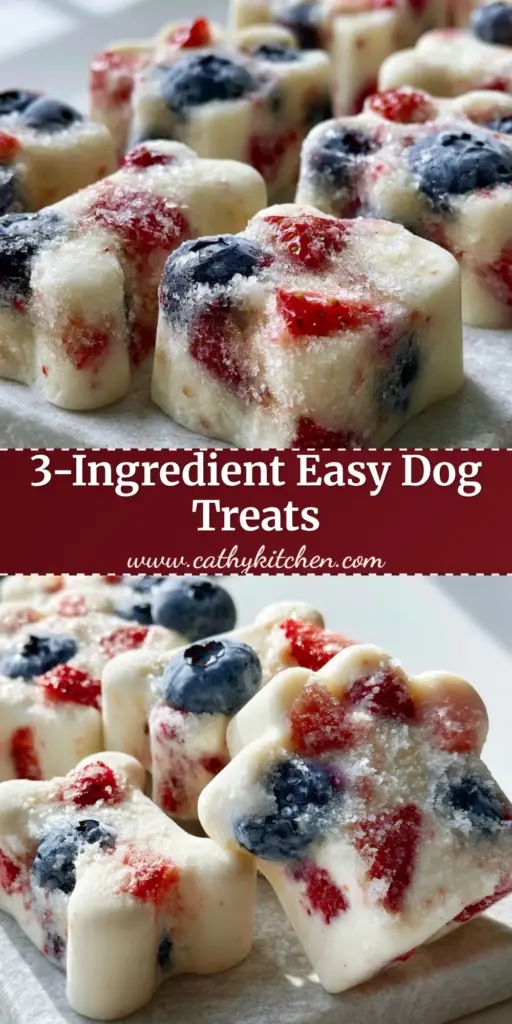
Inspired by the need for clean-label pet snacks, this recipe focuses on a thick, matte-white Greek yogurt base. Unlike store-bought options that often contain fillers or artificial sweeteners, these homemade delights are crystalline, cold, and refreshing. The visual of vibrant blue blueberries and bright red strawberries suspended in a semi-translucent frozen matrix makes these treats look like gourmet artisanal snacks.
Whether you are celebrating a puppy birthday or just want a healthy reward after a long walk, these Frozen Dog Treats deliver. By using specific silicone molds, you can create perfect paw prints and bone shapes that look professional enough to be sold in a high-end pet boutique. Let’s dive into the science of creating the perfect frozen canine confection.
The Culinary Blueprint for Healthy Canine Coolers
- Ultra-Creamy Texture: The use of full-fat Greek yogurt ensures a matte white finish and a thick consistency that holds its shape perfectly in silicone molds.
- Vibrant Fruit Suspension: By hand-placing whole blueberries and chopped strawberries, we ensure every bite is packed with vitamins and visual appeal.
- Crystalline Frost Finish: A specific freezing duration creates that refreshing, icy “crunch” that dogs find highly stimulating and satisfying.
- High-Definition Molding: Utilizing bone and paw shapes provides structural integrity and makes portion control simple for dogs of all sizes.
The Essential Components for the Perfect Yogurt Base
Selecting the right ingredients for your Frozen Dog Treats is the most critical step in ensuring pet safety and nutritional value. Not all yogurts are created equal, and some can even be dangerous for dogs.
Plain Full-Fat Greek Yogurt
You will need 2 cups (480ml) of plain, unsweetened Greek yogurt. It provides the “matte white” foundation seen in the visual blueprint and is packed with probiotics for gut health; ensure it contains NO Xylitol (birch sugar), which is toxic to dogs.
Fresh Whole Blueberries
Include 1/2 cup (75g) of fresh, firm blueberries. These “superfoods” provide the vibrant blue pops of color and are rich in antioxidants and fiber, making them the perfect size for suspending in the yogurt mix.
Fresh Garden Strawberries
You will need 1/2 cup (75g) of strawberries, hulled and finely chopped into 1/4-inch pieces. The bright red chunks provide a beautiful contrast against the white yogurt and offer a boost of vitamin C and magnesium.
Pure Filtered Water (The Invisible Ingredient)
Measure out 1/4 cup (60ml) of filtered water. This is the “secret” to achieving that semi-translucent, crystalline look; it thins the thick yogurt just enough to pour into intricate molds without leaving air bubbles.
Optional: Raw Unfiltered Honey
Add 1 tablespoon (15ml) of raw honey if your pup enjoys a bit of sweetness. Honey provides enzymes and can help with local seasonal allergies, though it should be used sparingly.
Professional Tools for Shaping Your Treats
To achieve the “macro close-up” quality of the visual prompt, you cannot simply use an ice cube tray. Precision tools are required for the best results.
High-quality silicone molds are non-negotiable for this recipe. You will need one paw-shaped silicone mold and one bone-shaped silicone mold. Silicone is flexible, allowing you to “pop” the frozen yogurt out without fracturing the delicate crystalline frost. A standard plastic tray will cause the treats to stick and break.
Additionally, a small offset spatula or a bench scraper is useful for leveling the back of the molds. This ensures that when the treats are placed on a minimalist grey stone tray, they sit perfectly flat and look professionally crafted. Much like preparing no-bake summer desserts for humans, presentation starts with the right equipment.
Step-by-Step Evolution of the Frozen Paw
Preparing the Fruit Foundation
Start by washing your blueberries and strawberries thoroughly. Pat them completely dry with a lint-free towel; any excess surface moisture will create large, jagged ice crystals rather than the “tiny ice particles” described in our visual guide. Slice the strawberries into uniform chunks, ensuring they are small enough to fit inside the “toes” of the paw molds.
Whisking the Matte White Base
In a medium mixing bowl, combine the 2 cups (480ml) of Greek yogurt with the 1/4 cup (60ml) of filtered water. Whisk vigorously until the mixture is smooth and pourable. The consistency should resemble a thick pancake batter. This allows the yogurt to flow into the crevices of the bone molds while remaining thick enough to support the fruit without it sinking to the bottom immediately.
Precision Filling of the Molds
Place your silicone molds on a flat baking sheet for stability. Drop two whole blueberries into the center of each paw print. Surround the berries with 3-4 chunks of strawberry. Using a spoon or a piping bag, slowly flood the mold with the yogurt mixture. Ensure the fruit remains visible through the top layer to achieve that “semi-translucent” depth.
The Leveling Technique
Once filled, gently tap the baking sheet on the counter five times. This vibrates any trapped air bubbles to the surface, ensuring the “perfect paw” shapes are solid and free of pits. Use your offset spatula to scrape across the top of the mold, creating a flush, clean surface. This is a technique often used when making peach dumplings or other molded sweets to ensure even cooking and freezing.
The Deep Chill Phase
Place the tray in the coldest part of your freezer. For the “frozen solid state” required, a minimum of 4 hours is necessary, though overnight is best. This long freeze time is what develops the light, crystalline frost on the surface, giving the treats their refreshing, cold look under soft, natural daylight.
Expert Tips for Paws-itively Perfect Results
- Avoid Over-Blending: Do not stir the fruit into the yogurt in the bowl; this will bleed the colors and turn the “matte white” base into a muddy purple. Always place fruit in the molds first.
- The “Snap” Test: You know the Frozen Dog Treats are ready when they feel rock-hard to the touch and pull away slightly from the edges of the silicone.
- Quality Matters: Use only “Plain” yogurt. Vanilla yogurt often contains high sugar or, more dangerously, Xylitol.
- Texture Control: If you want a creamier, less icy treat, replace the water with an equal amount of unsweetened coconut milk.
Safe Storage and Serving Suggestions
Once frozen, remove the treats from the molds and transfer them immediately to an airtight container or a heavy-duty freezer bag. They will stay fresh and maintain their “crystalline frost” appearance for up to 3 months. When serving, do not let them sit at room temperature for more than a minute; they are designed to be enjoyed as a “cold, refreshing” snack.
While your dog enjoys their frozen snack, you might be looking for a refreshing summer meal for yourself. These treats pair perfectly with a summer backyard BBQ featuring watermelon feta salad or perhaps a chilled chicken macaroni salad. Keeping both the humans and the hounds cool is the secret to a successful summer afternoon.
Common Questions About DIY Dog Snacks
No. Grapes and raisins are toxic to dogs and should never be used in any pet treat recipe. Stick to dog-safe fruits like blueberries, strawberries, or bananas.
Yes, you can use frozen blueberries and strawberries. However, fresh fruit often yields a more vibrant color and better suspension within the yogurt base without excessive bleeding.
When stored in an airtight container, these treats will maintain their quality and flavor for up to 3 months. For the best crystalline texture, serve them within the first 4 weeks.
Most dogs can tolerate plain Greek yogurt in moderation, but some may be lactose intolerant. Always start with a small amount and ensure the yogurt contains no Xylitol, which is highly toxic to dogs.
Adding a small amount of water thins the thick Greek yogurt just enough to allow it to flow into the fine details of the silicone molds, preventing air pockets and ensuring a smooth finish.
The Ultimate Frozen Dog Treat Recipe
This recipe creates approximately 12-16 treats, depending on the size of your paw and bone molds. It is a low-calorie, high-protein snack that provides hydration and essential vitamins during the warmer months. By following the precise steps of fruit placement and yogurt thinning, you will achieve the stunning visual results of professional pet photography right in your own kitchen.
Frozen Dog Treats with Greek Yogurt and Fresh Berries
Ingredients
Equipment
Method
- In a mixing bowl, whisk the Greek yogurt and water until smooth and pourable, resembling thick pancake batter.
- Place 2 whole blueberries and several strawberry chunks into the bottom of each silicone mold cavity.
- Slowly pour the yogurt mixture over the fruit until the molds are full. Tap the tray to remove air bubbles.
- Place in the freezer for at least 4 hours, or until frozen solid with a light crystalline frost on the surface.
Notes
Keep the treats frozen until the moment of serving to maintain their shape and texture.
Closing Thoughts on Homemade Pet Wellness
Making your own Frozen Dog Treats is more than just a kitchen project; it is an act of love for your pet. By controlling every ingredient, you eliminate the risks associated with processed snacks and provide a cooling sensory experience that dogs truly crave. The matte white yogurt and vibrant berries aren’t just for show—they represent the purity of the ingredients you are providing for your best friend.
If you enjoyed this recipe, we would love to see your results! Tag us in your photos of your happy pups enjoying their icy treats. Don’t forget to follow our Pinterest for more pet-friendly ideas and seasonal recipes for the whole family.