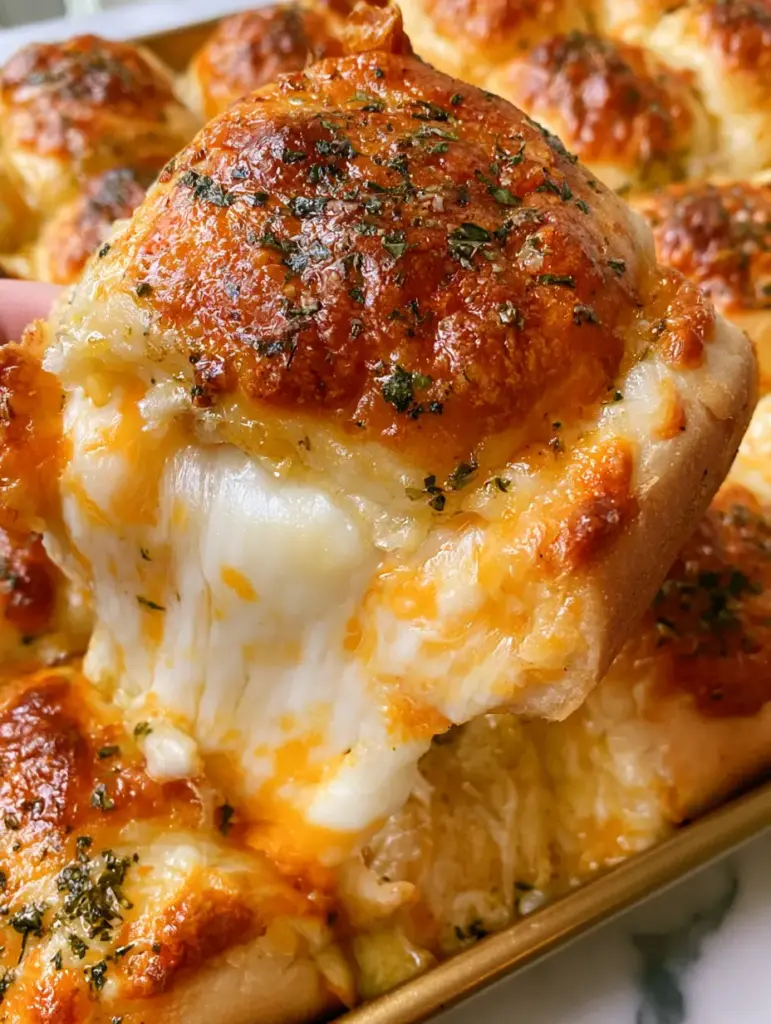
There is something inherently nostalgic about a grilled cheese sandwich, but these Mini Grilled Cheese Hawaiian Rolls take that comfort to a professional, party-ready level. Imagine a sheet pan filled with 24 individual sliders, each boasting a deep golden-brown crust and a glistening sheen of herb-flecked butter.
The magic happens when you lift a single roll away from the pack, revealing a thick, dramatic stretch of melted white mozzarella and sharp orange cheddar. These aren’t just sandwiches; they are a sensory experience designed for game days, brunch spreads, or an elevated weeknight treat.
By using the pull-apart method, we ensure that the edges of the cheese become slightly crisped and caramelized against the soft bread. This contrast between the sweet Hawaiian dough and the sharp, salty cheese creates a flavor profile that is simply irresistible.
Why These Cheesy Hawaiian Sliders Are a Total Game Changer
- The Perfect Cheese Pull: By combining low-moisture mozzarella with sharp cheddar, we achieve both the structural “stretch” and the bold flavor punch seen in professional food photography.
- Sheet Pan Efficiency: Instead of flipping individual sandwiches, we toast 24 Mini Grilled Cheese Hawaiian Rolls simultaneously, ensuring every guest gets a hot, melty bite at the same time.
- The Signature Glaze: A specialized garlic butter infusion with dried parsley flakes creates a savory crust that balances the sweetness of the rolls.
- Caramelized Edges: We utilize a specific baking technique to ensure the cheese that escapes the bread turns into those coveted, crispy golden bits.
The Essential Ingredients for Buttery, Melty Perfection
Every ingredient in this recipe serves a forensic purpose to match our visual blueprint. We don’t just want melted cheese; we want a masterpiece of texture and color.
King’s Hawaiian Rolls (24-count): These provide the essential sweetness and “pull-apart” architecture. Their high sugar content allows them to toast to a “perfect deep golden brown” quickly in the oven.
Shredded Low-Moisture Mozzarella (12 oz / 340g): This is the secret to the “thick stretch” mentioned in the visual prompt. Low-moisture mozzarella has the elasticity required for that iconic smartphone-POV cheese pull.
Sharp Cheddar Cheese (8 oz / 225g): While mozzarella provides the stretch, sharp cheddar provides the color and the oil content necessary for the “caramelized cheese edges” against the bread.
Unsalted Butter (1/2 cup / 113g): We use unsalted butter as our base to control the sodium levels while providing the “glistening” finish. It acts as the vehicle for our aromatics.
Garlic Powder or Fresh Minced Garlic (1 tbsp / 15g): This creates the “savory garlic butter glaze” flavor profile. It permeates the top of the rolls, adding an addictive aroma that hits you as soon as you open the oven.
Dried Parsley Flakes (1 tsp / 2g): These provide the “light sprinkle” of green contrast seen in the visual blueprint. They adhere to the butter glaze for a professional, finished look.
Kosher Salt (a pinch): A foundational invisible ingredient, a tiny pinch of salt in the butter glaze amplifies the sharpness of the cheddar and the sweetness of the rolls.
Must-Have Kitchen Tools for Sheet Pan Success
To achieve the “sharp focus” and “buttery texture” described in our visual goals, you need the right heat distribution. A standard rimmed baking sheet is non-negotiable for containing the melting cheese.
A long serrated bread knife is essential for slicing the entire slab of 24 rolls at once without crushing the delicate internal structure. You will also need a pastry brush to apply the glaze evenly, ensuring every square inch of the rolls “glistens” under the morning light.
For the best results, use parchment paper or a silicone baking mat. This encourages the “caramelized cheese edges” to form without sticking to the pan, allowing you to lift the sandwiches away cleanly for that perfect POV photo.
Step-by-Step Mastery: How to Make Mini Grilled Cheese Hawaiian Rolls
Preparing the Bread Foundation
Preheat your oven to 350°F (175°C). Using a long serrated knife, slice the entire block of 24 Hawaiian rolls in half horizontally, creating one large top slab and one large bottom slab.
Place the bottom slab onto your prepared sheet pan. Ensure the rolls are snug against each other; this collective mass helps retain steam, keeping the interior of the Mini Grilled Cheese Hawaiian Rolls soft while the exterior crisps.
Building the “Incredible Thick Stretch” Cheese Layers
Evenly distribute the shredded sharp cheddar over the bottom slab, followed by the mozzarella. By layering the cheddar on the bottom, its oils will migrate downward to help toast the bottom crust.
Place the top slab of rolls over the cheese. Press down very lightly with the palms of your hands to “set” the sandwich. This ensures that as the cheese melts, it acts as a glue, bonding the two halves together for a structural cheese pull.
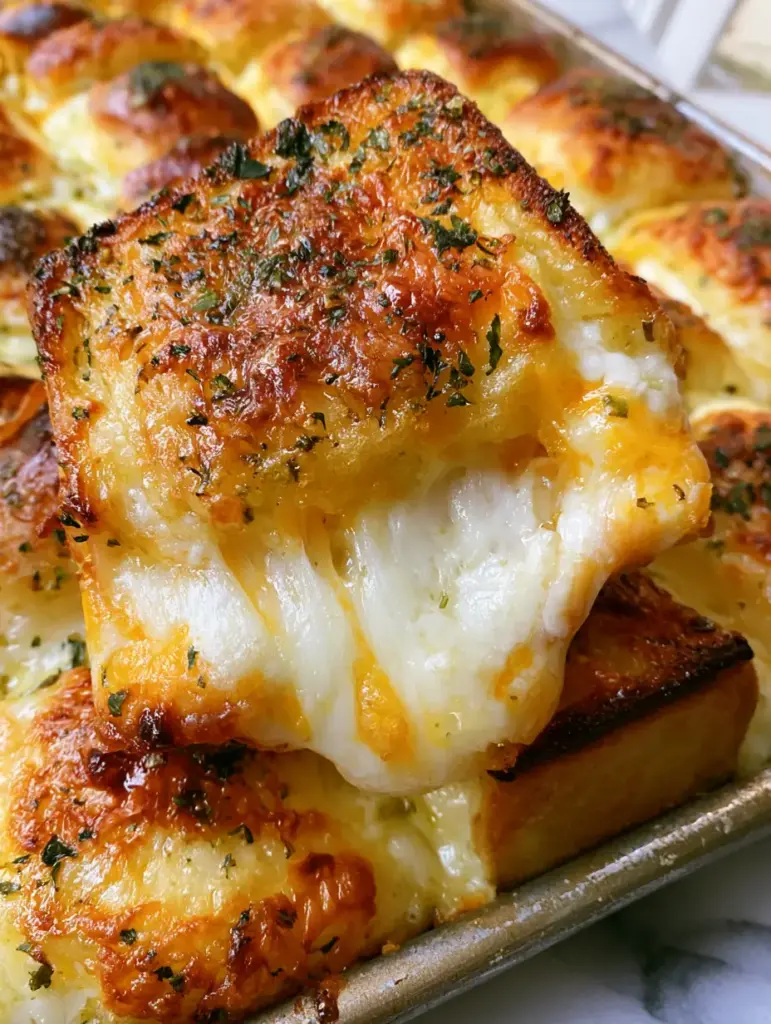
Crafting the Savory Garlic Butter Glaze
In a small microwave-safe bowl, melt the 1/2 cup (113g) of butter. Whisk in the garlic and the dried parsley flakes until the herbs are evenly suspended in the fat.
Using a pastry brush, generously coat the tops of the rolls. Pay extra attention to the “valleys” where the rolls meet, as the butter will pool there and create extra-crispy, flavorful pockets during the bake.
The Baking Process and Visual Cues
Cover the pan loosely with aluminum foil for the first 10 minutes. This traps heat to ensure the “thick stretch” of cheese is fully molten before the bread becomes too dark.
Remove the foil and bake for an additional 8-12 minutes. Watch for the visual cues: the tops should transition from pale yellow to a “perfect deep golden brown,” and the cheese at the edges should begin to bubble and turn a dark, lacy amber color.
Expert Tips for the Ultimate Cheesy Appetizer
- Grate Your Own Cheese: Pre-shredded cheese is coated in potato starch to prevent clumping, which can hinder the “thick stretch.” Grating your own mozzarella and cheddar from blocks results in a much smoother melt.
- Temperature Control: If the rolls are browning too fast but the cheese isn’t melted, lower the oven rack. The goal is a synchronized finish between the toasted exterior and the molten interior.
- The “Resting” Rule: Let the pan sit for 2-3 minutes after exiting the oven. This allows the cheese to slightly stabilize, which actually improves the “stretch” and prevents the filling from sliding out when you lift a sandwich.
- Fresh vs. Dried Parsley: While fresh is great, dried parsley flakes are preferred here because they don’t wilt or turn black under the high heat of the oven, maintaining that “light sprinkle” look.
What to Serve with Your Mini Grilled Cheese Sliders
These savory, buttery rolls pair beautifully with bright, acidic sides to cut through the richness of the cheese. A crisp traditional Greek salad or a bowl of Horiatiki provides the perfect fresh contrast.
If you are serving these as part of a larger party spread, consider adding some vegetable-forward options like zucchini and goat cheese stacks or even oven-baked cucumber chips for a satisfying crunch.
For a hearty lunch, serve these Mini Grilled Cheese Hawaiian Rolls alongside a warm bowl of soup or a light wonton salad to keep the meal balanced yet indulgent.
Storage, Reheating, and Freezing
If you have leftovers, store them in an airtight container in the refrigerator for up to 3 days. To maintain the “deep golden brown” crust, avoid the microwave for reheating.
Instead, place the rolls back on a sheet pan, cover with foil, and warm in a 325°F (165°C) oven for 10 minutes. This restores the buttery texture of the bread without making it rubbery.
While you can freeze these, the texture of the Hawaiian rolls may change slightly. If you must freeze, wrap them tightly in plastic wrap and foil; reheat directly from frozen at 300°F (150°C) until the cheese is once again molten.
Frequently Asked Questions
You can assemble the rolls and apply the garlic butter glaze up to 4 hours in advance. Keep them covered in the fridge, then bake fresh just before serving for the best cheese pull.
Yes, any pull-apart slider bun or brioche roll will work, but you may need to adjust the salt in your glaze since Hawaiian rolls are uniquely sweet.
To avoid sogginess, bake the rolls on a preheated sheet pan and ensure you don’t over-apply the glaze to the sides. Layering the cheddar cheese first acts as a barrier for the bread.
A combination of low-moisture mozzarella (for stretch) and a high-fat cheese like Sharp Cheddar or Monterey Jack (for flavor and melting) provides the professional results seen in photos.
Dried parsley flakes withstand the oven’s heat better than fresh herbs, which can turn black or bitter. Dried flakes maintain their green color for a better visual presentation.
The Ultimate Recipe for Mini Grilled Cheese Hawaiian Rolls
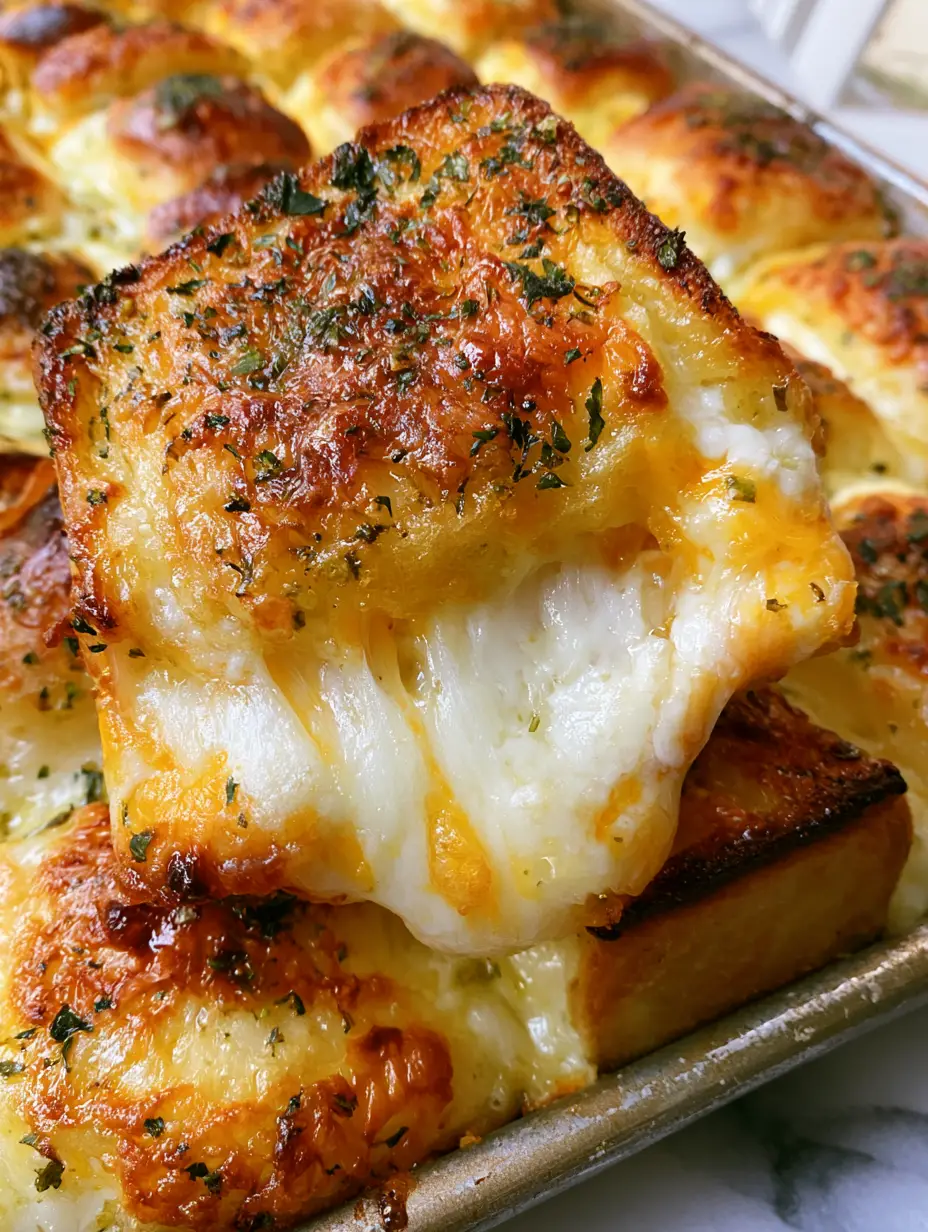
Mini Grilled Cheese Hawaiian Rolls with Savory Garlic Butter Glaze
Ingredients
Equipment
Method
- Preheat oven to 350°F (175°C) and line a sheet pan with parchment paper.
- Using a serrated knife, slice the entire slab of 24 Hawaiian rolls in half horizontally. Place the bottom half on the pan.
- Evenly layer the shredded cheddar followed by the shredded mozzarella across the bottom slab of bread.
- Place the top slab of rolls over the cheese. Whisk melted butter, garlic, parsley, and salt, then brush generously over the tops.
- Cover with foil and bake for 10 minutes to melt the cheese thoroughly.
- Remove foil and bake for 8-12 minutes more until the tops are deep golden brown and edges are caramelized.
Notes
Do not over-bake or the Hawaiian rolls will become too crunchy; look for a deep golden hue.
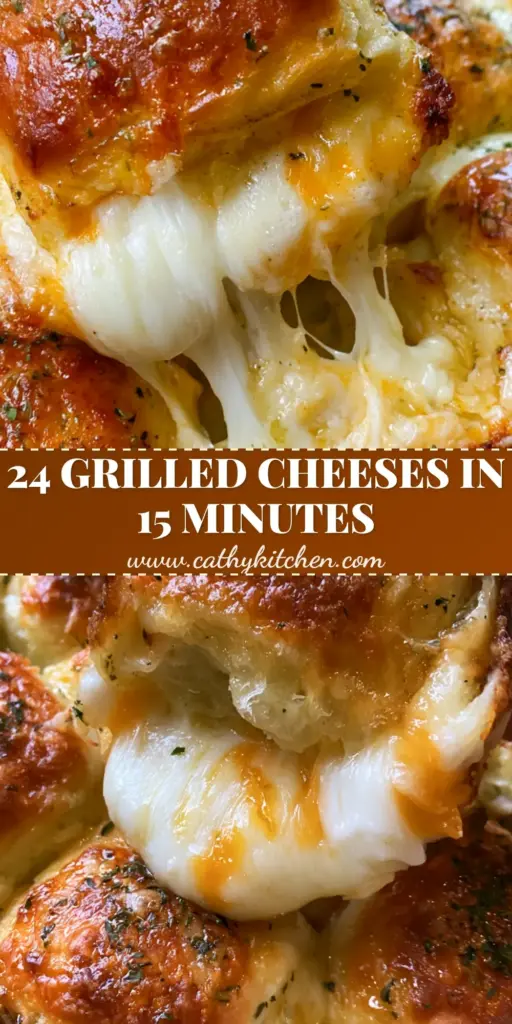
Closing & Call to Action
The beauty of these Mini Grilled Cheese Hawaiian Rolls lies in their simplicity and the high-impact visual of that first pull. Whether you are hosting a crowd or just craving a superior snack, this recipe delivers on every buttery, cheesy promise.
If you made this recipe and captured that “incredible thick stretch,” I’d love to see it! Leave a comment below with your results, and don’t forget to follow me on Pinterest for more sheet-pan inspiration. Save this recipe to your “Appetizer” or “Game Day” boards so you never lose the secret to the perfect garlic butter glaze.