If you have ever craved the satisfying crunch of a potato chip but wanted to keep things light, healthy, and visually stunning, these oven baked cucumber chips are your new kitchen obsession. Transforming a water-dense vegetable into a translucent, golden-brown crisp is a feat of culinary science that results in a snack as beautiful as it is delicious.
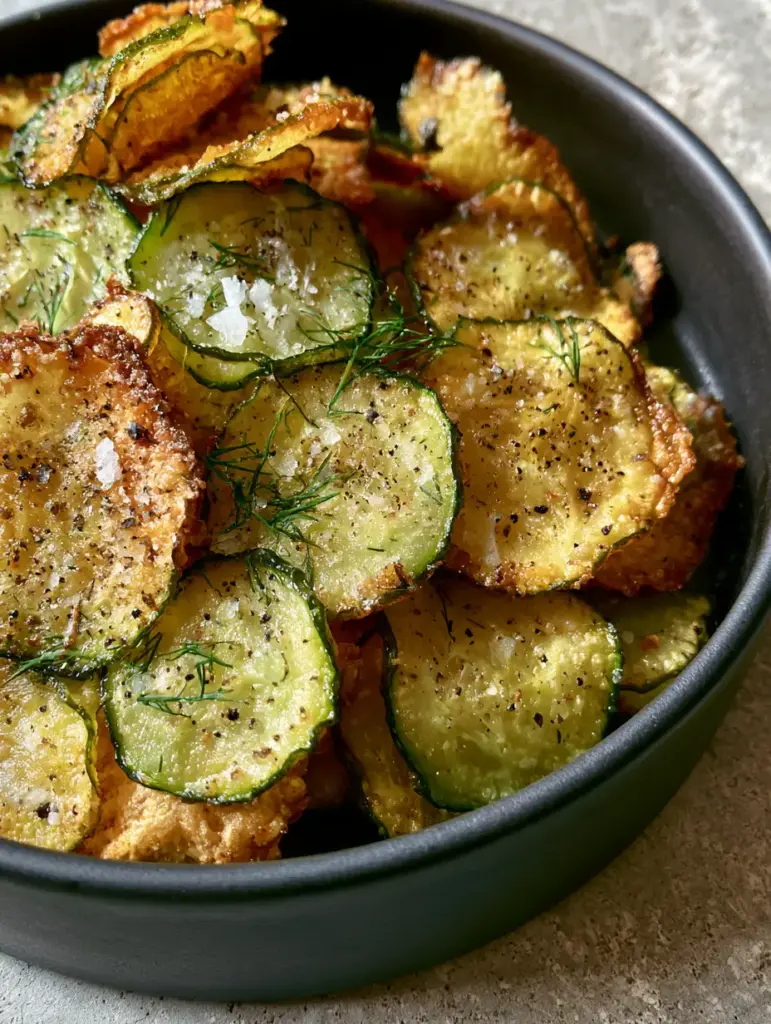
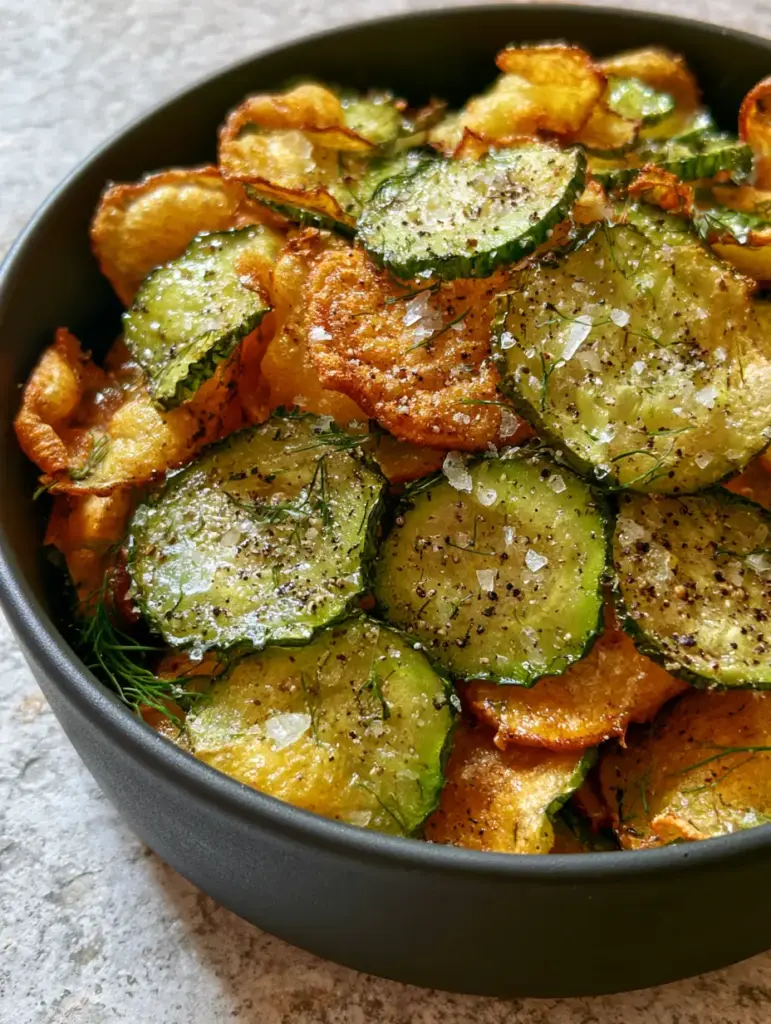
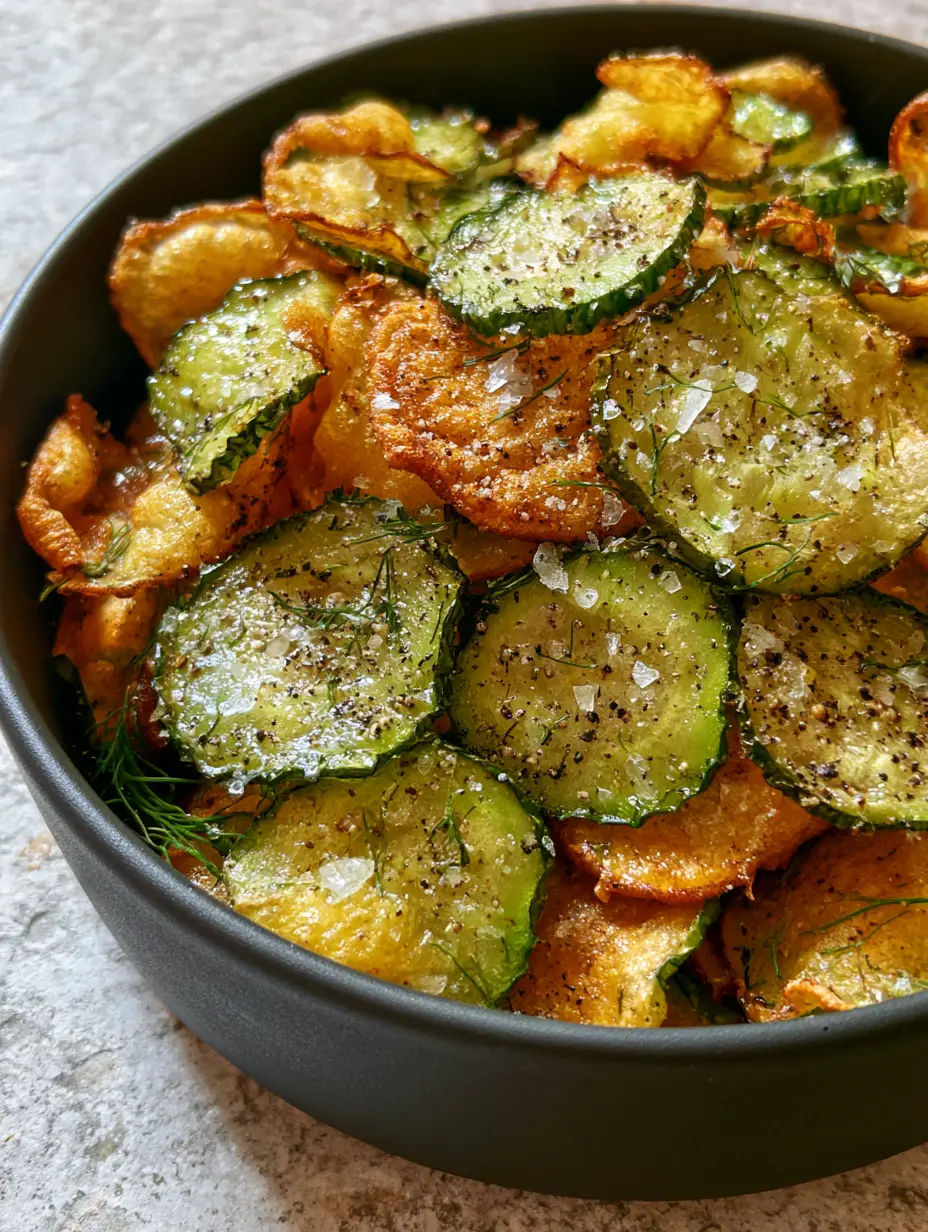
Imagine paper-thin slices of cucumber, dehydrated in the oven until their edges curl into delicate waves of bronze, while their centers remain a glowing, translucent green. Topped with oversized flakes of Maldon sea salt and a mist of white vinegar, this is high-end snacking at its finest.
This recipe isn’t just about slicing and baking; it is about the “Forensic Visual Accuracy” of the perfect chip—capturing that side-lit, crystalline texture that makes artisanal food photography so mouthwatering. Let’s dive into how to achieve that professional, matte-bowl-ready result in your own kitchen.
Why This Healthy Snack Will Redefine Your Pantry
- The Ultimate Crunch Factor: Through a specific low-and-slow dehydration process, we achieve a texture that rivals traditional deep-fried chips.
- Aesthetic Sophistication: With golden-brown curled edges and vibrant green centers, these chips look like they belong in a high-end food editorial.
- Clean Ingredient Profile: No preservatives or mystery oils—just fresh produce, premium salt, and bright aromatics.
- Low-Calorie Satisfaction: You can enjoy the entire bowl of oven baked cucumber chips for a fraction of the calories found in a handful of processed snacks.
The Anatomy of a Perfect Cucumber Chip: Essential Ingredients
To achieve the visual and textural benchmarks of our blueprint—including those glistening vinegar droplets and oversized salt flakes—each ingredient must be selected with precision.
English Cucumbers: Also known as hothouse cucumbers, these are essential because they have fewer seeds and a thinner skin. Their lower water content compared to garden cucumbers helps them crisp up without turning to mush.
Avocado Oil: We use 1 tbsp (15ml) of avocado oil for its high smoke point and neutral flavor profile. It acts as the “invisible bridge,” allowing the heat to penetrate the cucumber slices evenly for that uniform golden-brown curl.
Maldon Sea Salt: These oversized, pyramid-shaped flakes are non-negotiable for the visual texture. They provide a “crystalline” look that catches the light and delivers a clean, briny burst of flavor.
Fresh Dill Sprigs: Added at the very end, these provide a pop of herbal freshness and a feathery visual contrast to the rigid, crunchy chips.
White Vinegar: Just a few droplets are applied at the finish. This provides the “glistening” aesthetic while adding a sharp, acidic counterpoint to the earthy cucumber and savory salt.
Cracked Black Pepper: Coarsely ground pepper adds a sophisticated heat and dark visual specks that emphasize the “handheld smartphone photo” rustic charm.
Professional Tools for Culinary Precision
Achieving “paper-thin” slices consistently is nearly impossible with a standard chef’s knife. To get that translucent green center, a mandoline slicer set to 1/8 inch (3mm) is your best friend.
You will also need heavy-duty rimmed baking sheets and high-quality parchment paper. The parchment is critical; it prevents the delicate, curled edges from sticking and tearing when you move them to your matte charcoal bowl.
A cooling rack is the final “secret” tool. Air circulation is the enemy of sogginess, and allowing the chips to cool in a single layer ensures the oven baked cucumber chips reach their maximum structural integrity.
The Step-by-Step Blueprint for Ultra-Crispy Results
Preparing the Canvas: Slicing and Sweating
Wash and dry 2 large (approx. 600g) English cucumbers thoroughly. Using a mandoline, slice them into paper-thin rounds, aiming for a consistent 1/8 inch (3mm) thickness.
Spread the slices onto a layer of paper towels and sprinkle lightly with a pinch of fine salt. Let them sit for 15 minutes; this “sweating” process draws out internal moisture, which is the most critical step for achieving a crunch.
Pat the tops of the slices firmly with more paper towels until they feel remarkably dry to the touch. If they are wet when they enter the oven, they will steam rather than crisp.
The Seasoning Matrix
In a large mixing bowl, gently toss the dried cucumber slices with 1 tbsp (15ml) of avocado oil and half of your cracked black pepper. Do not add the Maldon salt yet, as it will dissolve during baking.
Ensure every slice has a microscopic coating of oil. This thin layer of fat is what facilitates the Maillard reaction, turning those edges that beautiful golden-brown we see in the visual prompt.
Low-and-Slow Dehydration
Preheat your oven to 225°F (110°C). Arrange the slices in a single layer on parchment-lined baking sheets, ensuring they do not overlap.
Bake for 90 to 120 minutes. At the 60-minute mark, check for sensory cues: the edges should be starting to curl upward and turn a light bronze. Rotate the pans to ensure even heat distribution.
The chips are done when they are rigid to the touch and the centers look like translucent green stained glass. They will crisp up further as they cool, so don’t wait for them to be rock-hard in the oven.
The Final Forensic Flourish: Plating and Styling
Transfer the warm oven baked cucumber chips to a modern matte charcoal ceramic bowl. Pile them high to emphasize the ridges and the airy, lightweight volume of the snack.
While still slightly warm, heavily dust the pile with your oversized flakes of Maldon sea salt. The residual heat helps the salt “grip” the ridges of the chips without dissolving the crystals.
Scatter fresh dill sprigs throughout the bowl, allowing some to hang over the edges for a rustic, editorial look. Finally, use a small spoon or a spray mister to add small droplets of white vinegar so they glisten on the surface.
Expert Tips for Success
- The Sogginess Solution: If your chips lose their crunch after an hour, it’s likely due to humidity. Simply pop them back into a 200°F (95°C) oven for 5-10 minutes to re-dehydrate.
- Uniformity is Key: Inconsistent slicing leads to some chips burning while others stay soft. If you don’t have a mandoline, take your time with a very sharp knife.
- Don’t Oversalt Early: Only use a tiny bit of fine salt for sweating. The star should be the Maldon salt added at the end for that specific “crystalline” texture.
- Watch the Color: If the centers start turning brown, your oven is too hot. You want golden edges, but the centers must remain green to maintain that “translucent” look.
Optimal Pairings and Serving Suggestions
These oven baked cucumber chips are a stand-alone star, but they also complement a variety of light, Mediterranean-inspired dishes. They provide a wonderful textural contrast when served alongside a traditional Greek salad or a vibrant Horiatiki.
For a more substantial snack spread, consider serving them with a side of whipped goat cheese, perhaps inspired by the flavors in my zucchini and goat cheese stack. They also make a surprisingly crunchy topping for a bowl of lemon chicken orzo pasta.
If you love the process of oven-roasting vegetables to a crisp, you should also try my air fryer zucchini crisps for a slightly different flavor profile that uses similar techniques.
Preserving the Crunch: Storage and Shelf Life
Cucumbers are high in moisture, so these chips are best enjoyed immediately. However, you can store them in an airtight glass container for up to 2 days.
To keep them as crispy as possible, place a small desiccant pack or a piece of dry paper towel at the bottom of the container to absorb any stray moisture. Do not refrigerate, as the humidity will immediately turn them soft.
Frequently Asked Questions
Yes, but they require careful monitoring. Set the air fryer to 200°F and check them every 5 minutes, as the high-velocity air can cause the thin slices to fly around or burn quickly.
No, the skin provides structural integrity and a beautiful dark green edge. Using English cucumbers is recommended as the skin is thin and tender.
They are best eaten within a few hours. Because cucumbers have high water content, they reabsorb humidity quickly. Store in an airtight container with a paper towel for up to 2 days.
A mandoline slicer is the most effective tool. Set it to approximately 1/8 inch (3mm) to ensure uniform thickness, which is vital for even baking and that translucent visual effect.
Sogginess is usually caused by residual moisture or an oven temperature that is too high, causing them to steam. Ensure you salt and pat the slices completely dry before baking, and keep the temperature low (225°F) for true dehydration.
The Ultimate Oven Baked Cucumber Chips Recipe
Oven Baked Cucumber Chips: The Ultimate Ultra-Crispy Healthy Snack
Ingredients
Equipment
Method
- Slice the English cucumbers into 1/8 inch (3mm) rounds using a mandoline. Place on paper towels, sprinkle with a pinch of salt, and let sweat for 15 minutes to remove moisture.
- Pat the slices firmly with paper towels until they are completely dry to the touch.
- Toss slices with avocado oil and pepper. Arrange in a single layer on parchment-lined sheets.
- Bake at 225°F (110°C) for 90-120 minutes until edges are golden-brown and curled. Rotate pans halfway through.
- Pile chips into a bowl. Top with Maldon salt, fresh dill sprigs, and droplets of white vinegar.
Notes
Ensure chips are completely dry before baking to avoid steaming.
Join the Community & Share Your Creations
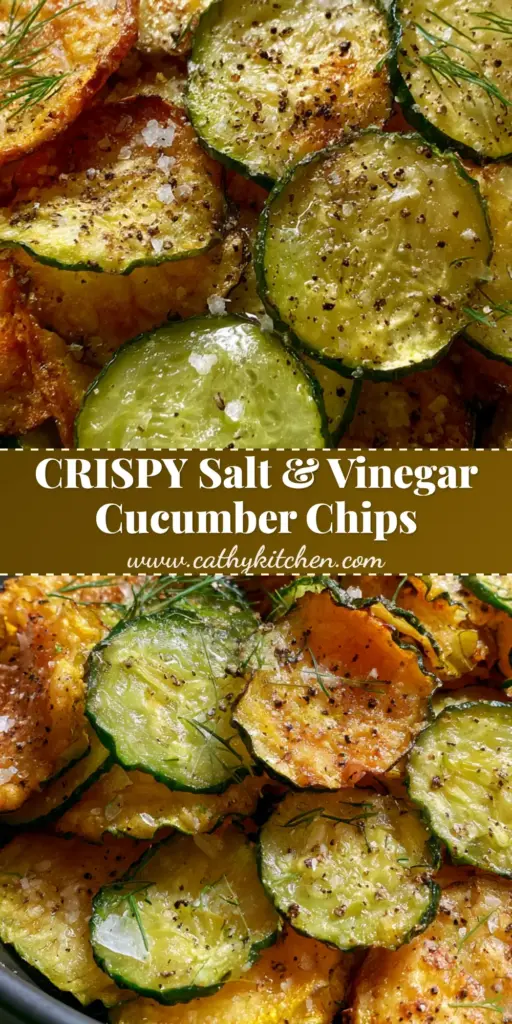
Did your chips achieve that perfect golden-brown curl? We want to see your results! Post a photo of your matte charcoal bowl creation and tag us. If you’re looking for more healthy snack inspiration, be sure to follow us on Pinterest.
Don’t forget to leave a comment below with your favorite seasoning variations—are you a salt and vinegar purist, or do you like a bit of chili lime heat? Your feedback helps our community of home cooks thrive!