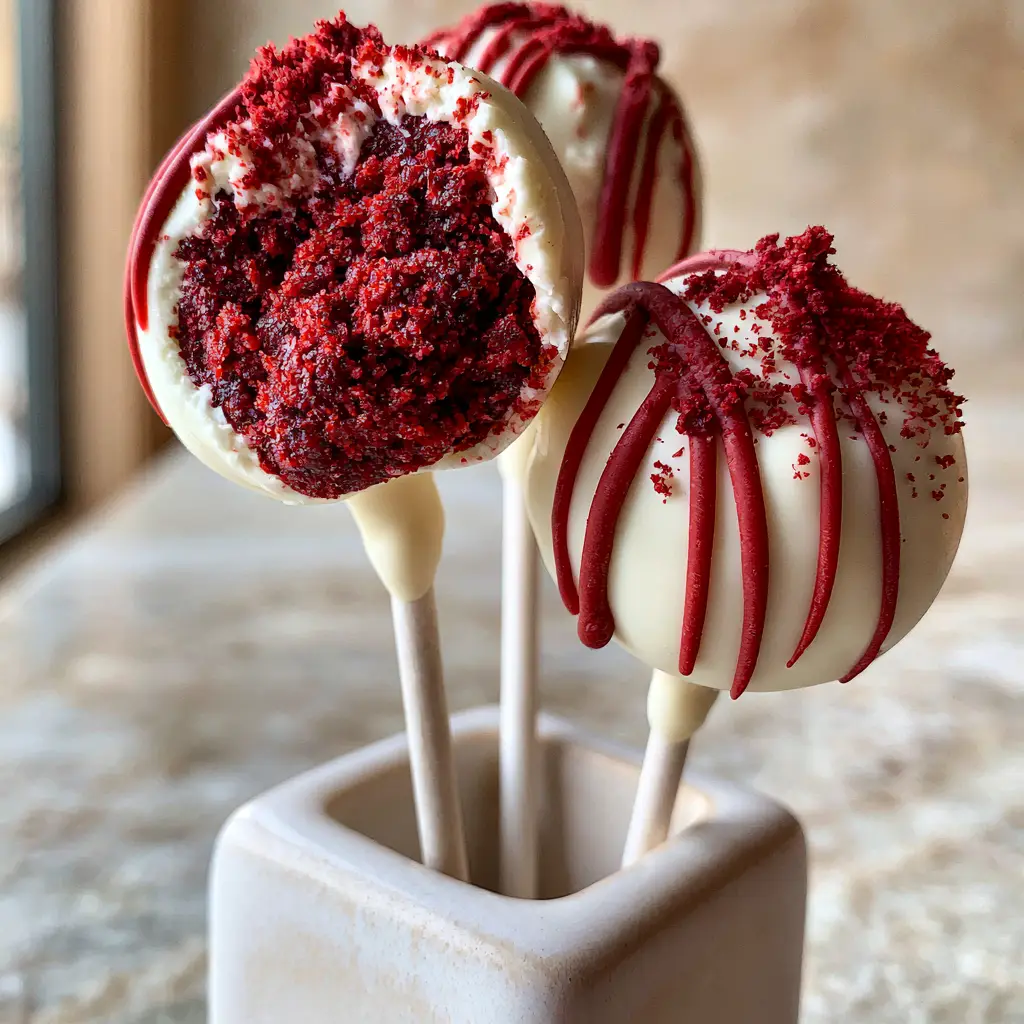
Red Velvet Cake Pops are the quintessential handheld treat, blending the sophisticated flavors of cocoa-laced cake with the tangy richness of cream cheese frosting. These vibrant, bite-sized morsels are more than just a trend; they are a masterclass in texture and visual contrast. When you bite into one, you should experience the crisp snap of a white chocolate shell followed immediately by a dense, moist, and vividly red interior.
Achieving the professional look of a handheld smartphone photo—where the light catches the flawless, smooth surface of the coating—requires a specific culinary approach. This recipe focuses on the forensic details, from the exact crumb-to-frosting ratio to the temperature of your dipping chocolate. We are creating a dessert that looks at home in a modern ceramic block and tastes like a high-end bakery creation.
The Science of the Perfect Red Velvet Crumb and Binder
The foundation of any elite Red Velvet Cake Pops is the cake itself. Unlike a standard sponge, red velvet requires a delicate balance of acidity and cocoa. The interaction between buttermilk, vinegar, and cocoa powder creates that signature “velvet” mouthfeel that is essential for a moist center.
- Moist Red Velvet Interior: We use a combination of oil and buttermilk to ensure the crumbs stay hydrated even after being crumbled and compressed.
- Cream Cheese Frosting Binder: The binder isn’t just glue; it’s a flavor enhancer. A precise amount of tangy cream cheese frosting offsets the sweetness of the white chocolate coating.
- Structural Integrity: By chilling the rolled cake balls, we ensure they don’t fall off the stick when submerged in the warm chocolate.
- Visual Contrast: The stark white exterior makes the vibrant red crumb “pop” visually, especially when a clean bite is taken out.
Essential Ingredients for Your Gourmet Cake Pops
To achieve the result seen in professional food photography, every ingredient must serve a structural or aesthetic purpose. Do not skip the foundational elements that ensure your coating is smooth and your center is rich.
For the Red Velvet Cake Base
2 ½ cups (315g) All-Purpose Flour: This provides the necessary structure to prevent the pops from becoming too mushy when mixed with frosting. 1 ½ cups (300g) Granulated Sugar: Beyond sweetness, sugar helps tenderize the crumb for that “melt-in-your-mouth” experience.
1 tsp (5g) Baking Soda and 1 tsp (5ml) White Vinegar: This chemical reaction provides lift and helps brighten the red hue of the cake. 2 tbsp (15g) Unsweetened Cocoa Powder: This gives the classic red velvet flavor profile without turning the cake brown.
1 cup (240ml) Buttermilk: The acidity in buttermilk is crucial for the tender texture and the characteristic tang. 2 large eggs (100g): These act as the primary emulsifier, binding the fats and liquids together.
1 tsp (5ml) Red Gel Food Coloring: Gel is preferred over liquid to achieve a vibrant red without altering the moisture content of the batter. ½ cup (120ml) Vegetable Oil: Oil ensures the cake stays moist even when refrigerated, which is vital for cake pops.
For the Binder and Coating
4 oz (115g) Cream Cheese, softened: Use full-fat brick cream cheese for the best flavor and structural stability. 2 cups (340g) High-Quality White Chocolate Melting Wafers: Wafers are engineered to melt smoothly, providing that “flawless shell” without cracks.
¼ cup (45g) Red Candy Melts: Specifically for the neat red drizzle that adds a professional, artistic finish. 1 tbsp (15ml) Coconut Oil or Paramount Crystals: This is a “hidden” ingredient that thins the chocolate for a perfectly even, drip-free coating.
Must-Have Equipment for a Flawless Finish
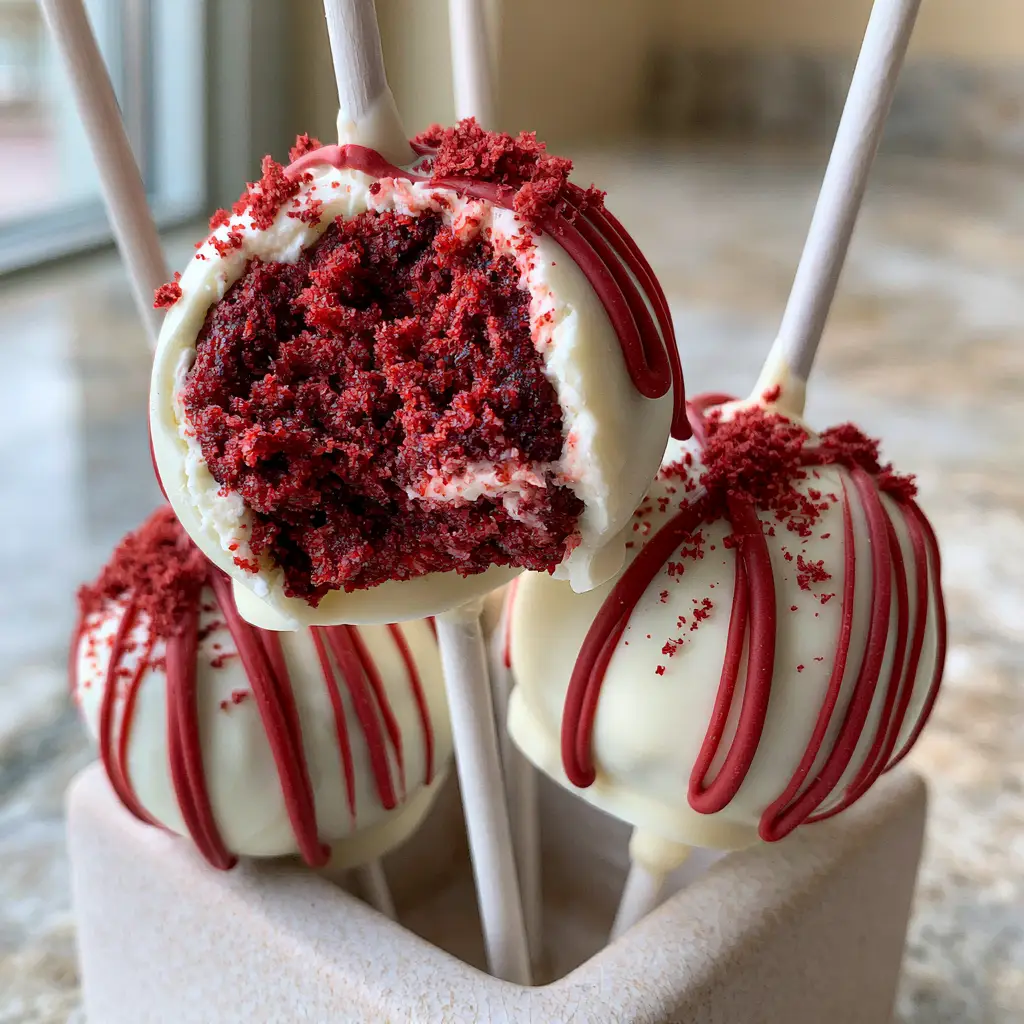
To replicate the look of three cake pops held upright in a modern ceramic block, you need the right tools. A standard kitchen scale is recommended for weighing your cake balls to ensure they are uniform in size.
You will also need a deep, narrow microwave-safe bowl for dipping; this allows you to submerge the entire pop in one motion. A cake pop stand or a block of styrofoam (or a ceramic block as seen in the prompt) is essential for letting the pops dry without flat spots. Finally, a small piping bag or a fork is needed for the controlled red drizzle.
Step-by-Step Evolution of Red Velvet Cake Pops
Phase 1: Baking the Vibrant Red Foundation
Preheat your oven to 350°F (175°C). In a large bowl, whisk together your flour, sugar, cocoa powder, and baking soda. In a separate pitcher, blend the buttermilk, oil, eggs, vinegar, and red gel coloring until the color is uniform and striking.
Gradually incorporate the wet ingredients into the dry, stirring until just combined. Pour the batter into a greased 9×13 inch pan. Bake for 25-30 minutes, or until a toothpick comes out clean. Allow the cake to cool completely; a warm cake will melt the frosting and lead to a greasy texture.
Phase 2: Crumbling and Binding the “Velvet” Center
Once cool, remove the browned edges of the cake to ensure only the brightest red crumbs remain. Crumble the cake into a large bowl until it resembles fine sand. Add the softened cream cheese and a pinch of salt.
Mix by hand until the dough holds together when squeezed, similar to the consistency of playdough. If the mixture is too dry, it will crumble; if too wet, it will be heavy. Roll into 1-inch (2.5cm) balls, weighing approximately 30g each for consistency. Place on a parchment-lined tray and chill in the freezer for 15 minutes.
Phase 3: The Art of the Flawless White Coating
Melt your white chocolate wafers with a teaspoon of coconut oil in 30-second intervals, stirring until completely fluid. Dip the tip of a lollipop stick into the chocolate, then insert it halfway into a chilled cake ball. This “welds” the stick to the cake.
Dip the entire ball into the white chocolate, holding it vertically. Do not stir the pop in the chocolate; simply submerge and lift. Gently tap your wrist to remove excess coating. The goal is a perfectly smooth white chocolate shell with no cracks or visible cake through the exterior. Place upright in your ceramic block to set.
Phase 4: Final Decorative Touches
Melt the red candy melts and transfer to a piping bag with a tiny tip. Apply a neat, diagonal drizzle across the top of each set pop. While the drizzle is still wet, sprinkle a pinch of reserved fine red velvet cake crumbs onto the center. This adds a forensic touch that signals the flavor inside to the consumer.
Expert Tips for Bakery-Quality Results
- Avoid the “Soggy” Center: Only add enough cream cheese to make the crumbs hold. A “rich, moist” interior as seen in the bitten pop comes from the cake’s oil content, not an excess of frosting.
- Temperature Control: If your cake balls are too cold, the white chocolate will crack as it sets due to the expansion of the cake. If they are too warm, they will fall off the stick. Aim for “cool to the touch.”
- Thin Your Chocolate: If the white chocolate is too thick, it will pull on the cake crumb. Add a tiny amount of coconut oil until it flows like warm honey.
- The “Bite” Factor: To get that perfect photographic bite, use a sharp, warm knife to slice a segment out of one pop rather than actually biting it; this keeps the crumb structure visible and clean.
Mastering the Display and Pairings
These Red Velvet Cake Pops are a standout dessert on their own, but they also pair beautifully with other gourmet treats. If you are hosting a dessert bar, consider serving them alongside Snickerdoodle Cookie Cups for a contrast in textures.
For a no-bake addition to your platter, these pops complement the creamy profile of a No-Bake Biscoff Cheesecake perfectly. If you find the white chocolate quite sweet, a refreshing beverage like an Apple Island Splash can help cleanse the palate between bites.
Common Questions About Cake Pop Construction
Yes, you can use a boxed red velvet mix. However, you may need to reduce the amount of frosting binder, as boxed mixes often have a higher moisture content than scratch-made cakes.
Because they contain cream cheese in the binder, it is safest to store them in the refrigerator. However, they are fine at room temperature for 2-4 hours during a party or event.
Thin your melting wafers with a small amount of coconut oil or paramount crystals. When dipping, submerge once, lift straight up, and gently tap your wrist while rotating the stick to allow excess chocolate to fall away smoothly.
Cracking usually happens due to extreme temperature changes. If the cake balls are frozen and the chocolate is very hot, the cake expands as it warms, cracking the shell. Aim for cool cake balls and warm (not hot) chocolate.
The Ultimate Red Velvet Cake Pop Recipe
Red Velvet Cake Pops: The Ultimate Guide to Fudgy, White-Chocolate Dipped Perfection
Ingredients
Equipment
Method
- Bake the red velvet cake at 350°F (175°C) for 30 minutes. Cool completely.
- Crumble the cake into fine crumbs, removing any hard edges.
- Mix crumbs with softened cream cheese until a dough forms. Roll into 1-inch balls.
- Freeze the rolled balls for 15 minutes to firm up.
- Dip sticks in melted chocolate, insert into balls, then submerge the entire ball into white chocolate.
Notes
Use a deep bowl for dipping to achieve a smooth, single-coat finish.
Storage, Freshness, and Freezing
Red Velvet Cake Pops are incredibly durable. They can be stored in an airtight container at room temperature for up to 2 days, or in the refrigerator for up to a week. The white chocolate shell acts as a sealant, keeping the interior moist.
If you wish to freeze them, do so before the final drizzle. Place them in a single layer in a freezer bag for up to 3 months. Thaw them slowly in the refrigerator to prevent condensation from forming on the smooth white surface, which can ruin the matte-like finish of the chocolate.
Final Thoughts on This Vibrant Treat
Creating these Red Velvet Cake Pops is a rewarding culinary project that combines baking precision with artistic flair. The contrast of the rich, vibrant red cake crumbs against the flawless white shell is visually stunning and undeniably delicious. Whether you are displaying them in a modern ceramic block for a party or enjoying a single bite-sized indulgence, these pops are sure to impress.
We would love to see your creations! Share your photos and tag us, or head over to our Pinterest page for more dessert inspiration. Don’t forget to leave a comment below with your favorite cake pop flavor combinations!